How 5 Minutes Editing a Photo Will Make You Look a Photography Wizard

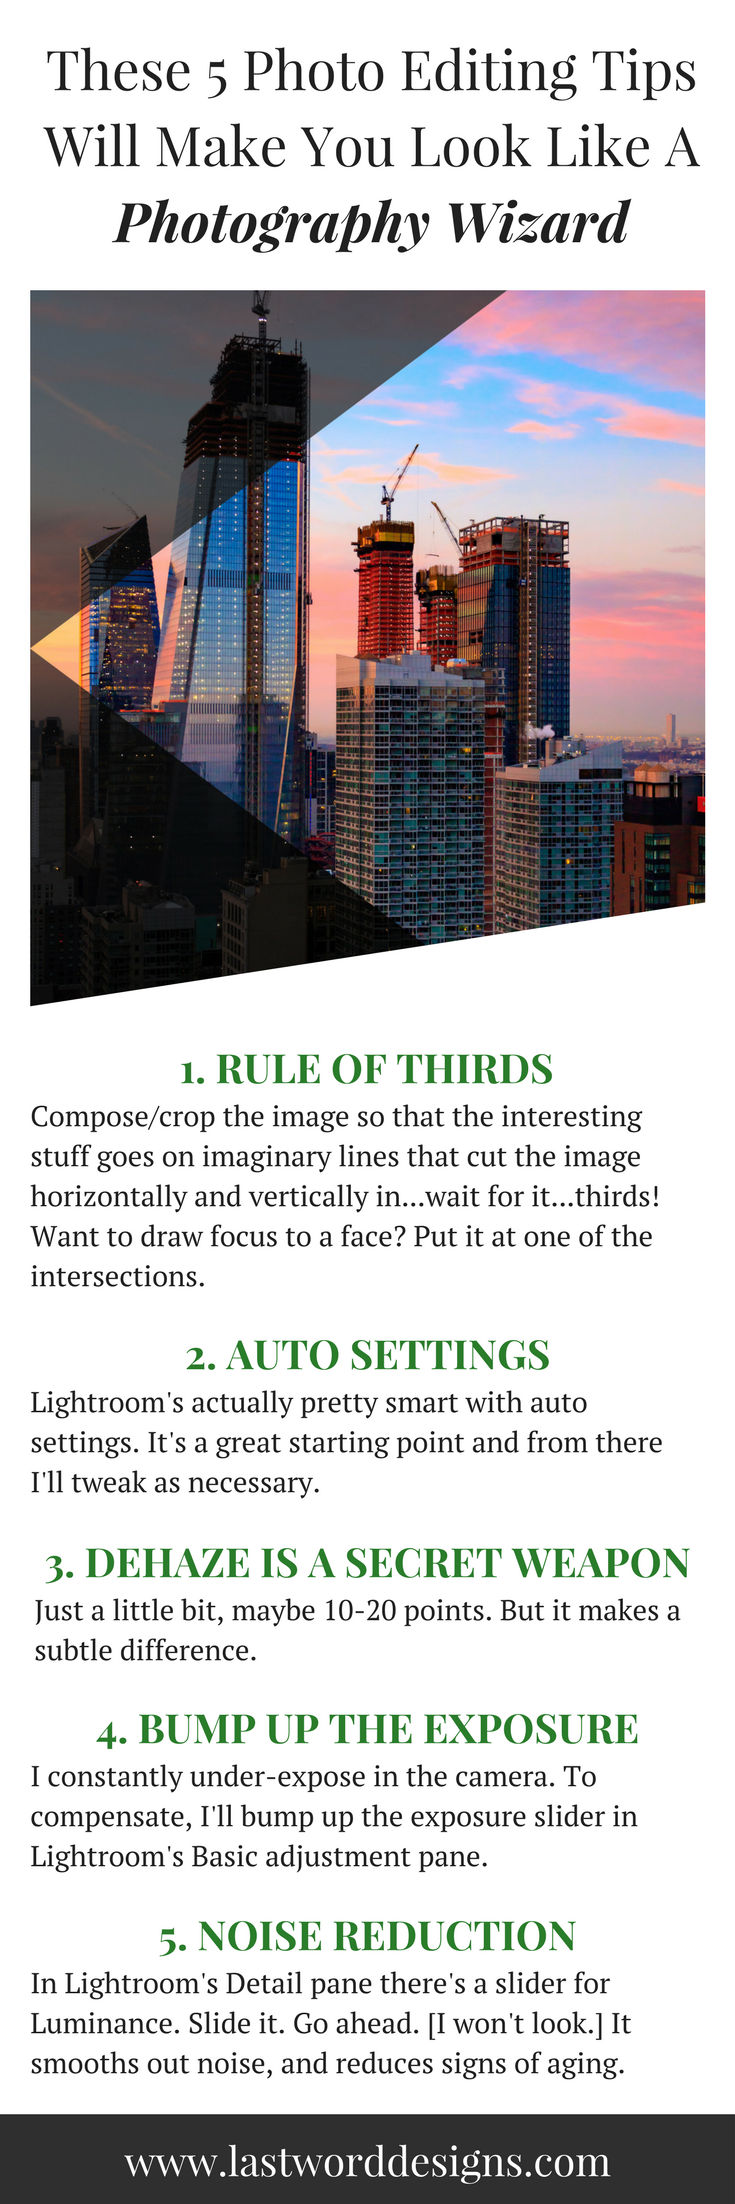
I took that out my window the other day. But it didn't come out of the camera looking like that. It was dark with little dynamic range. Basically everything was dark and bleh. But I liked the composition so I decided to spruce it up a bit.
Here's how I did it.
1. Rule of Thirds
I don't know what genius came up with the rule of thirds but, for the sake of brevity, let's just say it was me. [Don't fact check that.]
"What is the rule of thirds?" you might ask.
It's a way to make your image more interesting.
Lemme show you...
Check out this screenshot from Lightroom.
Can you see those faint gray lines forming a grid? They cut the image horizontally and vertically in...wait for it... thirds??
Those are the rule of third guides.
The theory goes that you should compose the image so that the interesting stuff goes on the lines.
Want to draw focus to a face? Put that face at one of the intersections.
How about a building? Put it on a line.
2. Auto Settings Are Your Friend
As a guy who always shoots in Manual mode, it pains me to click the Auto Settings button in Adobe Lightroom. [So I hit Cmd+U like a goddamn baller.]
Lightroom's actually pretty smart with auto settings. It's a great starting point and from there I'll tweak as necessary.
3. Dehaze is my secret weapon
I've started dehazing most photos. Just a little bit, maybe 10-20 points. But it makes a subtle difference.
4. Bump up the exposure
I'm constantly under exposing stuff in the camera. [Translation, pictures come out of the camera darker than I like.]
To compensate, I bump up the exposure slider in Lightroom's Basic adjustment pane.
...but...
BUT...
You can only go so far before you start awakening the little noise goblins in your image. These little buggers come out when you lighten an image.
See here:
And there's only one way to combat those buggers...and it's:
5. Noise Reduction
Depending on how much noise you introduced into your picture by increasing the Exposure slider, you'll may have to contend with the noise goblins. They are tricky little bastards. But a little noise reduction can take care of them [noise goblins? how much wine have I had??]
In Lightroom's Detail pane, in the Noise Reduction section, there's a slider for Luminance. Slide it. Go ahead. I won't look. You can slide with your other hand too for all I care. But just try it.
You will lose some detail when you use noise reduction. That's the tradeoff... But I'm okay with more pillowy clouds in this image if it means getting rid of the noise in the sky.


