My Favorite Photography Spots in Paris
This is a list of some of my favorite photo-worthy spots in Paris. It’s not comprehensive. There are more beautiful places in Paris than those listed below.
Feel free to suggest your favorite spots in the comments below.
[Click on the photos for larger views…]
The Louvre Pyramids
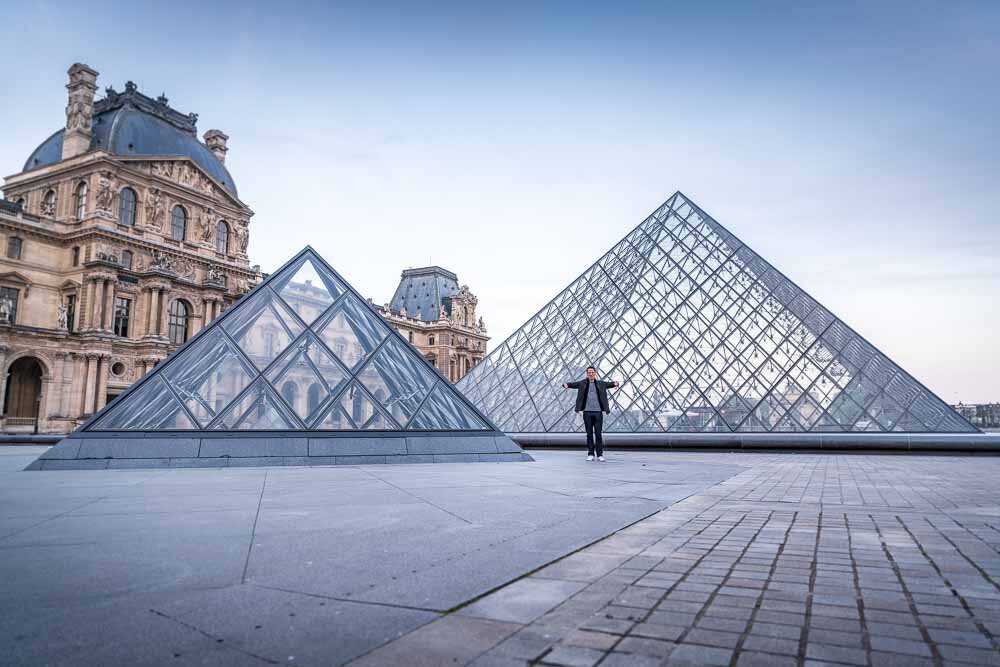
I went to the Louvre pyramids twice, once around 2pm on our first day, and again at dawn on our penultimate day. If you go during normal hours, be aware that the entire place will be full of people. There will be dozens and dozens of people hopping up onto the stands to take their “my finger’s on the tip of the pyramid” shot.
These pictures were taken around 7:00am local time. I had the entire place to myself. And it was glorious.
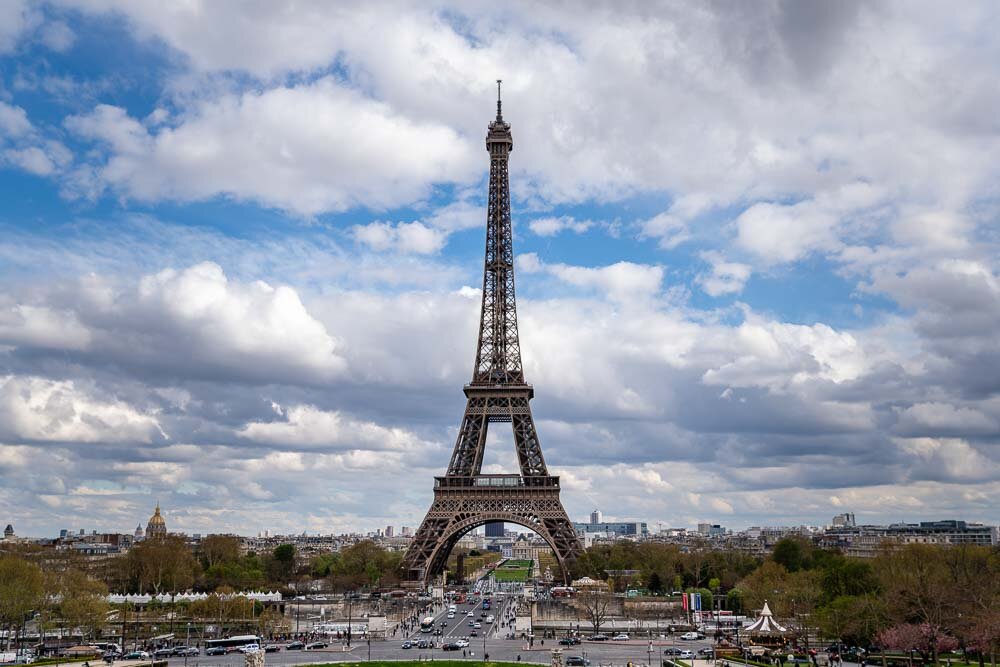
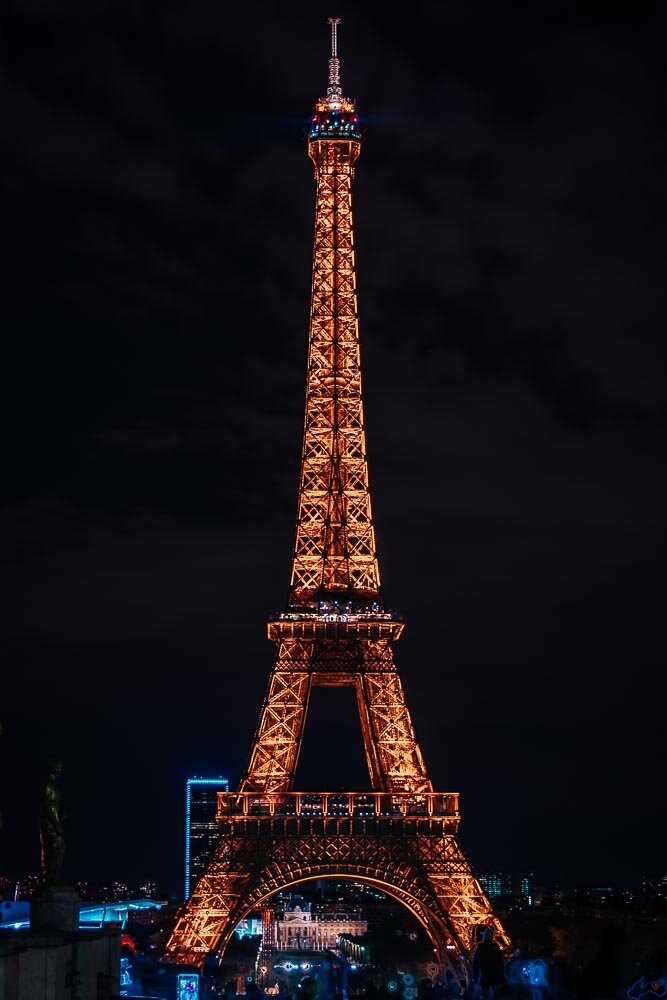
The Eiffel Tower
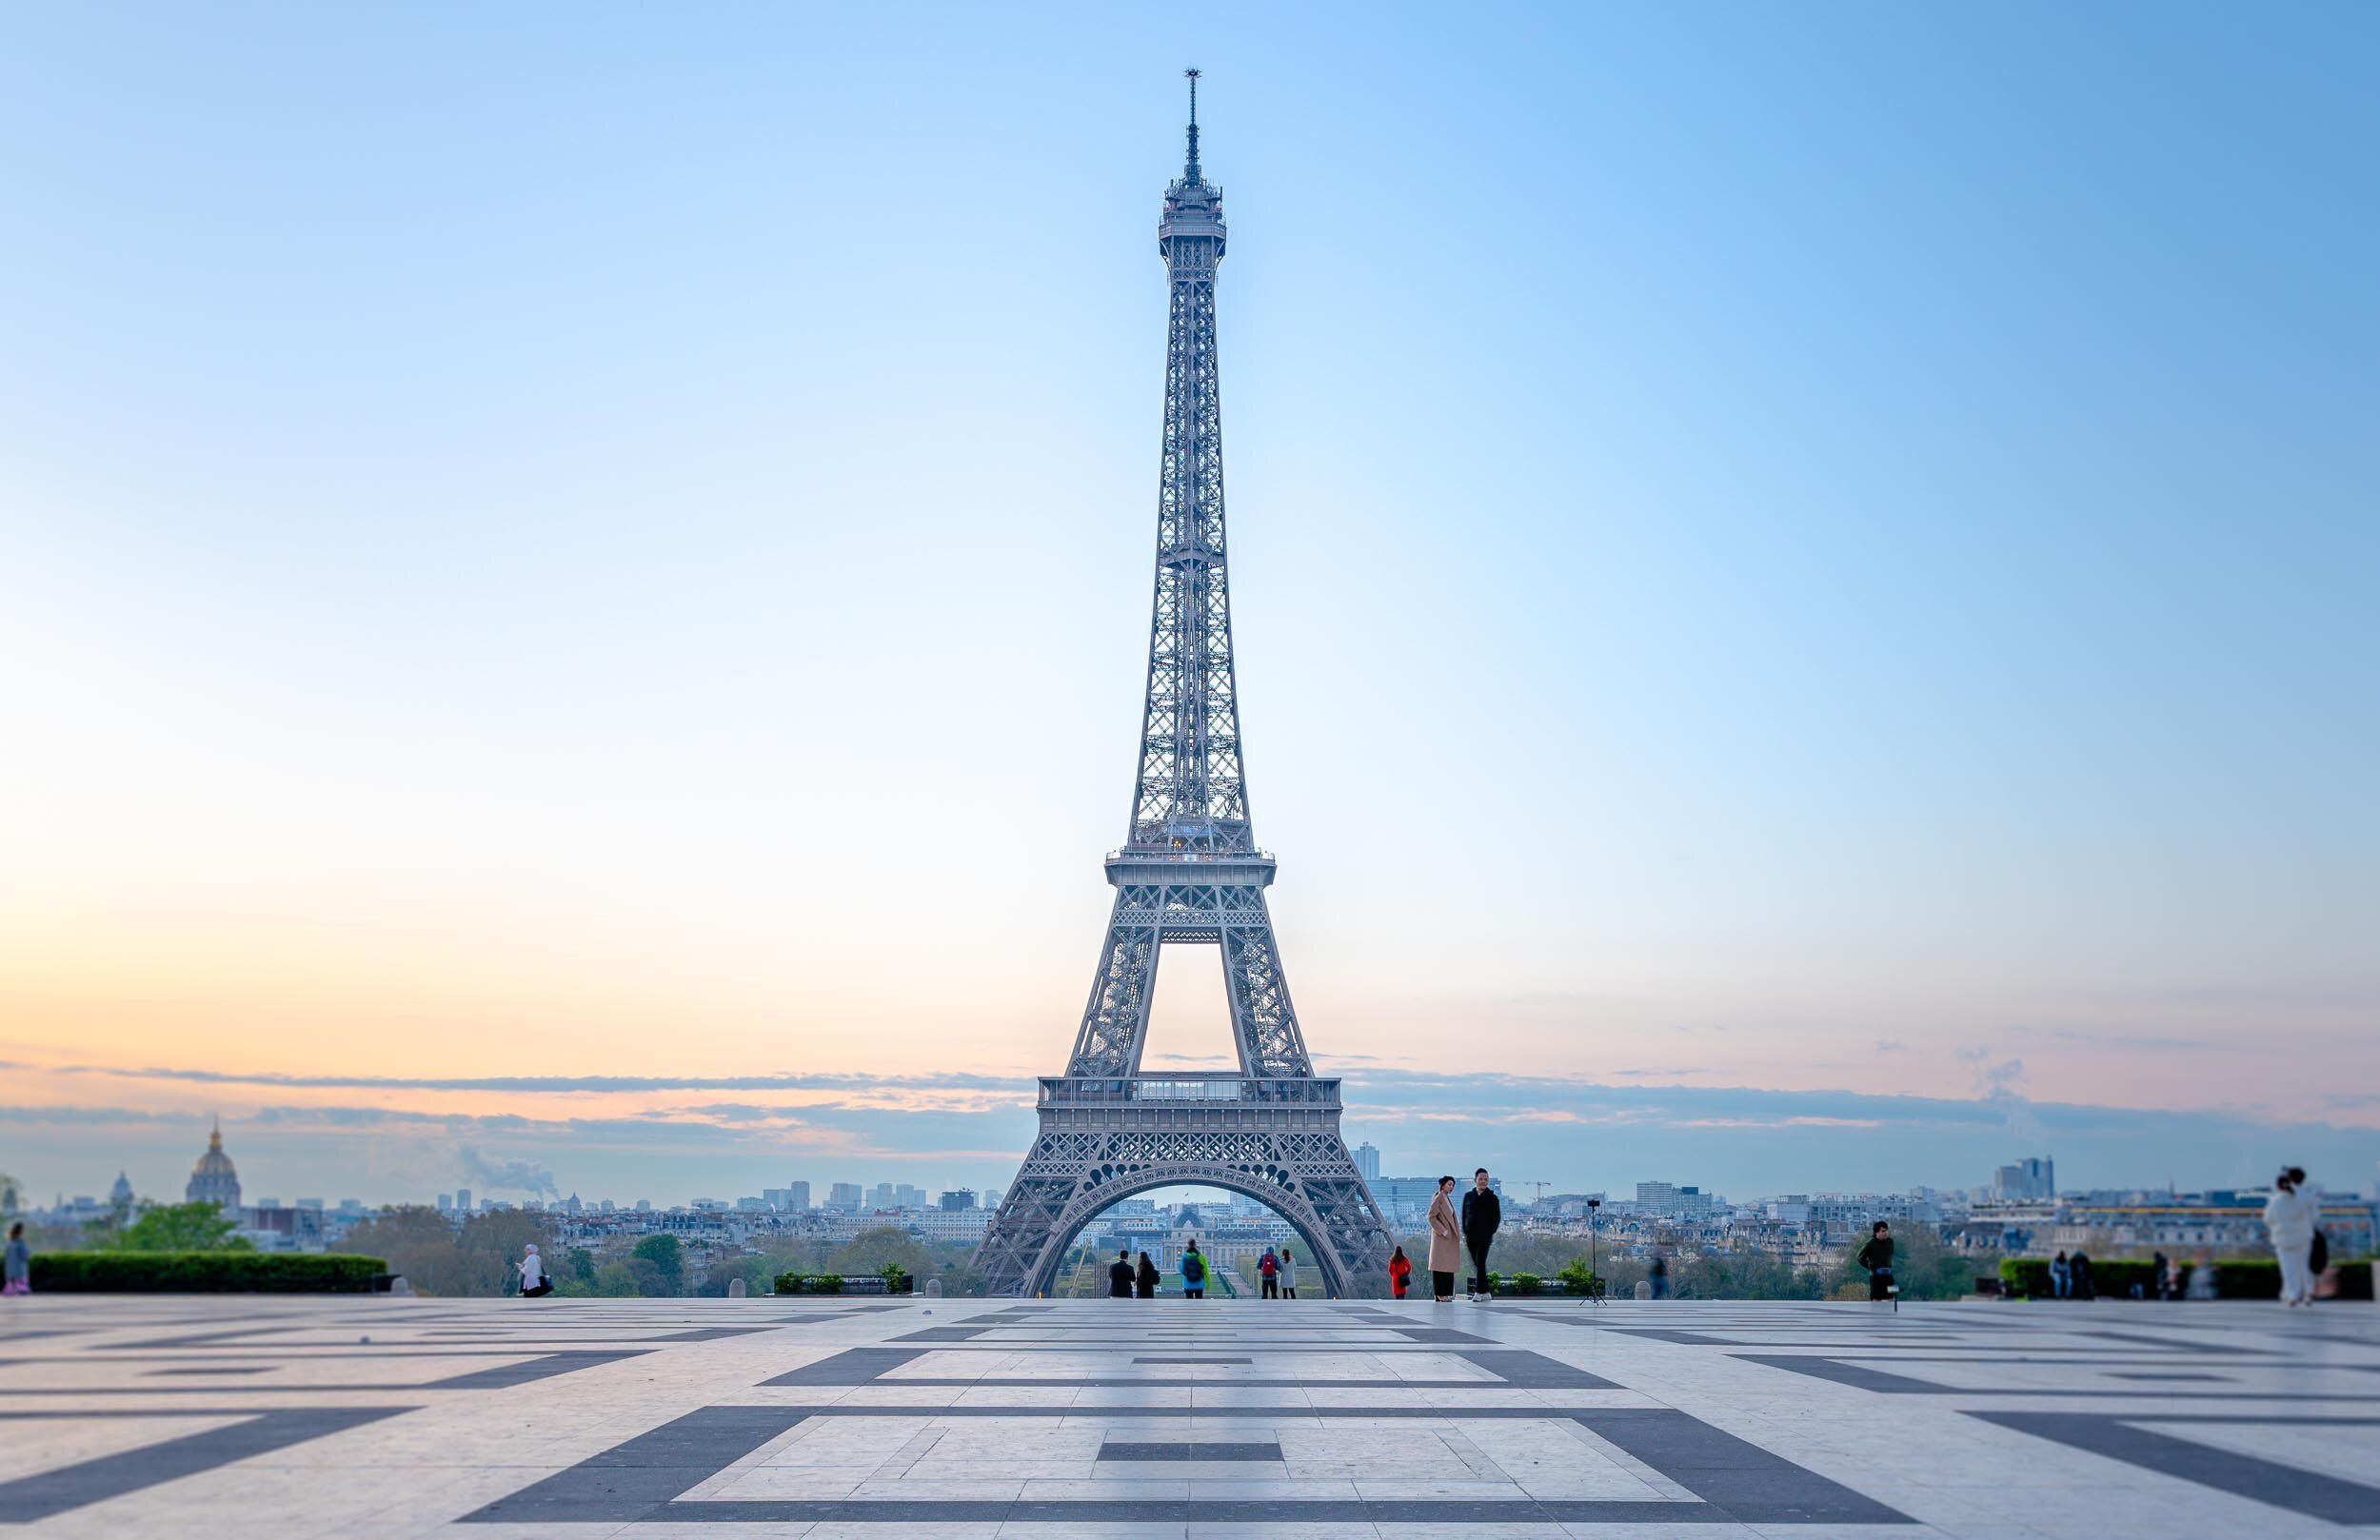
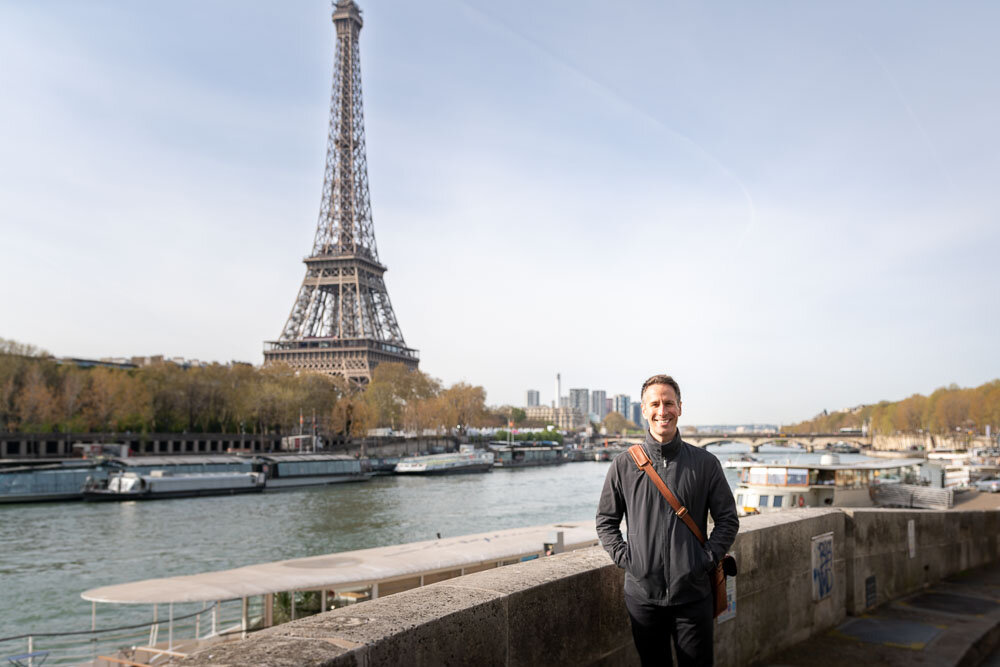
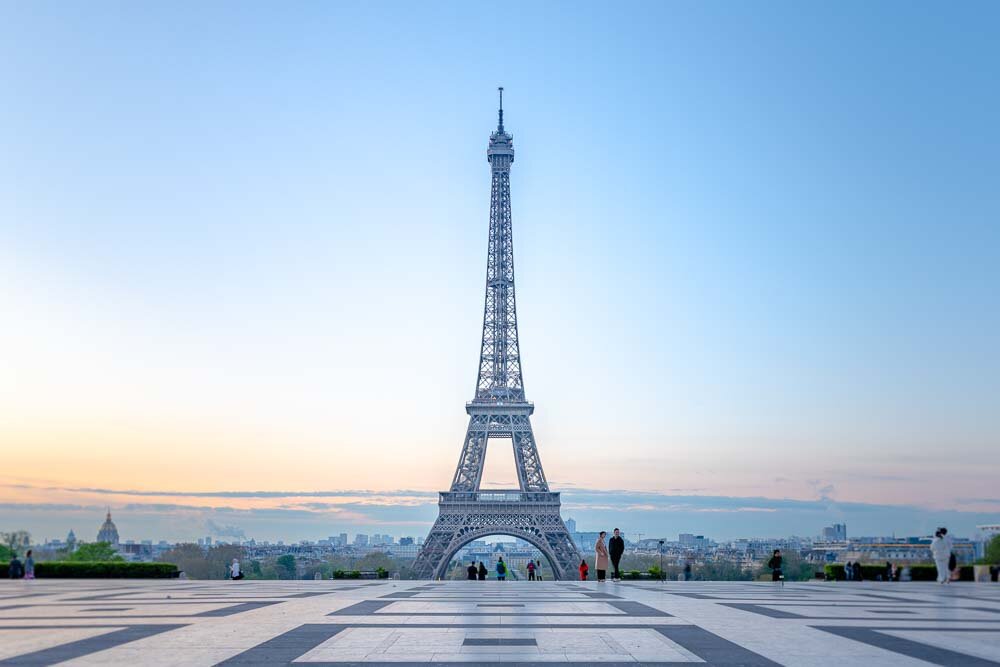
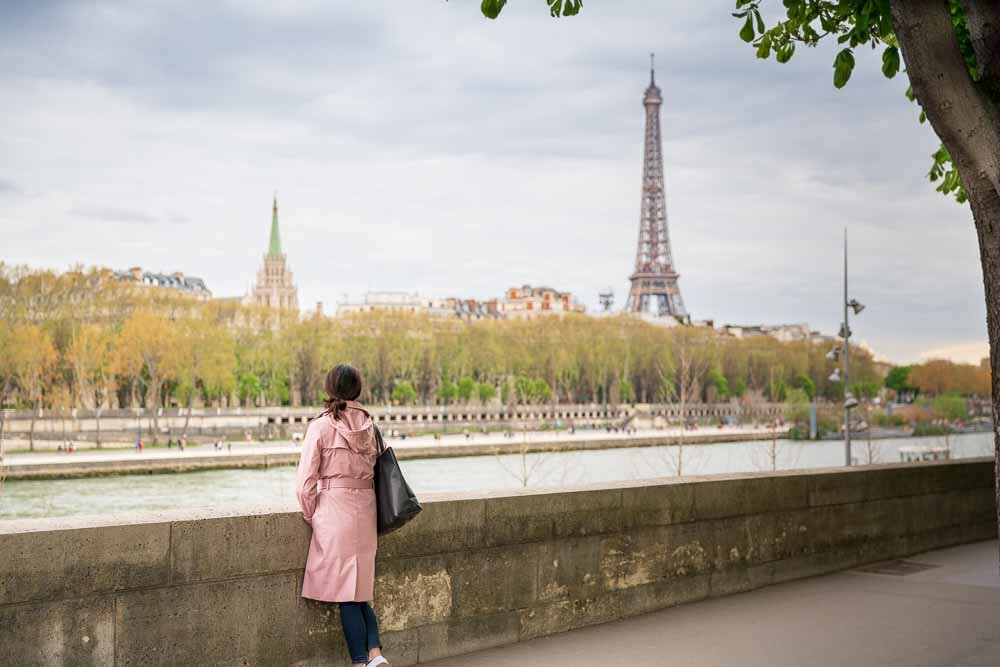
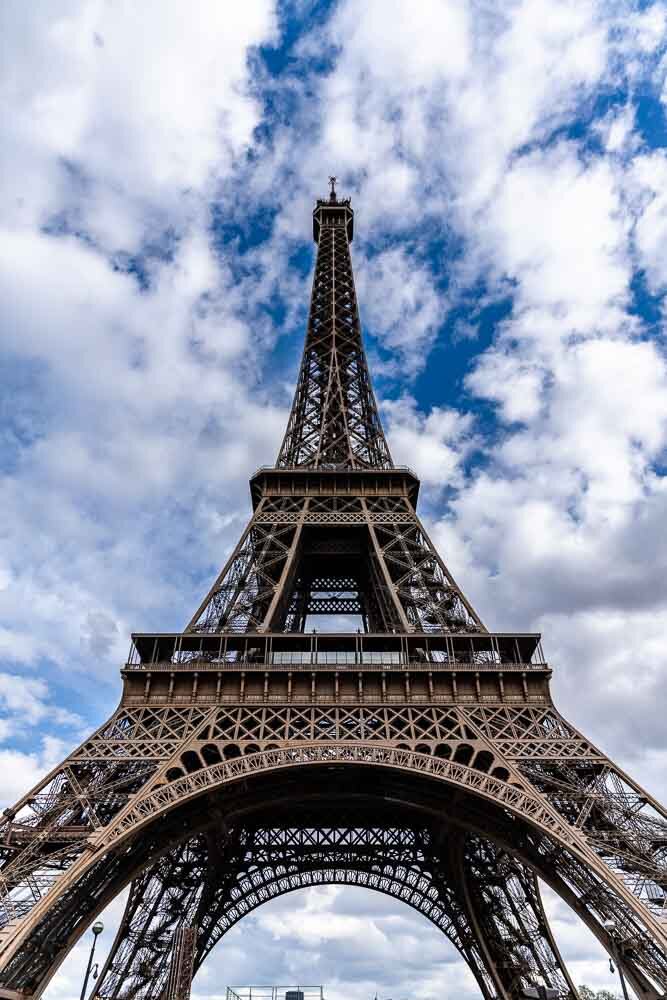
You have two choices: go to the Eiffel Tower or, wherever you find yourself in the city, look up. Both are great.
If you want some alone time with her, you best go at dawn. The second image here—the blue one—was taken at 7:30am local time.
Arc de Triomphe
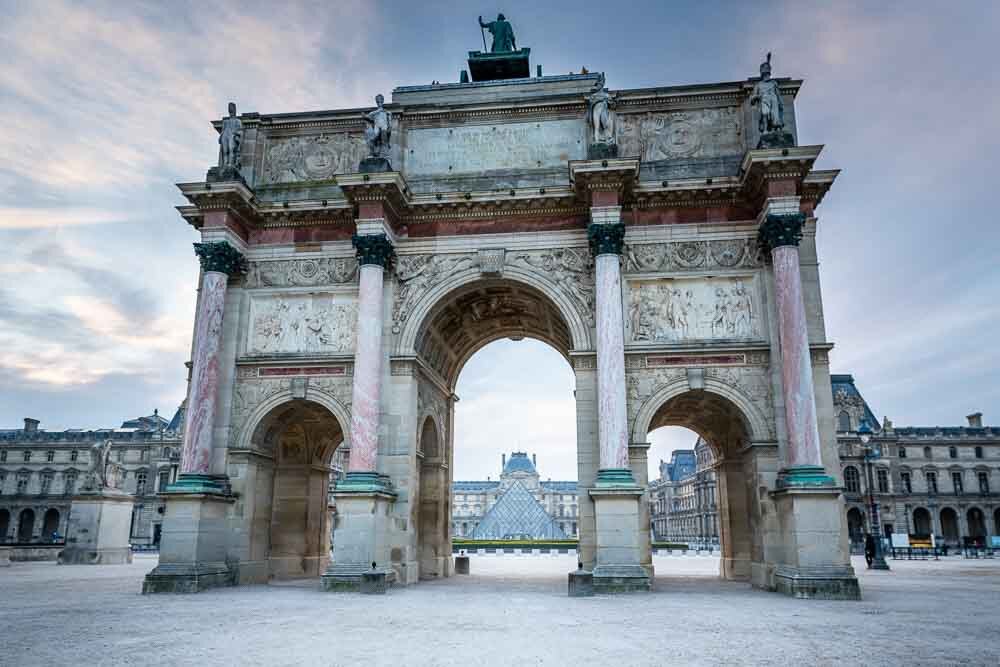
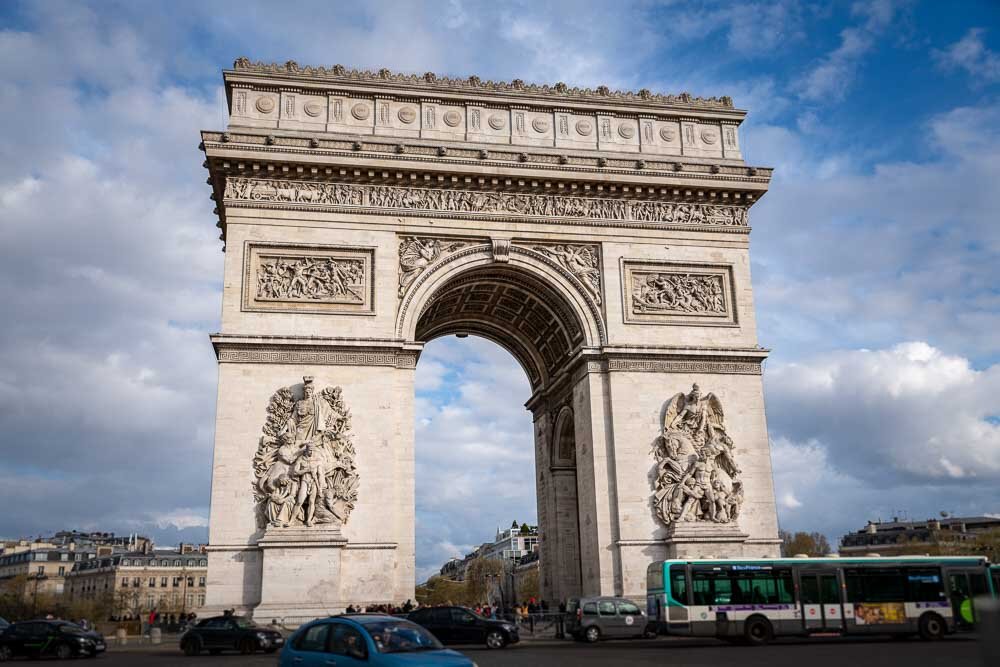
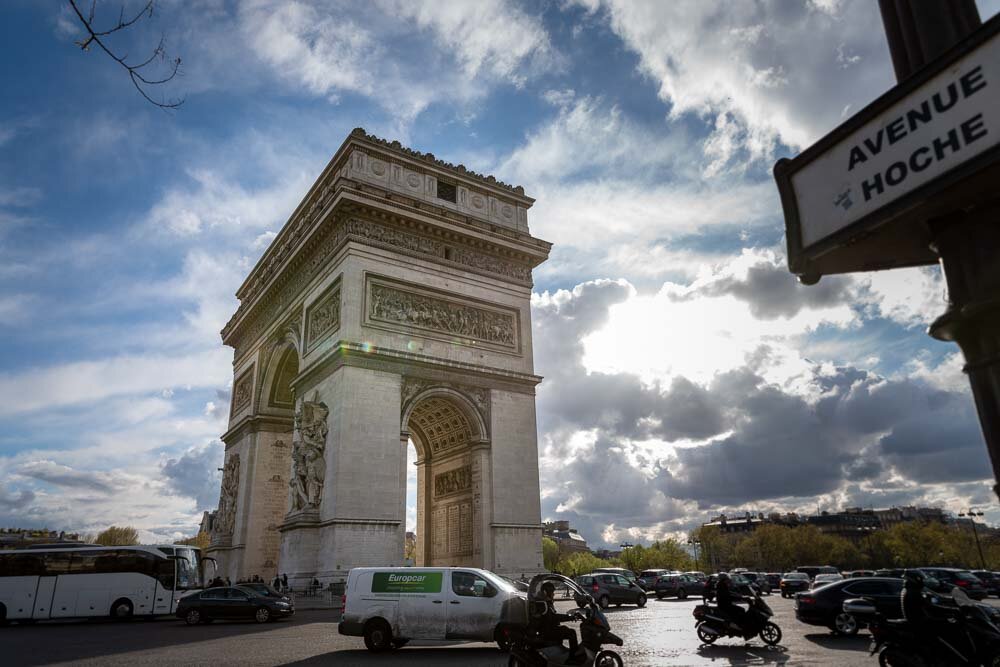
I didn’t think the Arc was going to be cool. I was wrong. It’s pretty impressive up close. I’m kicking myself for not going up into it and taking a picture of the city. The views I’ve seen on other photography websites are beautiful.
Before you go up, you can check the wait times here.
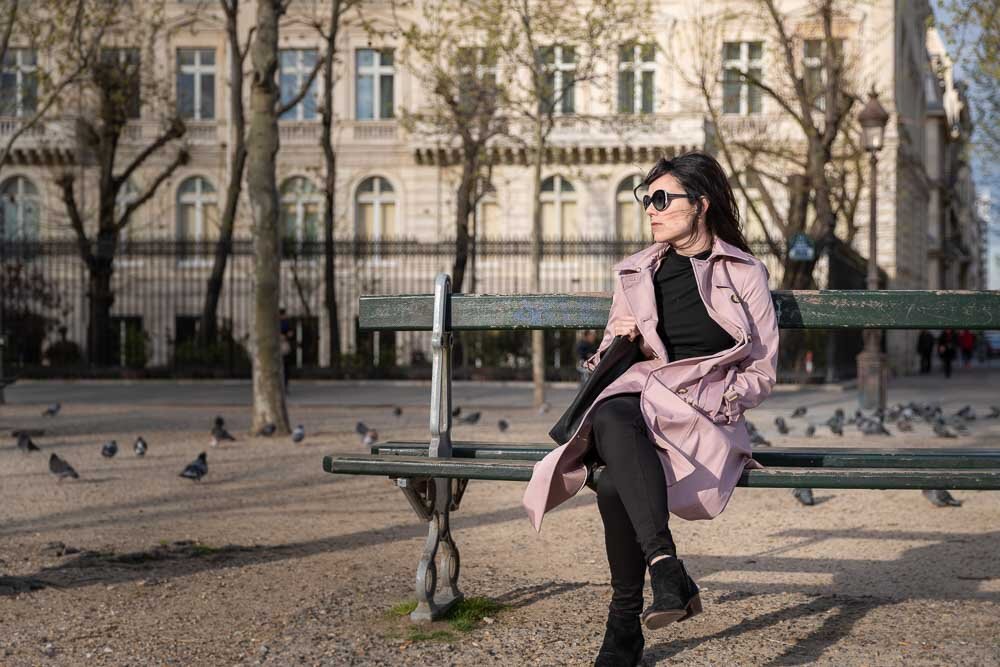
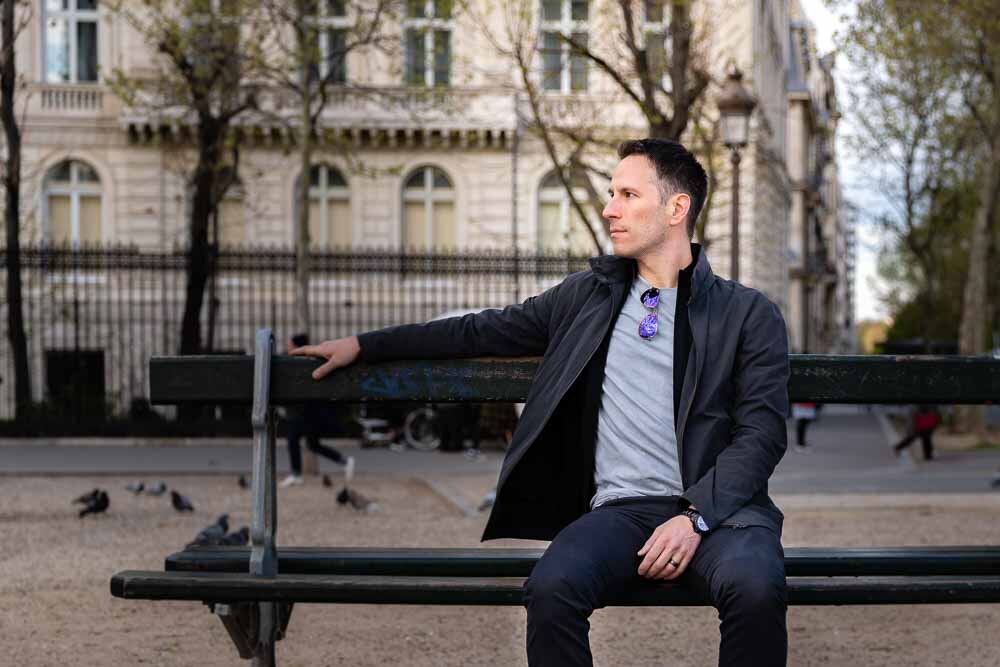
The Arc is in the middle of a giant traffic circle connecting 12 streets. You can sit down and watch the cars and busses do their dance. During red lights, you can take angsty photos like we did.
Jardin de Tuileries
(Tuileries Garden)
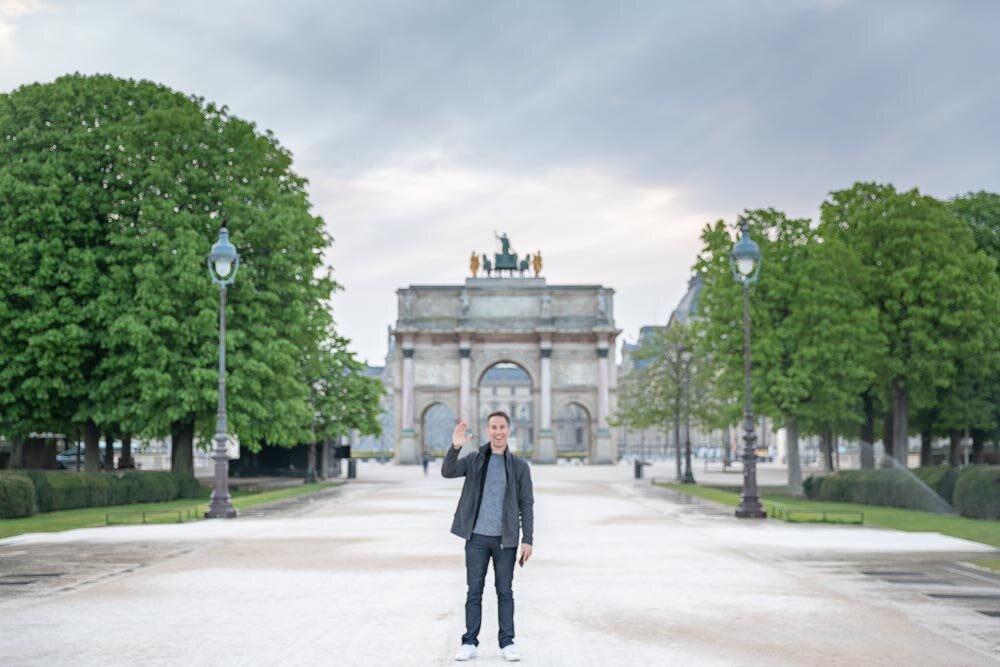
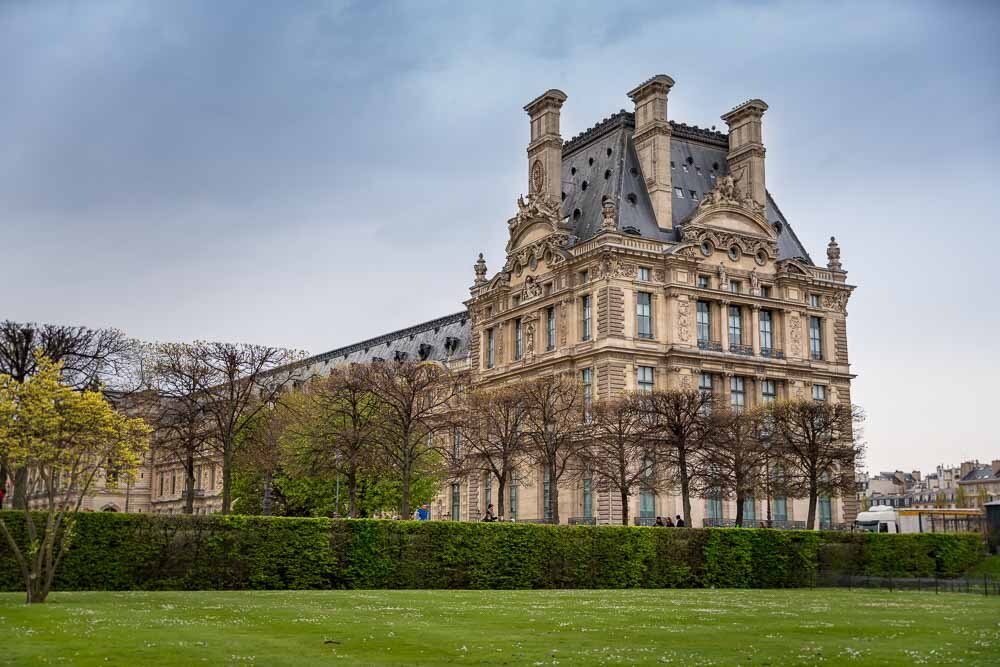
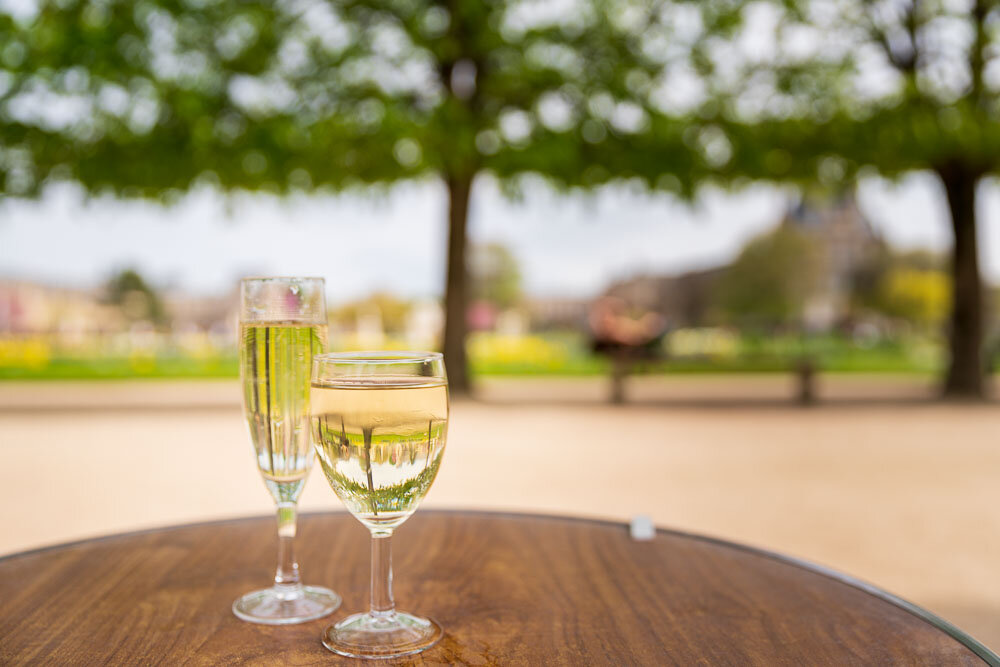
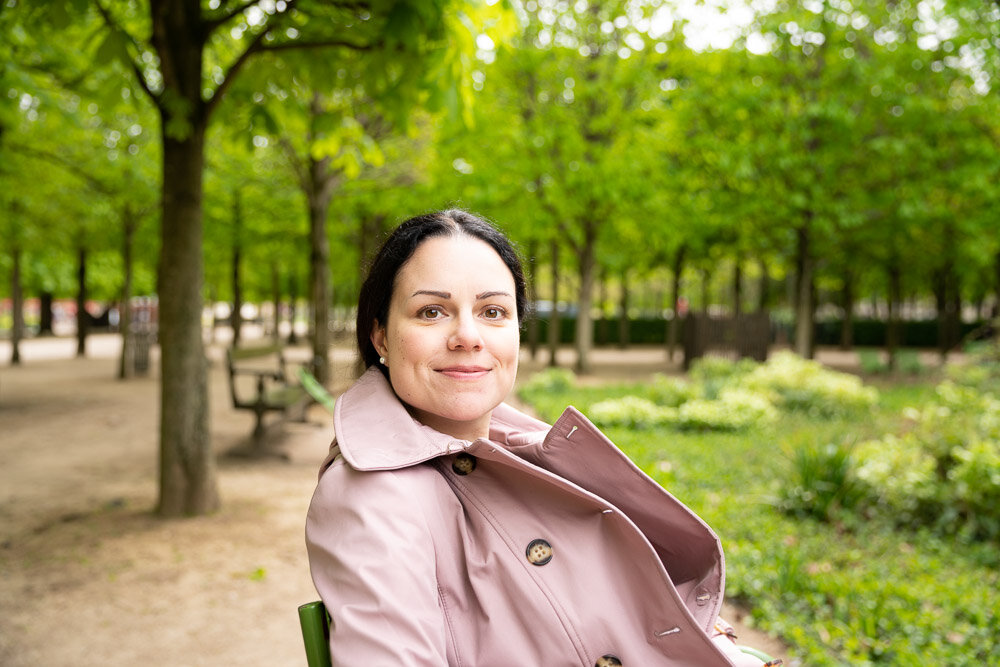
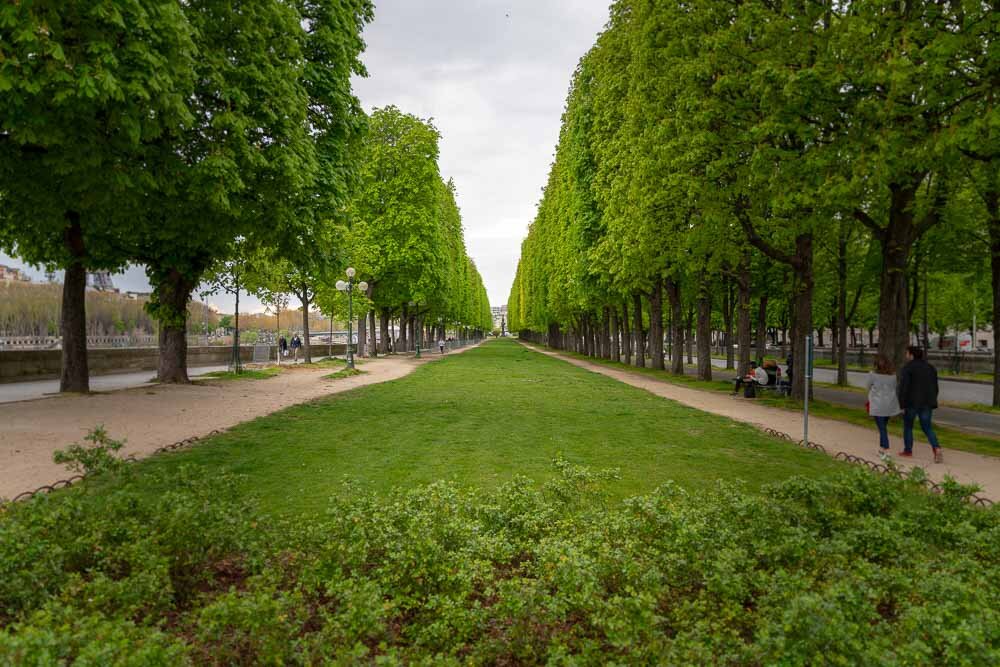
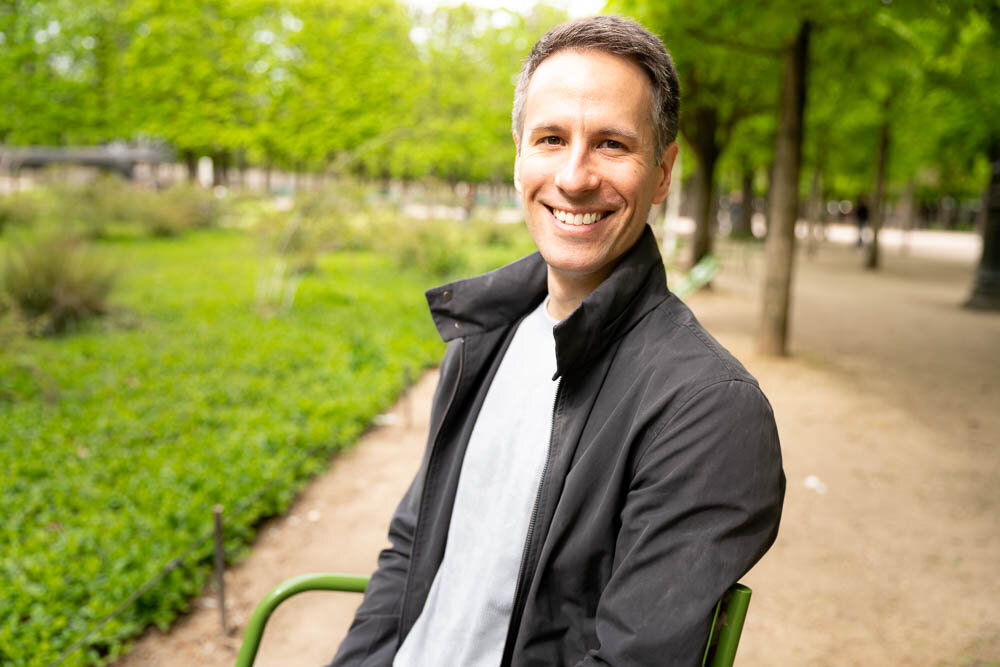
This is one of the most beautiful parks/gardens I’ve ever seen. Go here. Have wine. Be happy.

Le Village Royal
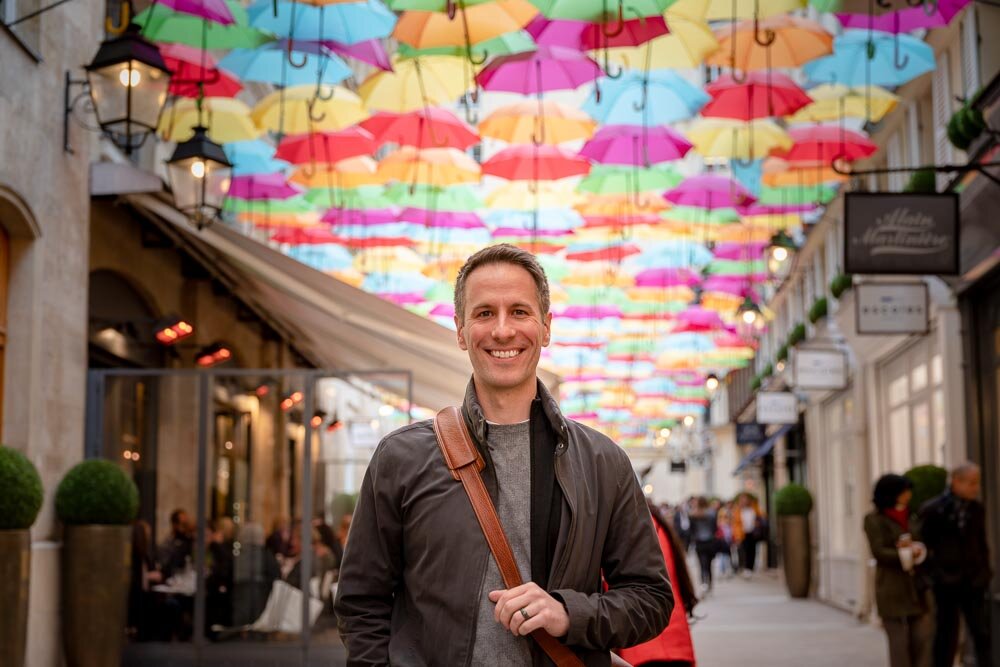
In general, pretty places are crowded. And everywhere in Paris is pretty. Ergo, everywhere in Paris is crowded. But if you’re patient you can find a break in the instagrammer traffic and get yourself a nice little snapshot. We popped into Le Village Royal—an outdoor mall—on our afternoon walk back to our hotel. It wasn’t easy snapping these two shots among all the other people taking their obligatory “grab the umbrella” picture—especially considering they were the only thing between us and getting back to our hotel for happy hour.

Musèe d’Orsay
Wiff and I aren’t museum people. Which is to say, we hate museums. We just don’t get them.
This is us in a museum:
”Huh. Okay.” [move to next piece]
”Mmm. Okay.” [move to next piece]
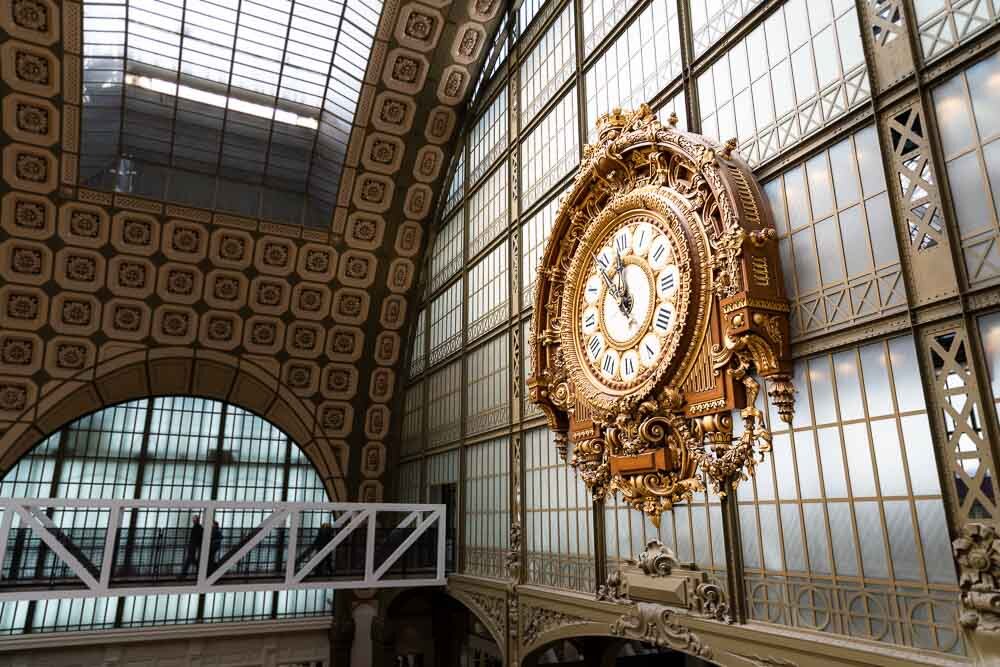
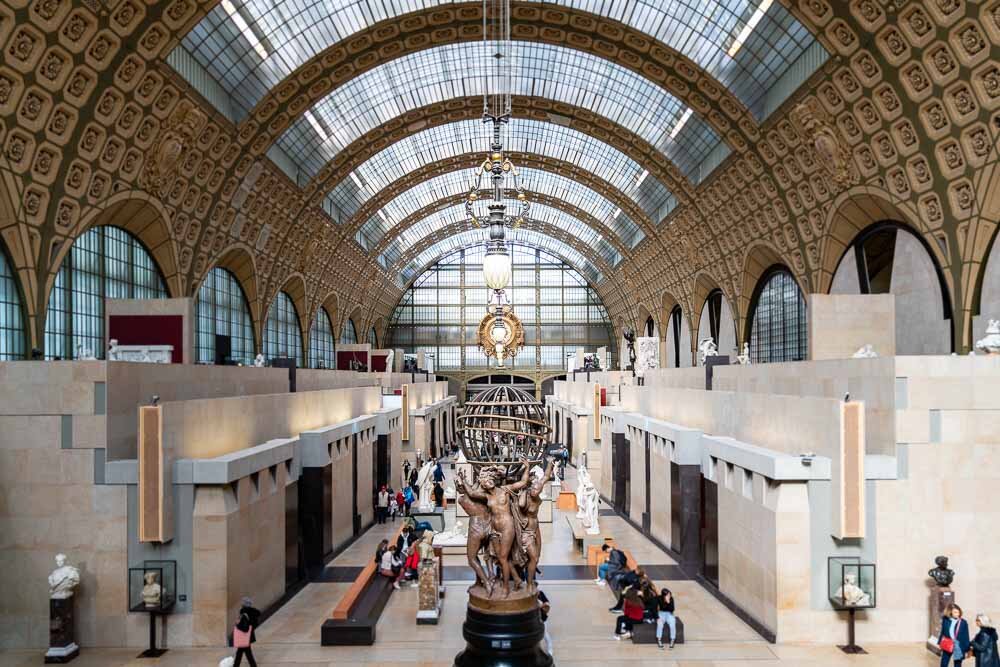
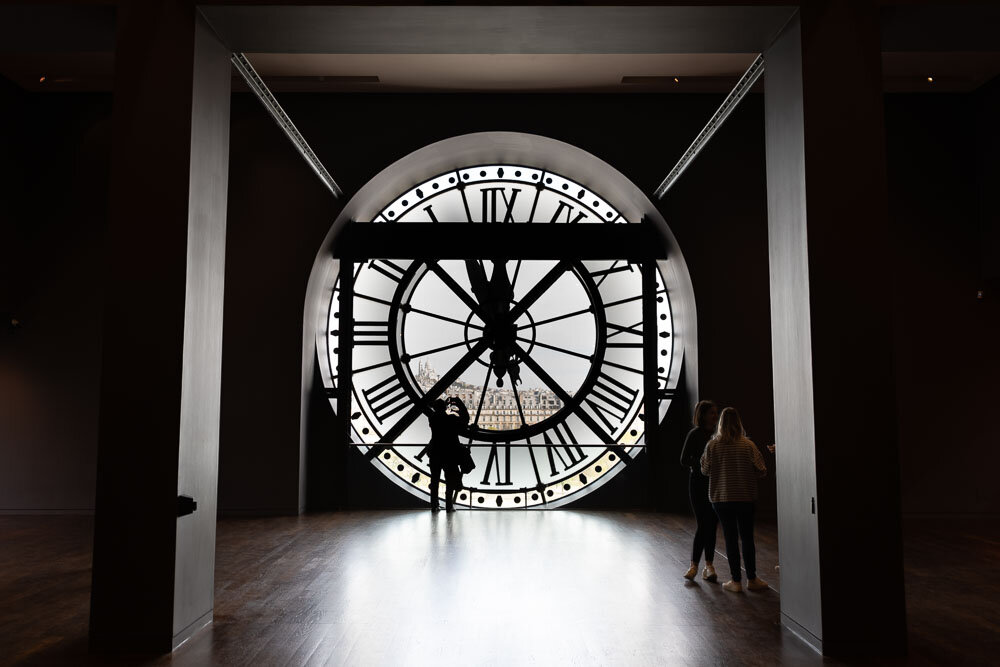
The Musèe d’Orsay was the only museum we visited. And even then, it was mainly for the architecture of the building itself. It’s beautiful. Do yourself a favor and look up Courbet’s L'origin du Monde.
Sacré-Cœur
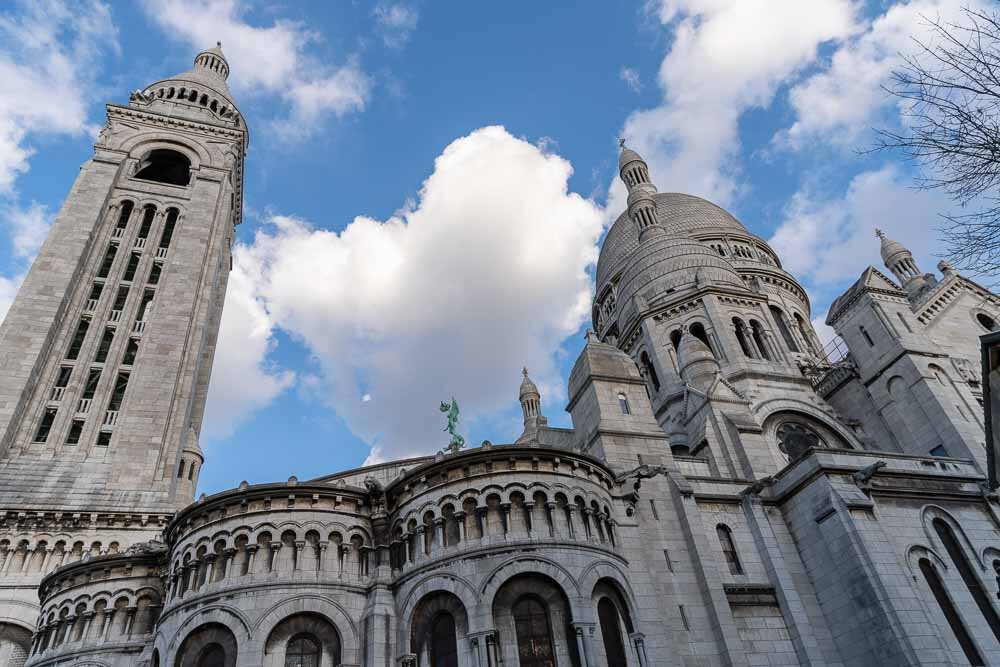
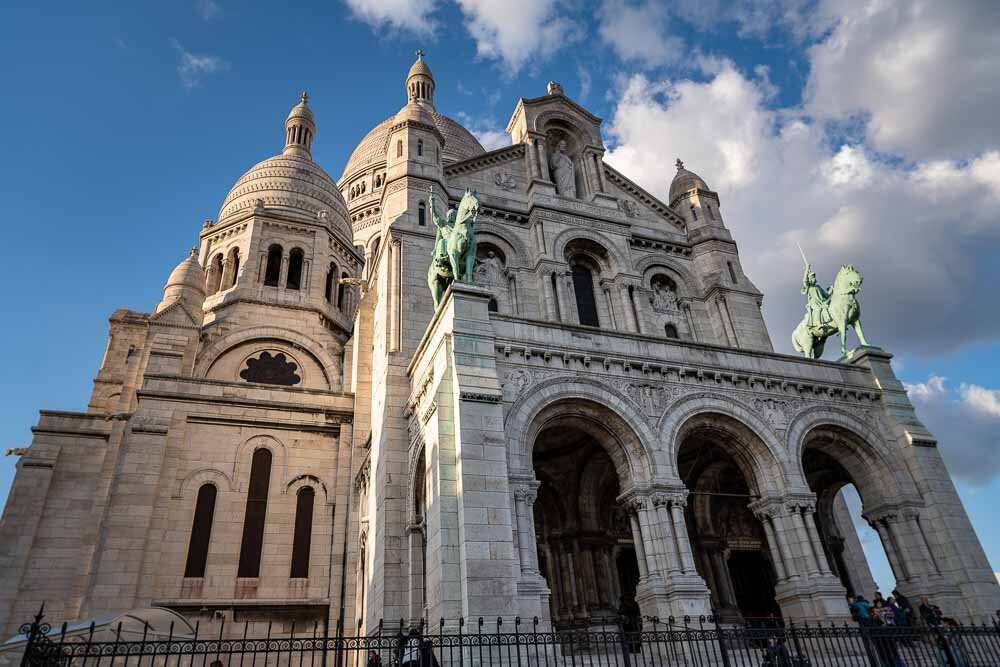
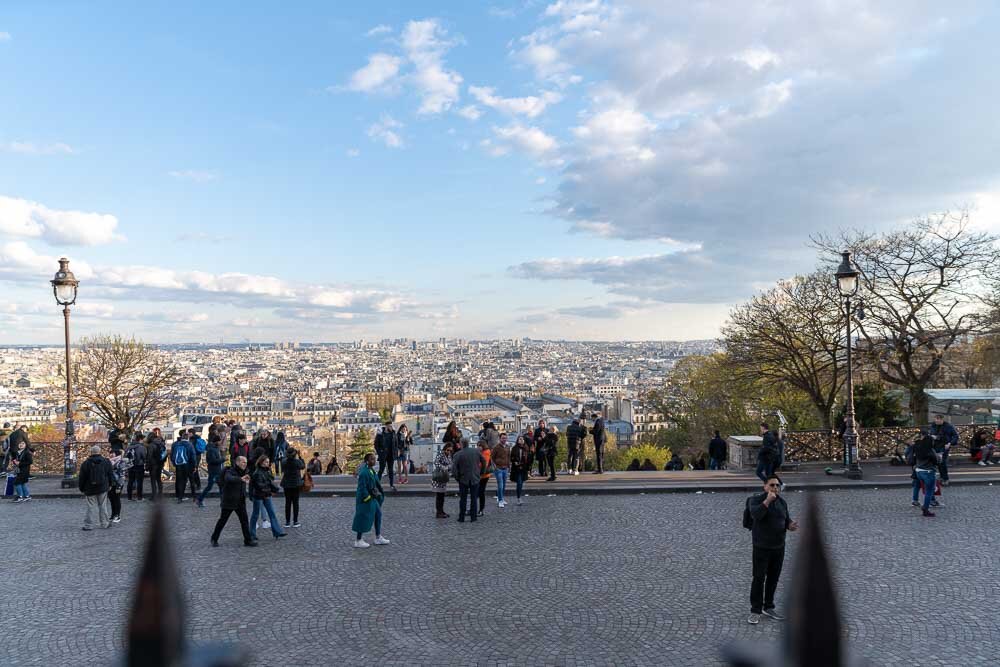
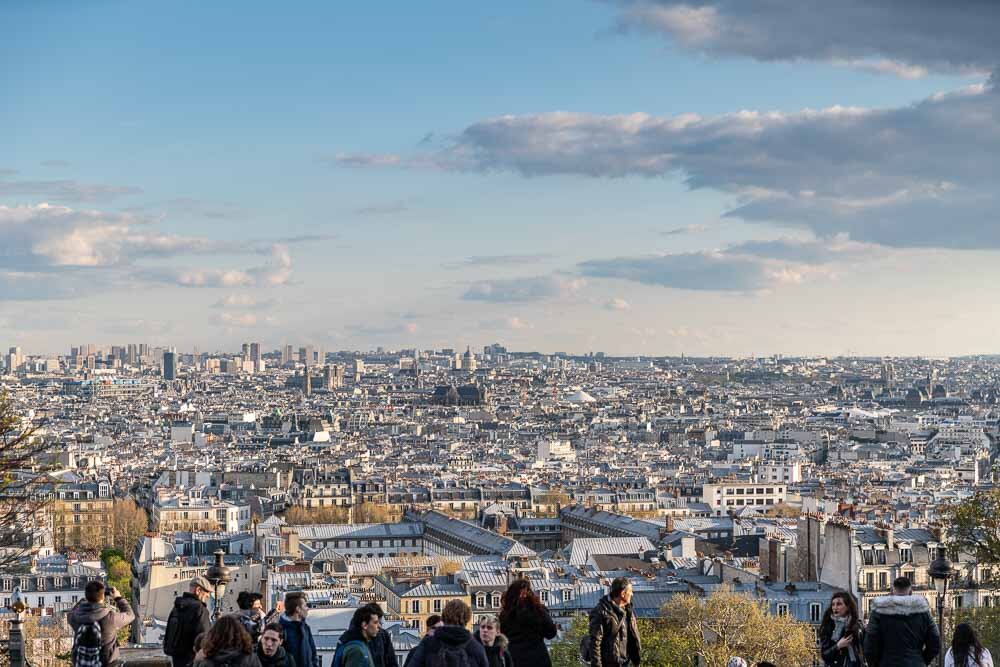
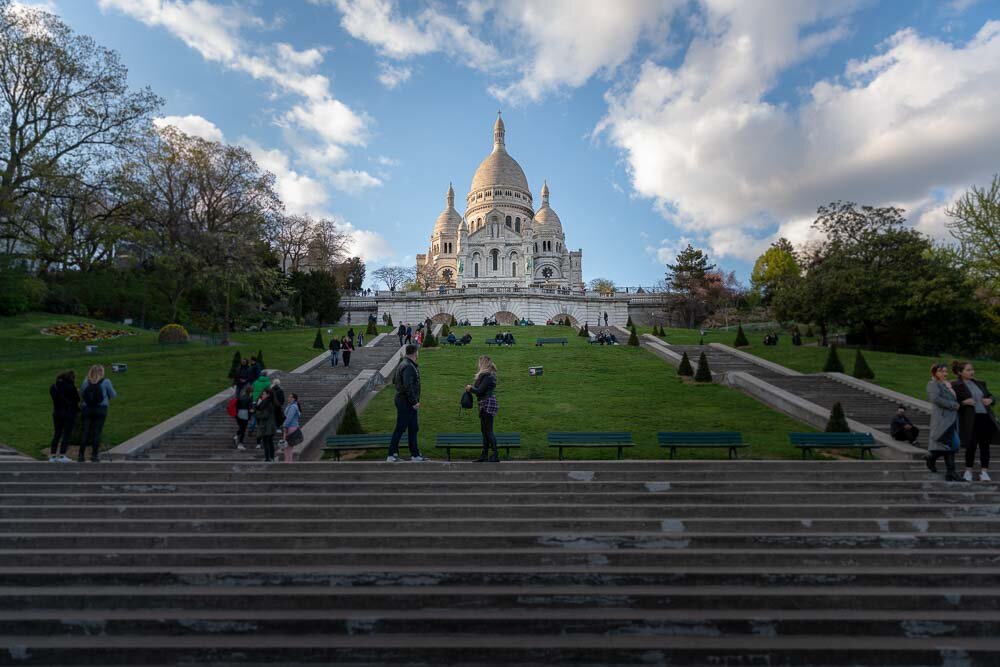
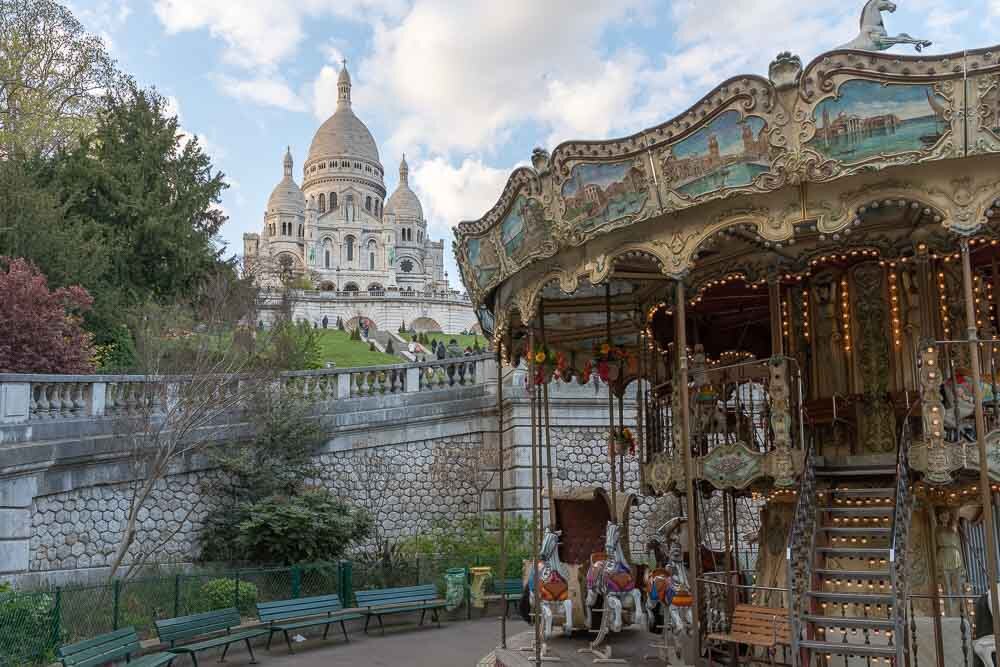
The structure itself is a bit bulbous, but the views are pretty cool. I read AFTER I’d left that you can go up to the top of the Coeur, which I’d imagine would make for a much better view.
I hope to god that the creepy carousel in the park at the base of Le Coeur is just down for the season. Rundown carousels always freak me out. 🎶…do DO do doo do Do do doo…🎶
How to Photograph the NYC Skyline and Statue of Liberty...FOR FREE!
Well, it had to happen eventually. I finally made it to Staten Island.
It was the last NYC borough to check off the list. I’d been putting it off for ages because, for as long as I’ve lived in New York, I’ve never heard a compelling reason to visit Staten Island.
I live in Manhattan.
I’ve been to Queens [I was lost] and Brooklyn [to check on the hipsters].
And I’d been to the Bronx a few times: once to watch a Yankees game; once to tour Yankee Stadium; and a third time to buy bootlegged booze from a large Dominican man named Lincoln who made the cash sale…in his Lincoln.
But never Staten Island.
Why?
Because there’s zero reason to go there—as explained to me by everyone I know who lives on Staten Island. Even people I don’t know who live on Staten Island would approach me on the street—with a twitchy eye and pained look on their face—and say, ”d-d-don’t…go there.”
So I never did.
Until yesterday.
I’d heard for years that the best part of Staten Island was the ferry. Mostly because you don’t really have to set foot on the island. But also because riders get great views of the city skyline and the Statue of Liberty.
For free!
And great views I got. And, being the selfless, amazing [and humble] person I am, I wrote a brief article detailing the experience so that you, Dear Reader, could follow in my footsteps.
How to get there
Find your way to Whitehall Terminal. This Google Maps link will take you there. The 1 train will drop you off right in front of the ferry terminal—(get off at the South Ferry Station stop. The R,W also stops nearby—get off at the Whitehall Street Station. The 4,5 drops you off a few blocks away (look for Bowling Green stop), but it’s just a short walk along Battery Park.
Or you can just tell your cabbie, “Staten Island Ferry, please!”
When to get there
Anytime! The ferry runs 24 hours a day, 7 days a week. I know I could have been a cool kid and just said 24/7, but I’m not a cool kid.
The best times for photographing the city and Statue of Liberty are sunrise and sunset, plus or minus an hour, for a few reasons.
For starters, there will be fewer people. Most tourists are on vacation and wake up on vacation time, between 9-11am local time. Add a few hours to get up and moving, and you’re looking at peak tourist time at 12-2pm local time. [I don’t know why I keep saying local time.]
But the most important reason is that sunrise and sunset will yield more beautiful photos. The light will be more interesting, the shadows will be more pleasing—everything is just a little better when the sun is at a dramatic angle. Even before sunrise and after sunset, the city looks marvelous.
How to Ride The Ferry
When you arrive at the terminal, you’ll see a giant sign that reads “STATEN ISLAND FERRY.” If it’s not abundantly clear already, go in the doors beneath that sign.
Congratulations. You’re there.
Really.
Now…wait for the next ferry! At most it’ll be 10-20 minutes between ferry rides.
Even at off-peak times, everyone will start lining up by the doors. Let them. They’re doing that because they want to grab a seat. And you, dear reader, don’t care about a seat since you won’t be sitting.
Someone will announce something over the intercom. It will be unintelligible [they speak Staten Islandese], but the gist is something like “GO GO GO!” That’s your queue to wait for everyone to board the ferry. Hang back a bit if you don’t want to be stuck in the crowd.
But then get on the ferry eventually!
And then..just hang by the back doors. Seriously. Depending on the time of day and the size of the ferry—they run multiple sizes—the back door may be your only option for taking pictures. If the back is completely crowded and the front doors are open, that’s another option.
Once the boat is on its way, one of the crewmen will come back and remove the rope preventing you from going outside. That’s your queue to go outside and shoot!
What to shoot
The skyline and the Statue of Liberty. Both will be visible off the back of the boat. Or you could shoot people. [There’s probably a better way to say that… 😳]
How to shoot
At sunrise and sunset, you won’t have full light. You’ll still have enough to take great pictures, but you’ll want to make sure your lens is fast enough that you don’t have to increase your ISO too high.
I shot most of my dusk photos at 1/50 at f/2.8, ISO 320. If that’s Greek to you, don’t worry. Just shoot in A Mode (aperture priority mode), crank your aperture to the lowest number it allows, and let the camera take care of the rest.
I brought my Canon EF 24-70mm f/2.8L II USM [my favorite lens EVER] for this shoot. About 5 minutes after the ferry departs the dock, you’ll see the full skyline from the back of the boat, and you’ll be able to shoot in all your wide-angle glory. The shot at the top of the page, for instance, was shot at 24mm.
For the Statue, you’ll want to zoom in, otherwise she’ll just be a dainty, green speck on the water. The shot of her on this page was at 70mm and heavily cropped.
And then?
A few minutes before docking on the Staten Island side, you’ll hear another announcement. It’ll sound something like “PUMBLY PUM PUM PAWPERAYY.” Translating from Staten Island-ese, they’re saying “We’re about to dock. Get ready to get of the boat, make a U-turn, and head home!”
And that’s exactly what you should do. Everyone will line up to get off the boat, and again, you can hang towards the back if crowds aren’t your thing…
You’ll dock.
You’ll deboat [not a word].
Go into the terminal, hang a left, walk past a few vending areas, and then hang another left to enter the waiting area. Wait for the next boat (likely the same boat you just rode), and head home!
And don’t forget!
On your way home, you’ll have another chance to shoot the city AND the Statue. Head to the front of the boat and open a door. It’s okay to open on of the doors even if they have the ropes up preventing you from going outside. [Everybody does it.]
Questions? Comments? Concerns? Drop them in the comments below!
Don’t forget to subscribe to my newsletter. It’s funny.
Just The [camera] Tip: How to Take Pictures with Blurry Backgrounds
This post may contain references to products from one or more of our advertisers. I may receive compensation when you click on links to those products.
If you’re anything like me [handsome, worldly, and humble] you love taking great pictures. I love taking pictures with blurry backgrounds because it helps separate my subject from the background. Also because it just looks pretty.
But if you’re new to the world of big-boy and big-girl (DSLRs and Mirrorless) cameras, achieving that effect is tricky.
Here’s a my quick tip for making sure you nail your blurry background.
If you don’t want to shoot full manual—M Mode—shoot in A mode.
Not any mode. A mode. A mode is also known as aperture priority mode. Don’t worry what that means. You don’t need to know to shoot great photos.
Crank down your aperture. Depending on your camera, this will be in different spot. Refer to the manual. I know, super boring.
1.4, 1.8, or 2.8 is what you’re going for. If your lens came with your camera, the lowest number may be 3.5 or 5.6. That’s okay too. The point is, find whatever dial controls your aperture, and crank that puppy down.
Here’s an example of the same photo taken with two different apertures.
Do you see how in the NOT BLURRY photo, you can still make out words and letters in the background? The lights look sharper, the rims of the car are fairly sharp.
But check out that BLURRY photo. The words, lights, and rims are all blurred, drawing your attention back to my model [Wiff].
Here’s a closer look:
So there you have it. A quick tip on what camera settings will lead to a blurrier background.
Now that you’ve mastered shooting with a blurry background, you may want to consider how you’ll edit those sweet sweet new shots. I use Adobe Lightroom for almost all of my photo editing. Check it out here.
If you enjoyed or found this helpful…
…don’t forget to leave a comment and subscribe below!
How 5 Minutes Editing a Photo Will Make You Look a Photography Wizard
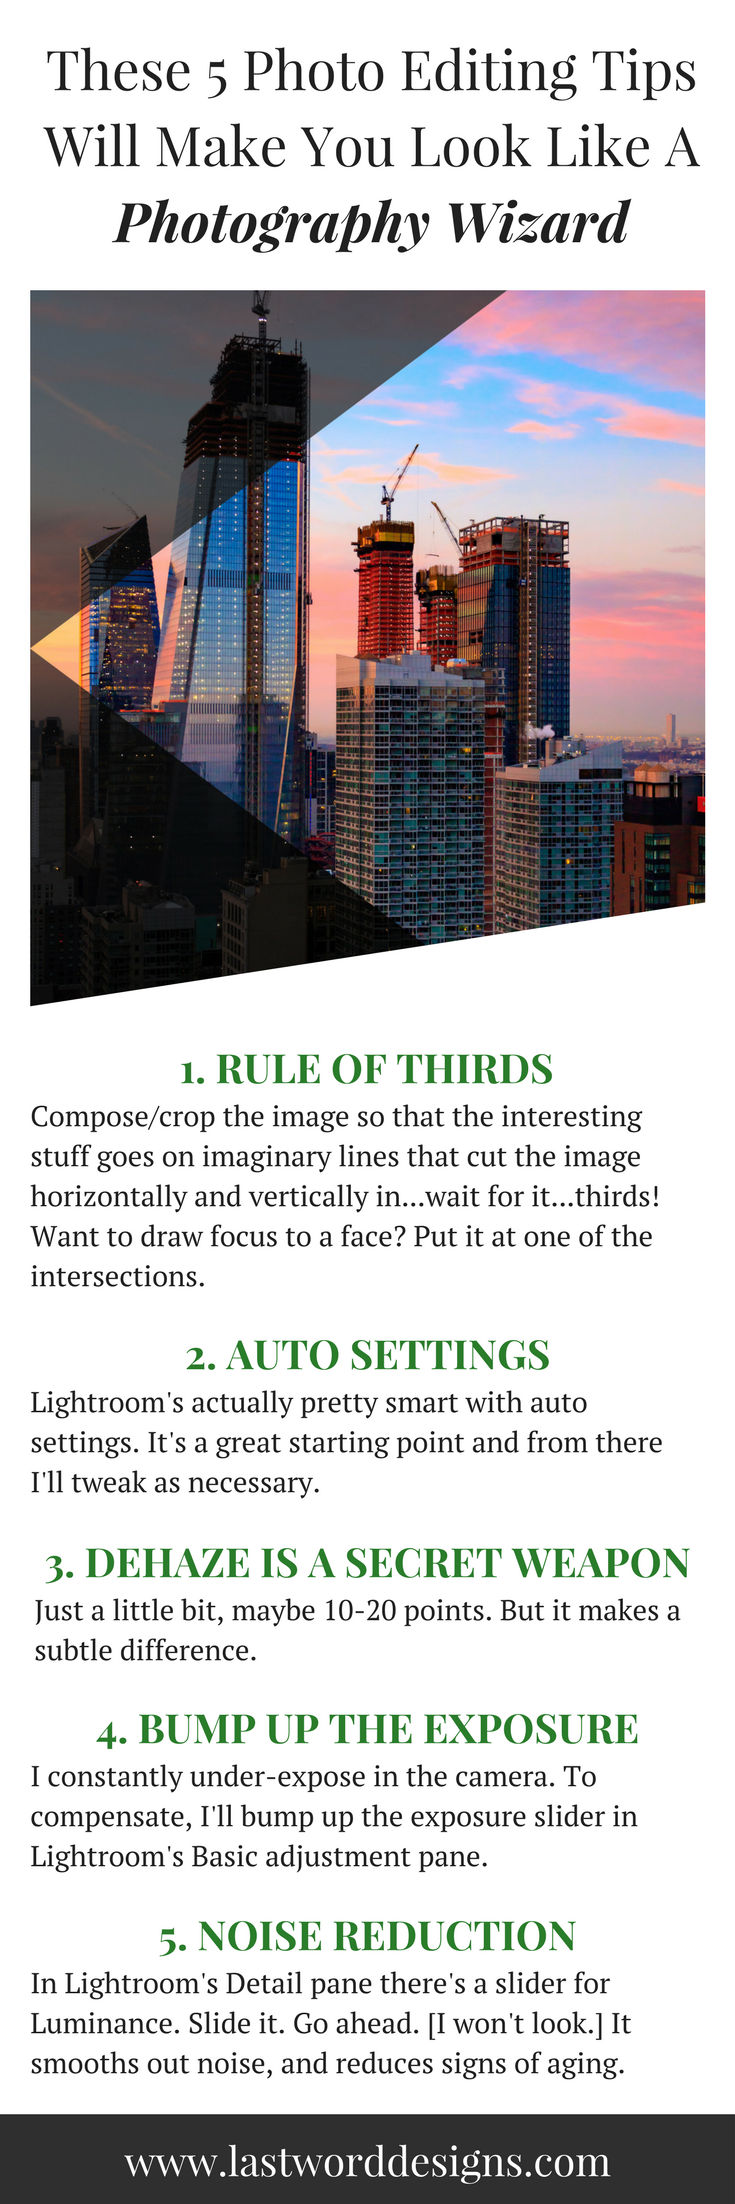
I took that out my window the other day. But it didn't come out of the camera looking like that. It was dark with little dynamic range. Basically everything was dark and bleh. But I liked the composition so I decided to spruce it up a bit.
Here's how I did it.
1. Rule of Thirds
I don't know what genius came up with the rule of thirds but, for the sake of brevity, let's just say it was me. [Don't fact check that.]
"What is the rule of thirds?" you might ask.
It's a way to make your image more interesting.
Lemme show you...
Check out this screenshot from Lightroom.
Can you see those faint gray lines forming a grid? They cut the image horizontally and vertically in...wait for it... thirds??
Those are the rule of third guides.
The theory goes that you should compose the image so that the interesting stuff goes on the lines.
Want to draw focus to a face? Put that face at one of the intersections.
How about a building? Put it on a line.
2. Auto Settings Are Your Friend
As a guy who always shoots in Manual mode, it pains me to click the Auto Settings button in Adobe Lightroom. [So I hit Cmd+U like a goddamn baller.]
Lightroom's actually pretty smart with auto settings. It's a great starting point and from there I'll tweak as necessary.
3. Dehaze is my secret weapon
I've started dehazing most photos. Just a little bit, maybe 10-20 points. But it makes a subtle difference.
4. Bump up the exposure
I'm constantly under exposing stuff in the camera. [Translation, pictures come out of the camera darker than I like.]
To compensate, I bump up the exposure slider in Lightroom's Basic adjustment pane.
...but...
BUT...
You can only go so far before you start awakening the little noise goblins in your image. These little buggers come out when you lighten an image.
See here:
And there's only one way to combat those buggers...and it's:
5. Noise Reduction
Depending on how much noise you introduced into your picture by increasing the Exposure slider, you'll may have to contend with the noise goblins. They are tricky little bastards. But a little noise reduction can take care of them [noise goblins? how much wine have I had??]
In Lightroom's Detail pane, in the Noise Reduction section, there's a slider for Luminance. Slide it. Go ahead. I won't look. You can slide with your other hand too for all I care. But just try it.
You will lose some detail when you use noise reduction. That's the tradeoff... But I'm okay with more pillowy clouds in this image if it means getting rid of the noise in the sky.


