Recipes
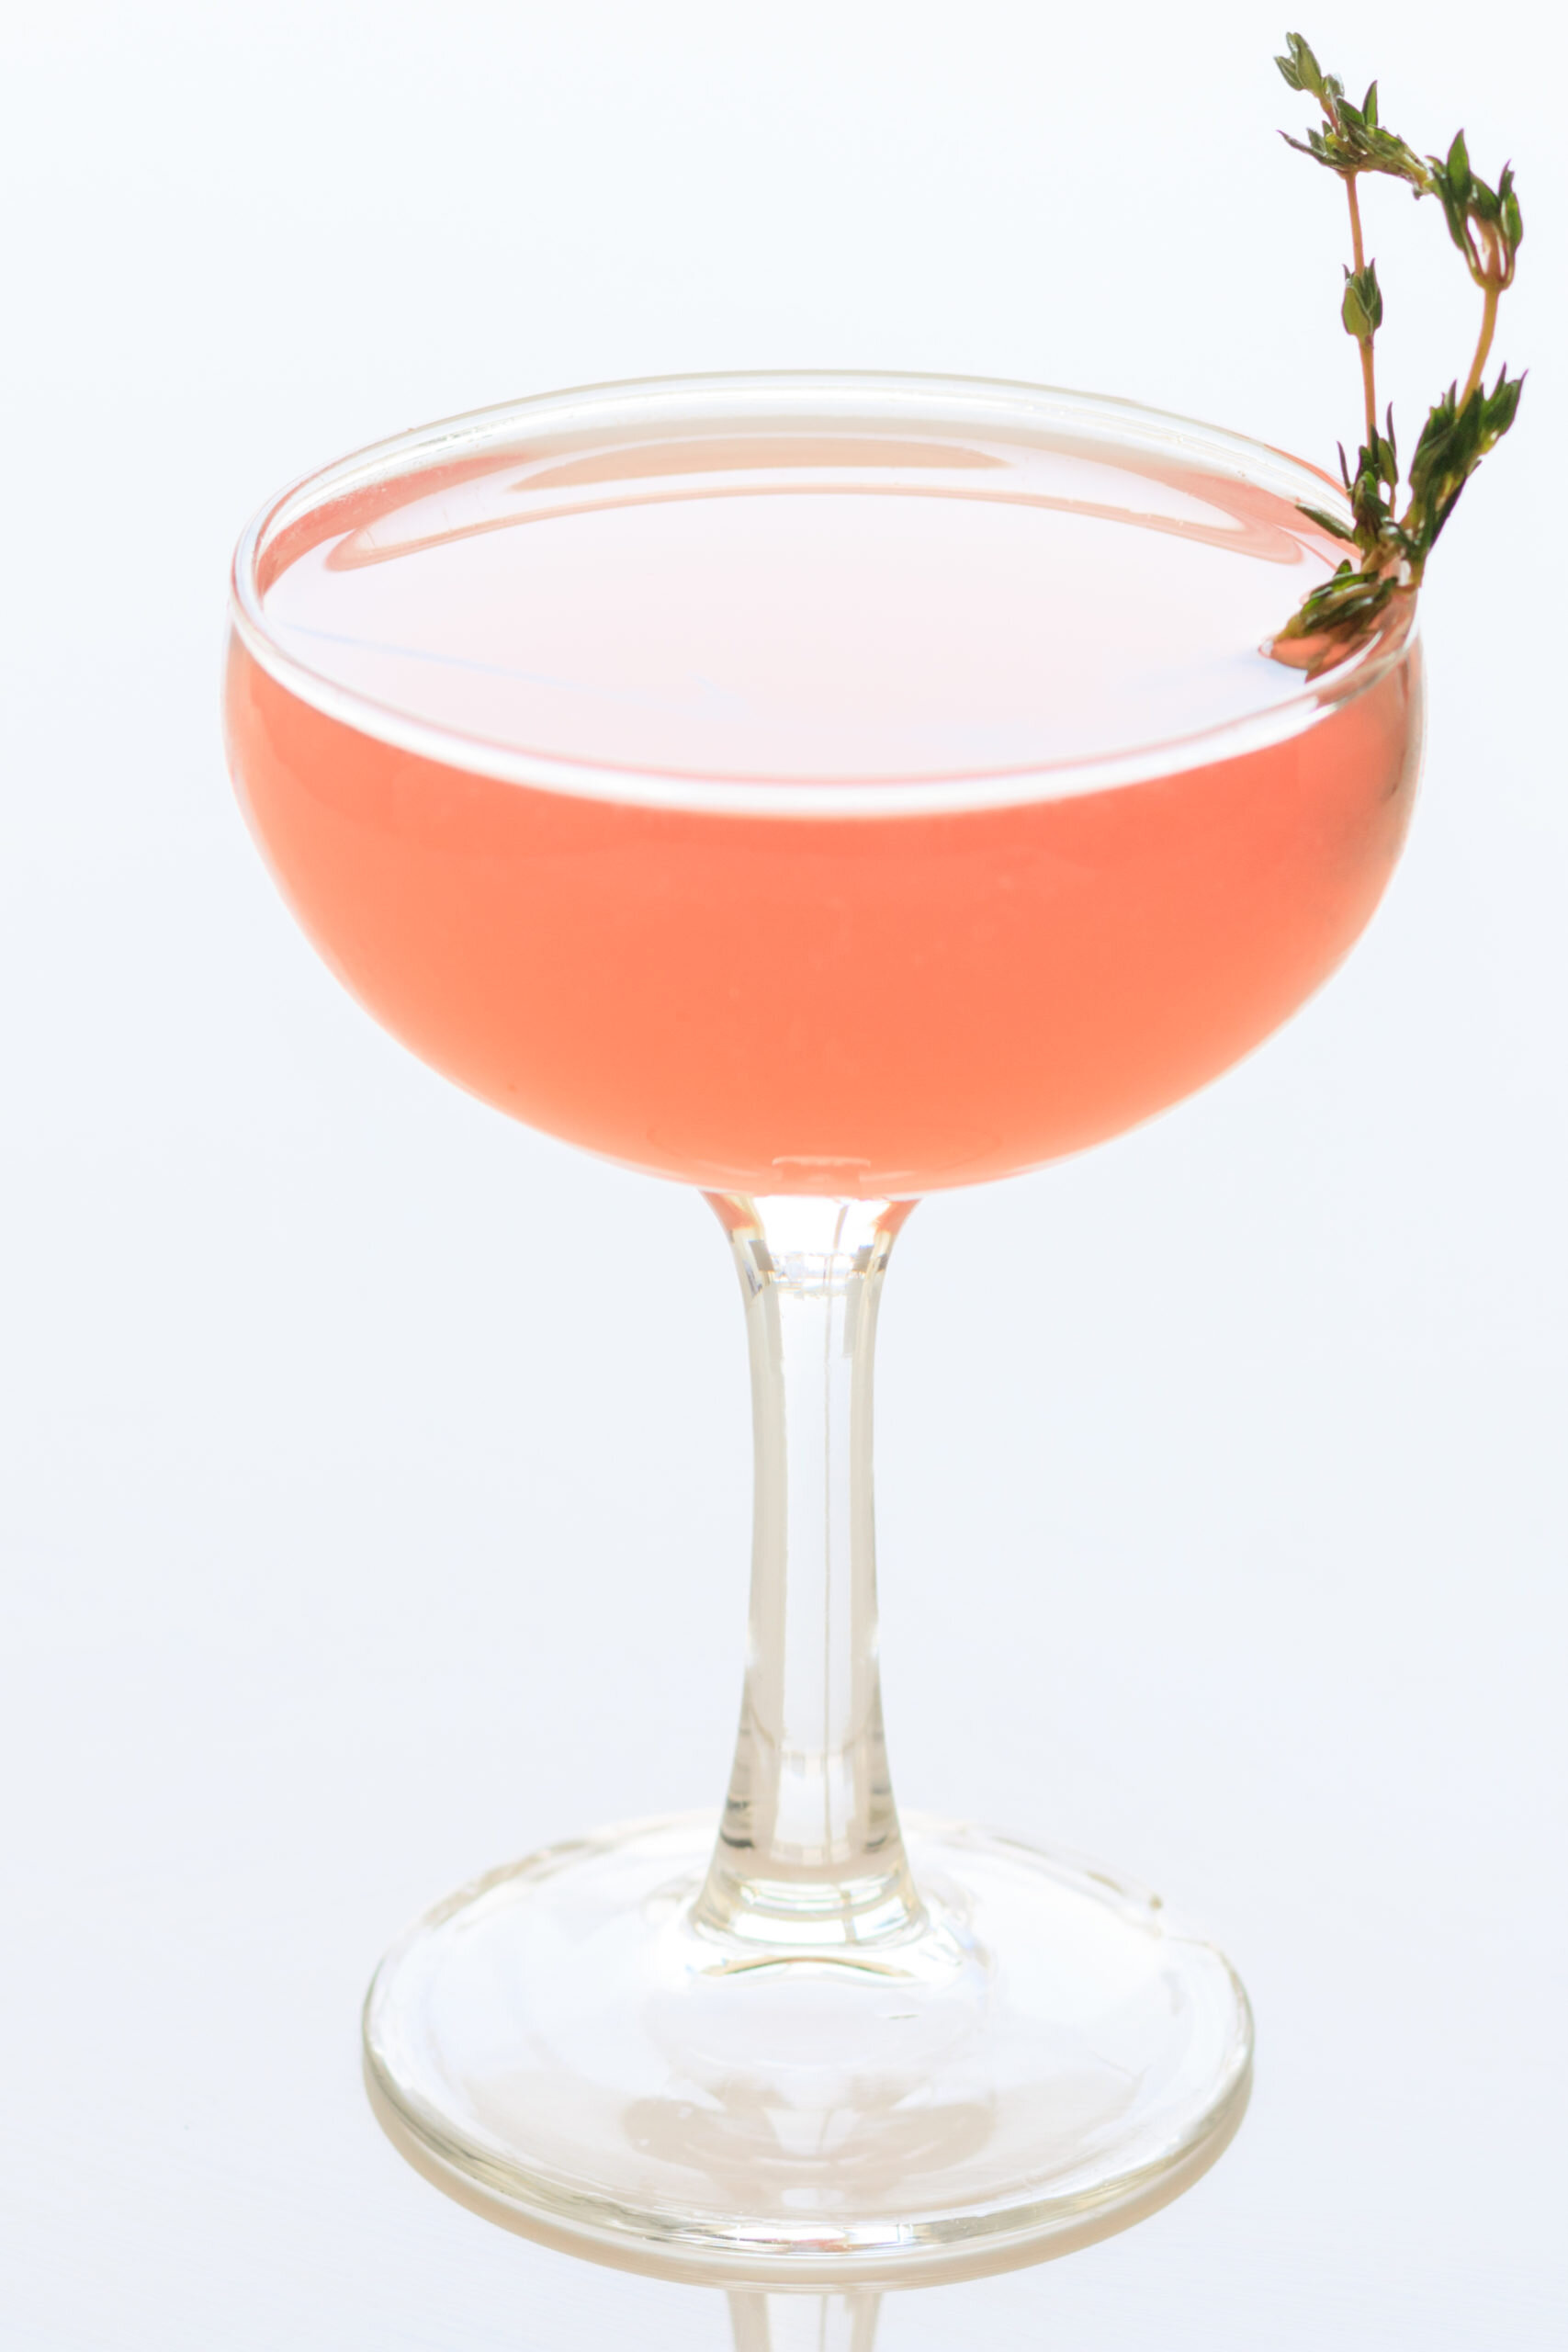
The Jazzmín

Meet Jazzmín [pronounced yahz-MEEN]. She's got the same sassy citrus punch as her hermana, Jasmine, but trades the genteel gin for tasty tequila. Notice the thyme garnish over her left ear. [She's taken.]
Ingredients
Makes 1 Jazzmín
1 1/2 oz Tequila
1 oz Campari
1 oz Freshly squeezed lime juice
1/2 oz Triple sec
Recipe
Add all ingredients to a mixing glass with ice. Stir until well chilled, about 60 seconds. Strain into a chilled cocktail glass. Garnish with a sprig of thyme. Rub the thyme in your hands to agitate it a little bit. It's agitation with you will make the drink smell better.
Little Gem Lettuce, Prosciutto, Caesar-ish Vinaigrette
[Little Gem would be my stripper name.]
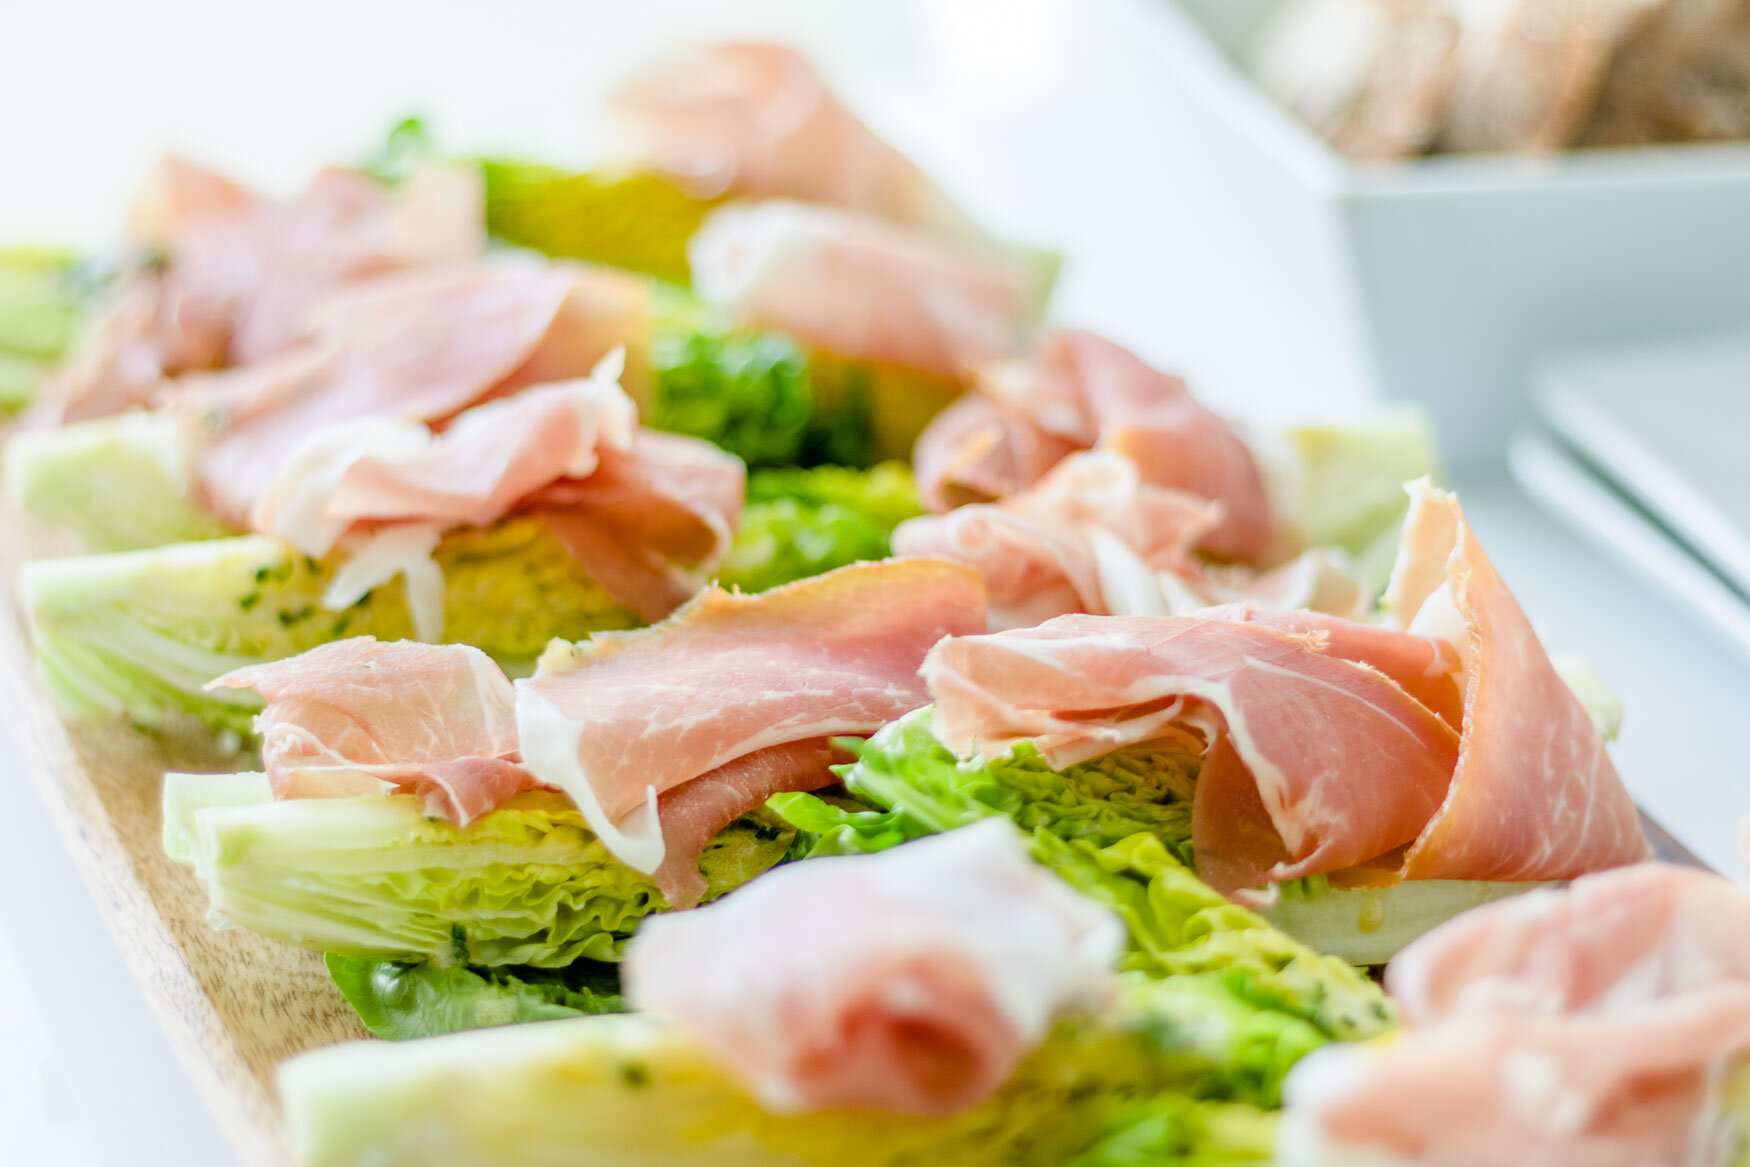
This is Little Gem Lettuce with Prosciutto and a Caesar-ish vinaigrette and it is about the cutest little lettuce you'll ever see.
I don't know how many little lettuces one normally sees in their lifetime, but you can bet that whatever your little lettuce peeping numbers are, [I'm getting uncomfortable] Little Gem will be the cutest. [side note, Little Gem would be my stripper name.]
It looks like a cross between Belgian endive [EHN-dive? awn-DEEV?] and romaine and sports just enough bitterness to balance the prosciutto and tangy Caesar.
You can use store-bought dressing to save the 5 minutes it'll take you to make your own [but I judge you].
The average American consumes no more than 3 leaves of iceberg lettuce per year [don't fact check that]. And most of it is consumed as a guilty pre-steak salad at The Outback.
I can't blame them [I can and do]. Most lettuces tastes like leafy, green grunt. And I've tasted my fair share of lettuces which, now that I write it, seems like a weird thing to tell a stranger.
But Little Gem? Ohh... She's different. She's feisty, hardy, flavorful, which also seem like odd ways to describe a lettuce to strangers.
Caesar-ish Vinaigrette
Ingredients
- 2 Anchovy fillets
- 1 tbsp Dijon mustard
- 1 tbsp Lemon juice
- 1 clove of garlic, grated (or finely minced)
- 1 tsp Lemon zest
- Salt (to taste)
- Pepper (to taste)
- 1/3 to 1/2 c Olive Oil
Recipe
- Mix everything except oil in a small bowl. Then whisk in oil.
Truth be told, I can't remember the quantities I used for this recipe. I'll have to remake it and write it down next time. But one of the glories of learning to cook is learning to adjust things based on taste. So...Taste and Adjust [t&a for short]. It should taste tart and salty with a hint of garlic. The mustard is mainly used as an emulsifier, so it doesn't have to taste mustardy.
To Complete
Ingredients
- 2 heads Little Gem lettuce
- 4 slices prosciutto [pronounced "pro-SHOOT-toe" or just "pro-SHOOT" if you want to be Italian.]
- Caesar-ish Vinaigrette [from above]
Recipe
- Quarter each head of Little Gem lettuce lengthwise.
Your knife should be parallel to the length of the head. Cut through the root end of the head [like the video above]. This isn't rocket science, but I don't want 2000 people emailing me saying I lead them astray.
- Arrange the lettuce quarters on a plate.
Be fancy and arrange them in a circle. Or embrace your anal-retentive side and face them all east [as-salamu alaykum]. Drizzle the vinaigrette on top of the lettuce.
- Cut each prosciutto slice in half lengthwise. Put a half slice of prosciutto on top of each lettuce quarter.
I know all this talk of half and quarters may stir up bad memories from first grade fractions sessions. Oh, you didn't learn that until 3rd grade? I was ahead of my time even then.
Mimosas
They’re a ubiquitous brunch cocktail and there’s something so unguilty about drinking Mimosas. They’re almost healthy.
No-one ever says Mimosa. It’s Mimosas. Never singular. Always plural.
They’re a ubiquitous brunch cocktail. There’s something so unguilty about drinking Mimosas. They’re almost healthy.
Wine is sacramental. Sparkling wine is celebratory. Orange Juice is good for you. (Think of all that vitamin C you’re getting by drinking!)
Many restaurants offer bottomless Mimosas during brunch hours. They must know of the health benefits too!
Next time you’re in the mood to spend $20 on 2 Mimosas, try making 5 at home for the same price.
1 1/2 oz orange juice
It doesn't have to be exactly 1 1/2 oz. I like always making them the same way, but if you're not as anal-retentive, just put in a splash.
1/2 oz triple sec
I like a little alcoholic orange flavored sweetness in my mimosas. Others may not. Try it if you already have triple sec at home, but don't get all teary eyed if you don't.
Sparkling wine.
- Add orange juice and triple sec to a champagne flute (fancy), wine glass (acceptable), or baby bottle (if you’re into that).
- Top up with sparkling wine.
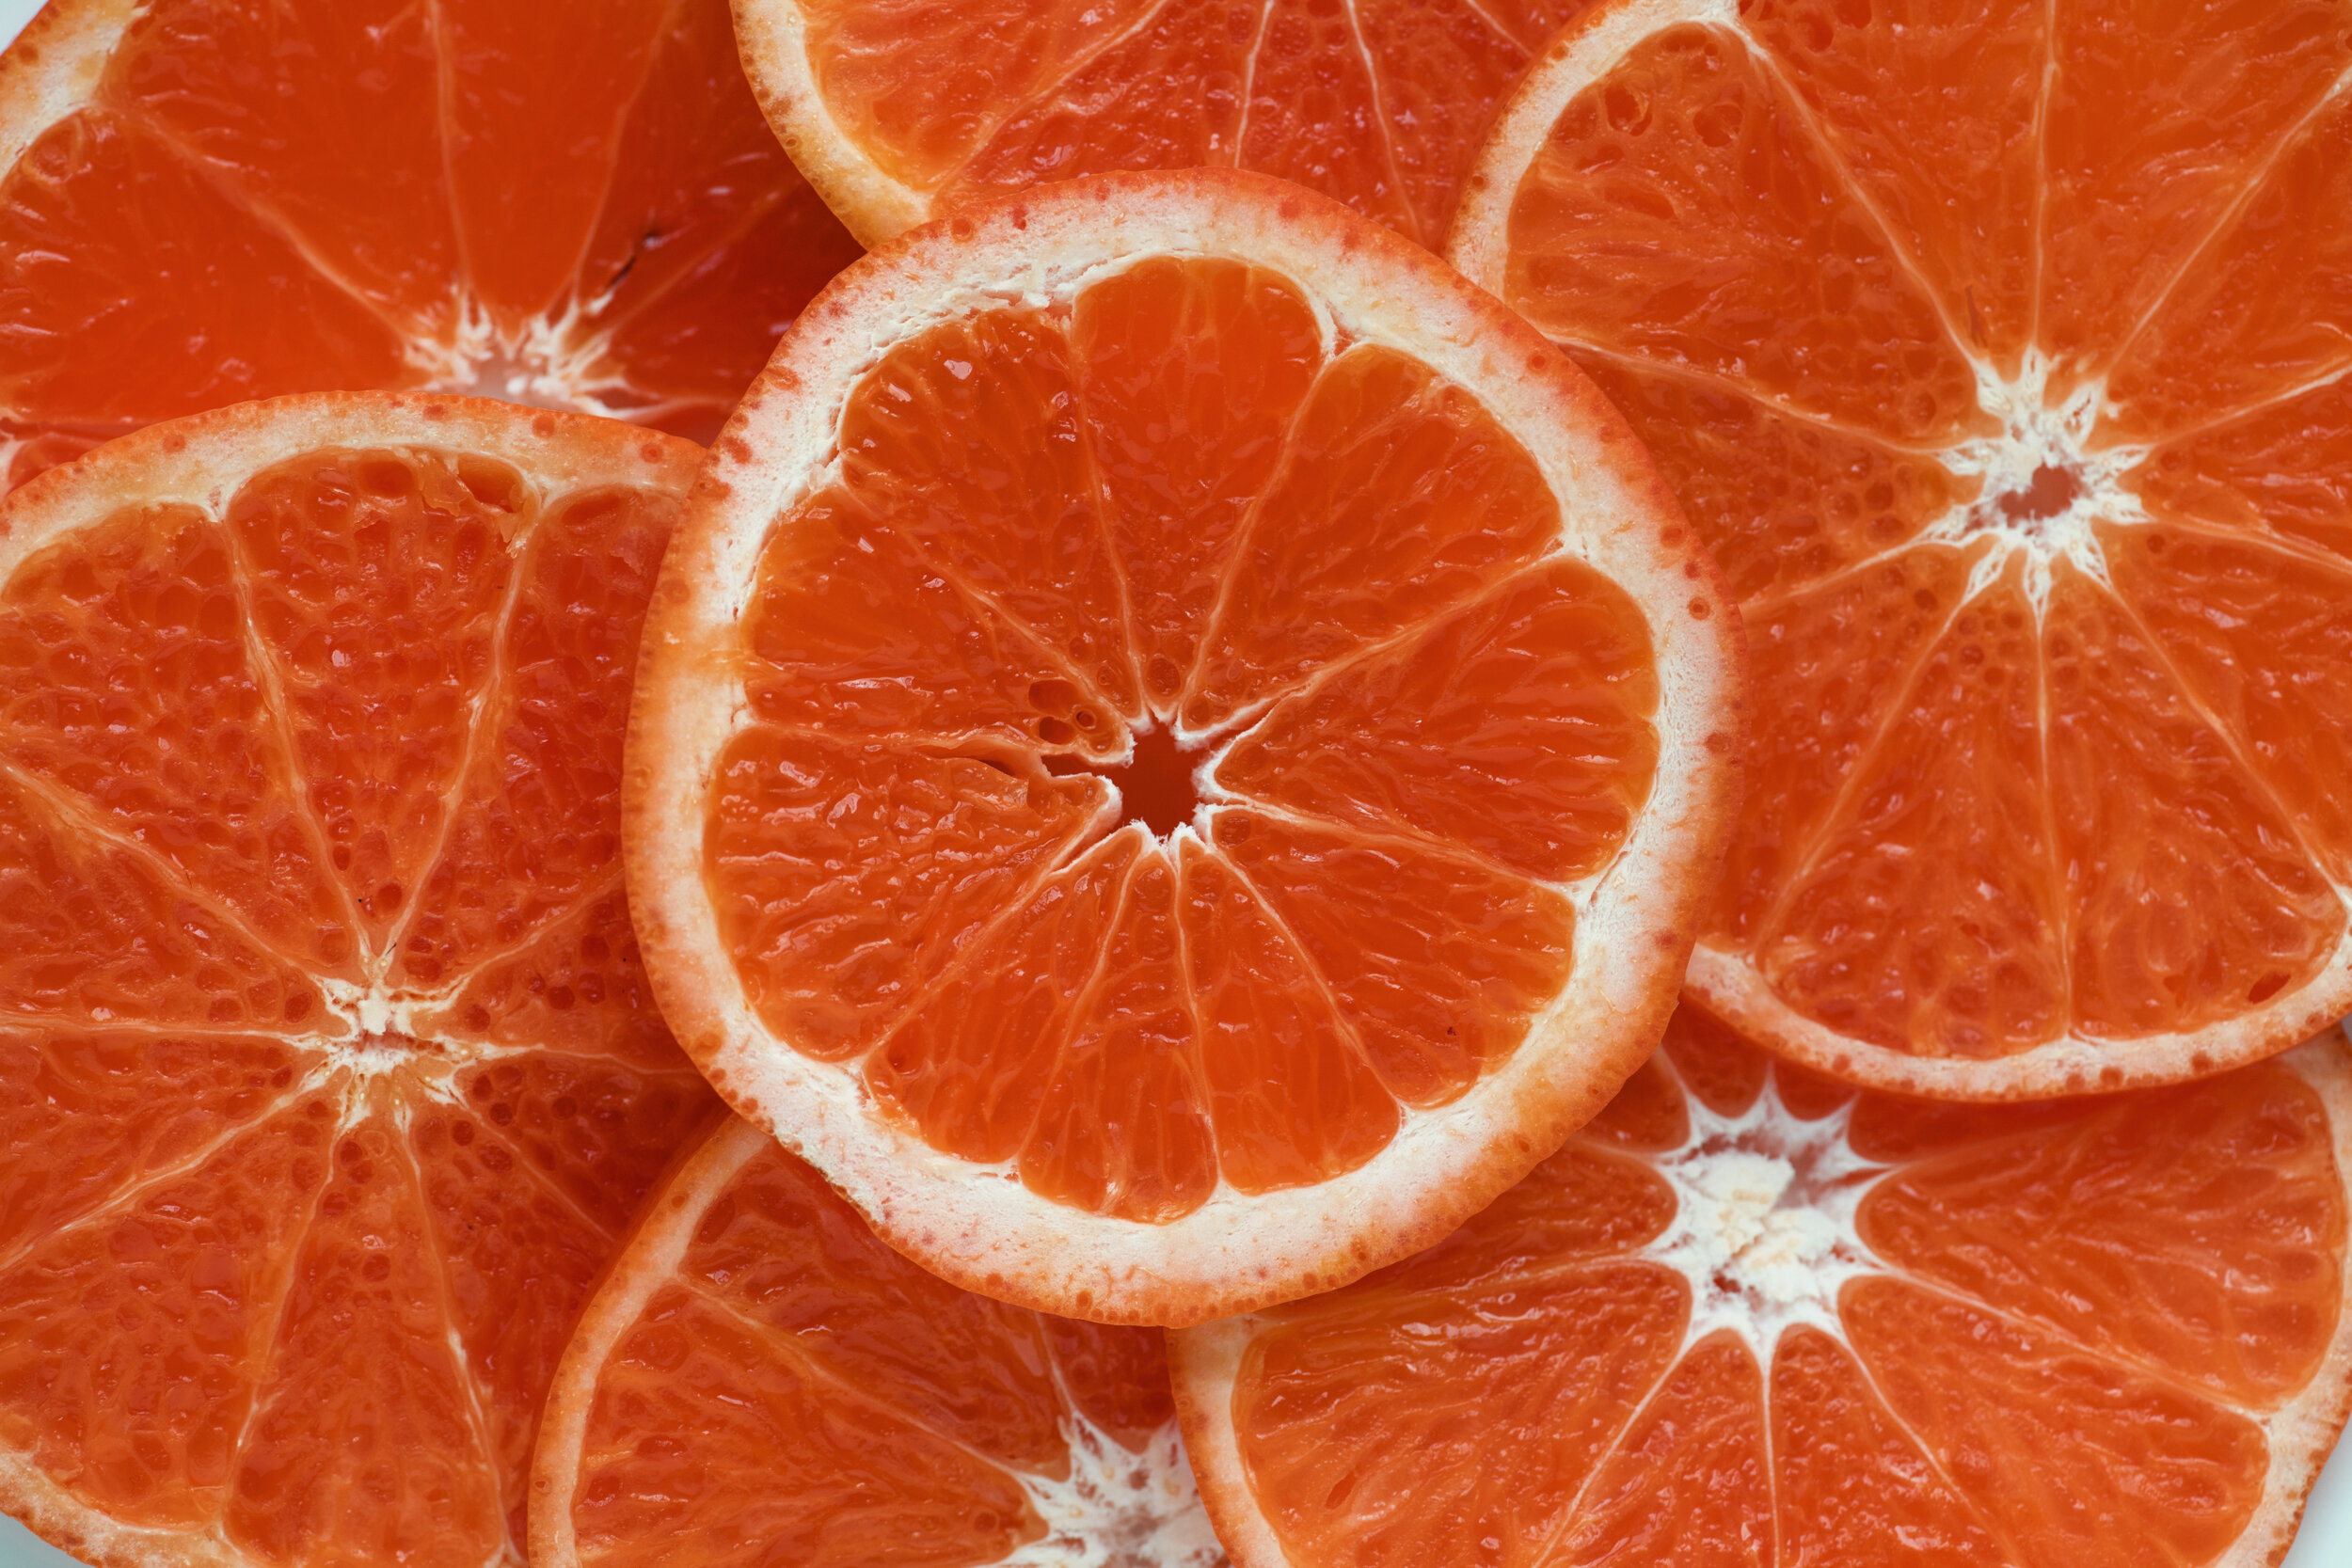
- Garnish with a orange twist. (Don’t skimp on this, please. It’ll make your Mimosas look a million times better.)
- Drink.
![Pork Brine [use it whenever you want your pork to taste good]](https://images.squarespace-cdn.com/content/v1/60183ab5f04fff34af539ea3/1612732403694-GUATUPN4I1VHDQO2JD8K/image-asset-3.jpeg)
Pork Brine [use it whenever you want your pork to taste good]
This pork brine has saved me from overcooking pork countless times.
Last updated: December 20, 2025
One of my favorite recipes in Thomas Keller's Ad Hoc Ad Home cookbook is his pork brine. And I think it should be yours too. This brine has saved me tons of overcooked pork. Do you ever notice how the texture of your pork chops is always kinda tight? Like the meat isn't very juicy?
That’s because it’s overcooked, which is easy to do even if you’re a seasoned chef [oh, cooking humor]. Sure, you could sous vide them, but even then, it often tastes just good, not eyes-roll-back-in-your-head great, which is guaranteed whenever you eat pork that’s been brined.
Brining is fantastic for a few reasons:
It seasons the meat. Salt makes meat taste good. Sprinkling salt on the outside seasons just the outside. Brining seasons all the meat. And, as it soaks, it absorbs the flavored water, which means that all that flavor goes into the meat. It also means that brining meat...
Makes it more moist. I know, everyone's least favorite word. But brining meat pulls in moisture, making the meat tenderer and more flavorful.
So the recipe is simple. Tweak the flavors however you'd like. The one thing you should not change is the time and salinity.
Ingredients
1000 g water
70 g Diamond Crystal kosher salt
50 g rosemary
25 g thyme
50 g garlic cloves, smooshed, but with skins still on
5 g peppercorns
whatever else you want (a little honey for sweetness, perhaps?)
Directions
Add all ingredients to a small pan and bring to a boil. Remove from the heat, cover, and let cool to room temperature. Put in the fridge and let cool overnight. Note: to shorten this step, I add half the water (500 g) to the pan for the first step and then add the rest (500 g) as ice after I remove it from the heat.
Put the cold brine and pork into a large ziplock back, seal, and refrigerate for 12 hours.
Remove pork from brine and rinse under running water to remove any stray herbs or peppercorns stuck to the meat. Dry with paper towels, and then cook. You can reserve in the fridge for a few hours, uncovered, until you’re ready to cook them. This will dry the exterior even more, leading to a browner crust and more flavor.
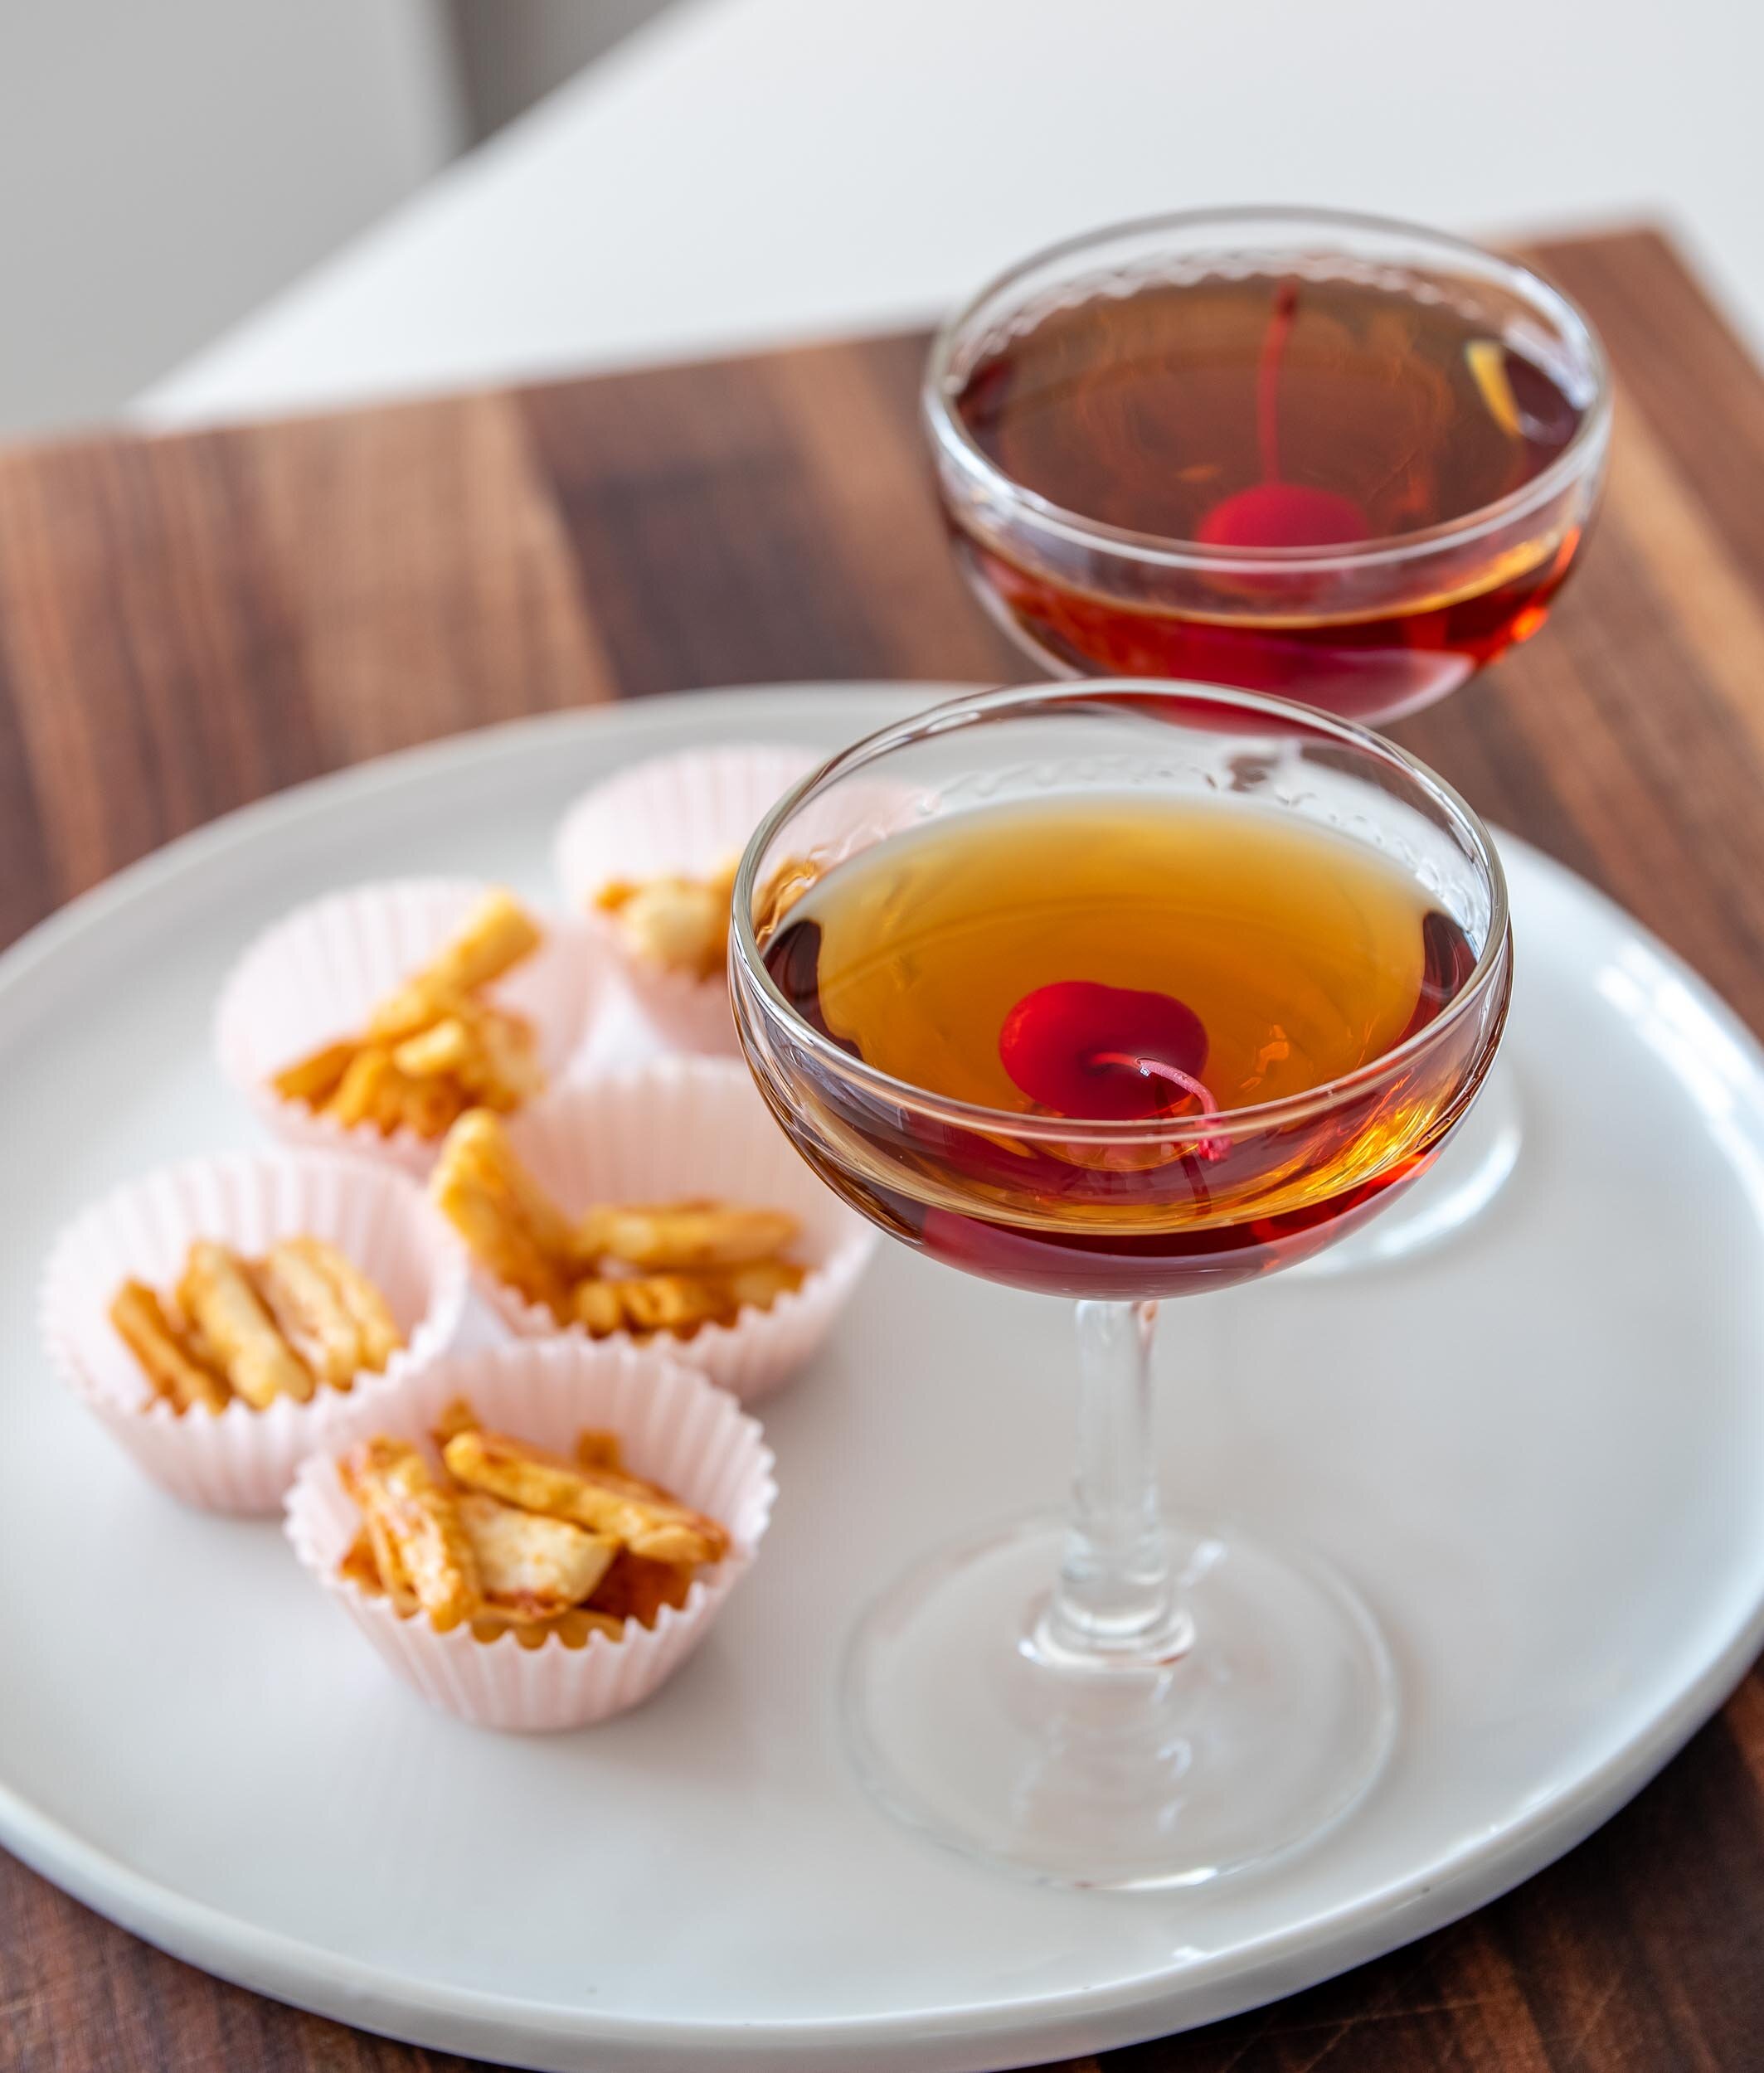
The Manhattan

Next to the Martini, the Manhattan is the epitome of classic cocktails.
Made with ingredients sourced from around the world—American bourbon or rye, French sweet vermouth, and Trinidadian bitters—the Manhattan, like Manhattan, is truly a global cocktail.
If you’ve tried Manhattans before and thought they were too strong, I think you’ll like this recipe. It’s closer to the original recipe in terms of size and strength. It’s bracing enough to remind you it’s a cocktail, but it’s not so spirited that you’ll hop on a train, head to the Village, and get on stage to try stand-up for the first time.
Because the proportion of sweet vermouth is higher in this recipe, use decent stuff. Carpano is cool, Dolin is delightful, and I’ll never say no to Noilly Prat.
2 ounces (60 mL) good bourbon or rye, such as Woodford Reserve
1 ounces (20 mL) sweet vermouth, such as Noilly Prat
1 dash aromatic bitters, such as Angostura
Amarena or maraschino cherry, for garnish
Add all ingredients to a mixing tin or glass full of ice. Stir for 60 seconds. Don’t shake this drink. Every time you shake a Manhattan the Monopoly Man loses his monocle. Strain into a chilled cocktail glass and garnish with an Amarena or maraschino Cherry. (Luxardo makes a fantastic maraschino cherry, available on Amazon.com.)
Peanut Butter Cookies
 Pssst! You can Pin this!
INTRO
My Wiff makes these. A lot. On any given day, I'll come home from walking the dog and there’s a 50% chance she'll be pulling them out of the oven.
I'll have been gone for only 2 minutes.
I have no clue how she whips them up so quickly. [She's a witch.]
Make extra... They disappear [translation: I eat them] almost as quickly as they appear.
INGREDIENTS
Makes 12 cookies
- 1 c Peanut Butter (250g)
- 1 c Sugar (200g)
- 1 egg (50g)
- 1 t (15ml) vanilla extract
RECIPE
- Mix everything together in a large bowl.
- Place teaspoon sized balls on greased cookie sheet, parchment paper-lined baking pan, or Silpat. Flatten the balls with a fork, making a crosshatch pattern. This helps them cook more evenly, and looks badass.
- Bake @ 350˚F for 6-8 minutes. They will seem undercooked when they first come out of the oven but they’ll firm up as they cool.
- Bonus points: drizzle melted chocolate chips over the tops when they come out of the oven to make them taste like a chocolate peanut butter cup.
4 steps to making your own cocktails on vacation

Despite the rugged good looks and indescribable charm, this is not a world-famous model. It is me. I'm on vacation drinking a Negroni.
Despite the rugged good looks and indescribable charm, this is not a world-famous model. It is me. I'm on vacation drinking a Negroni.
Wiff and I love road trips almost as much as we love drinking cocktails while on road trips.
But it’s nearly impossible to find good quality cocktails on road trips. Hell, it can be tough to find good cocktails in major metropolitan cities. So that means we’re usually BYOB’ing it to every hotel/motel we stay in.
The first time we took a cross country road trip, we had a trunk full of booze. That may seem extreme. It was.
But we had a pretty good excuse: We were moving at the time. I didn’t want to throw away all those pretty, precious bottles!
Every stop we’d make, I’d grab the bags out of the trunk, and we’d make the decision, “What cocktail do we want tonight?” I’d then grab the appropriate bottles, my mixing equipment, and we’d be on our merry way.
But then we wisened up.
We started paring down our selection so we could pack less.
What?!? A trunk full of booze was too much?
Yeah. It got to the point where I’d skimp on clothes just to make room for bottles just in case we wanted a margarita. You can only flip your underwear inside out twice before you think there MUST be a better way!
And there is!
BATCH YOUR COCKTAILS!
As the family bartender, I usually pack premixed cocktails because the last place I want to be is standing at our room's wet bar mixing cocktails [I'd rather be drinking them].
So I premix cocktails and put them in Swell bottles.
My go to?
Here’s how I rock the CWV [cocktailing whilst vacationing] lifestyle:
STEP 1: CHOOSE A COCKTAIL
You're on vacation. You don't want to think. So do the picking and choosing before you leave. Pick a cocktail (or two) that you love and will still love by the time you reach your destination.
STEP 2: SCALE UP.
Most cocktail recipes are scaled for one drink. But since the invention of math, we've had the ability to multiply things to scale up to proper vacation quantities. Dust off your first grade multiplication tables and scale up that recipe.
My favorite drink is The Negroni. It's equal parts gin, Campari, and sweet vermouth, which makes batching quite easy.
The recipe is 1oz gin, 1oz Campari, and 1oz sweet vermouth.
A 750ml Swell bottle is 25 ounces. 25 ounces divided by 3 (1 ounce each per ingredient) is 8.33 ounces.
So I need to measure 8.33 ounces of each ingredient. 8.33 ounces is just about 1.25 cups.
Okay, Anthony, but what about a cocktail with different ingredients?
Let’s use a Manhattan as an example.
My Manhattan recipe is 2oz bourbon or rye, 3/4 ounce sweet vermouth, and 2 dashes of bitters.
THE FORMULA:
CONTAINER SIZE (in ounces) divided by TOTAL DRINK SIZE (in ounces) multiplied by EACH INGREDIENT (in ounces)
Here’s the Manhattan example for a 750ml (25 ounce) Swell bottle:
25oz / 2.75oz = about 9 cocktails
9 * 2oz bourbon = 18oz bourbon
9 * 3/4oz sweet vermouth = 6.75oz sweet vermouth
9 * 2 dashes bitters = 18 dashes bitters
One more, please. Just so I can get the math right.
Coming right up! How about the Mint Julep?
THE FORMULA:
CONTAINER SIZE (in ounces) divided by TOTAL DRINK SIZE (in ounces) multiplied by EACH INGREDIENT (in ounces)
My Mint Julep recipe is 2oz bourbon, 1/2oz simple syrup.
25oz / 2.5oz = 10 cocktails
10 * 2oz bourbon = 20oz bourbon
10 * 1/2oz simple syrup = 5oz simple syrup
STEP 3: MIX
I put everything in a Swell bottle. Why? Because they look like water bottles. Everyone carries water bottles these days [because they're going to places without potable water]. And people don't judge people carrying water as much as they do those carrying booze.
STEP 4: POUR
When you get to your destination, pour yourself a drink. You deserve it.
Cappuccino
 Photo by Lubo Minar
I love the cappuccino.
I love everything about it.
The froth. The foam. The elitist pretentiousness that separates cappuccino drinkers from everyone else.
Even the name is snooty. Two C’s and two P’s? You deserve it all, Cappuccino.
It’s fun to say.
Cappuccino.
It sounds like Italy's response to the Macarena.
Or like the villain in an Italian opera.
Do operas even have villains?
“Did you see Verdi’s newest?
"My favorite character was Cappuccino. He seemed so dark and bitter.”
The cappuccino shares a lot in common with my favorite cocktail, the Negroni. They’re both Italian. They’re both often made incorrectly. And they both have gin.
So the next time you find yourself wanting a little pick-me-up but not a lot of milk (the latte is passé), opt for a cappuccino.
More great coffee photos from the web:
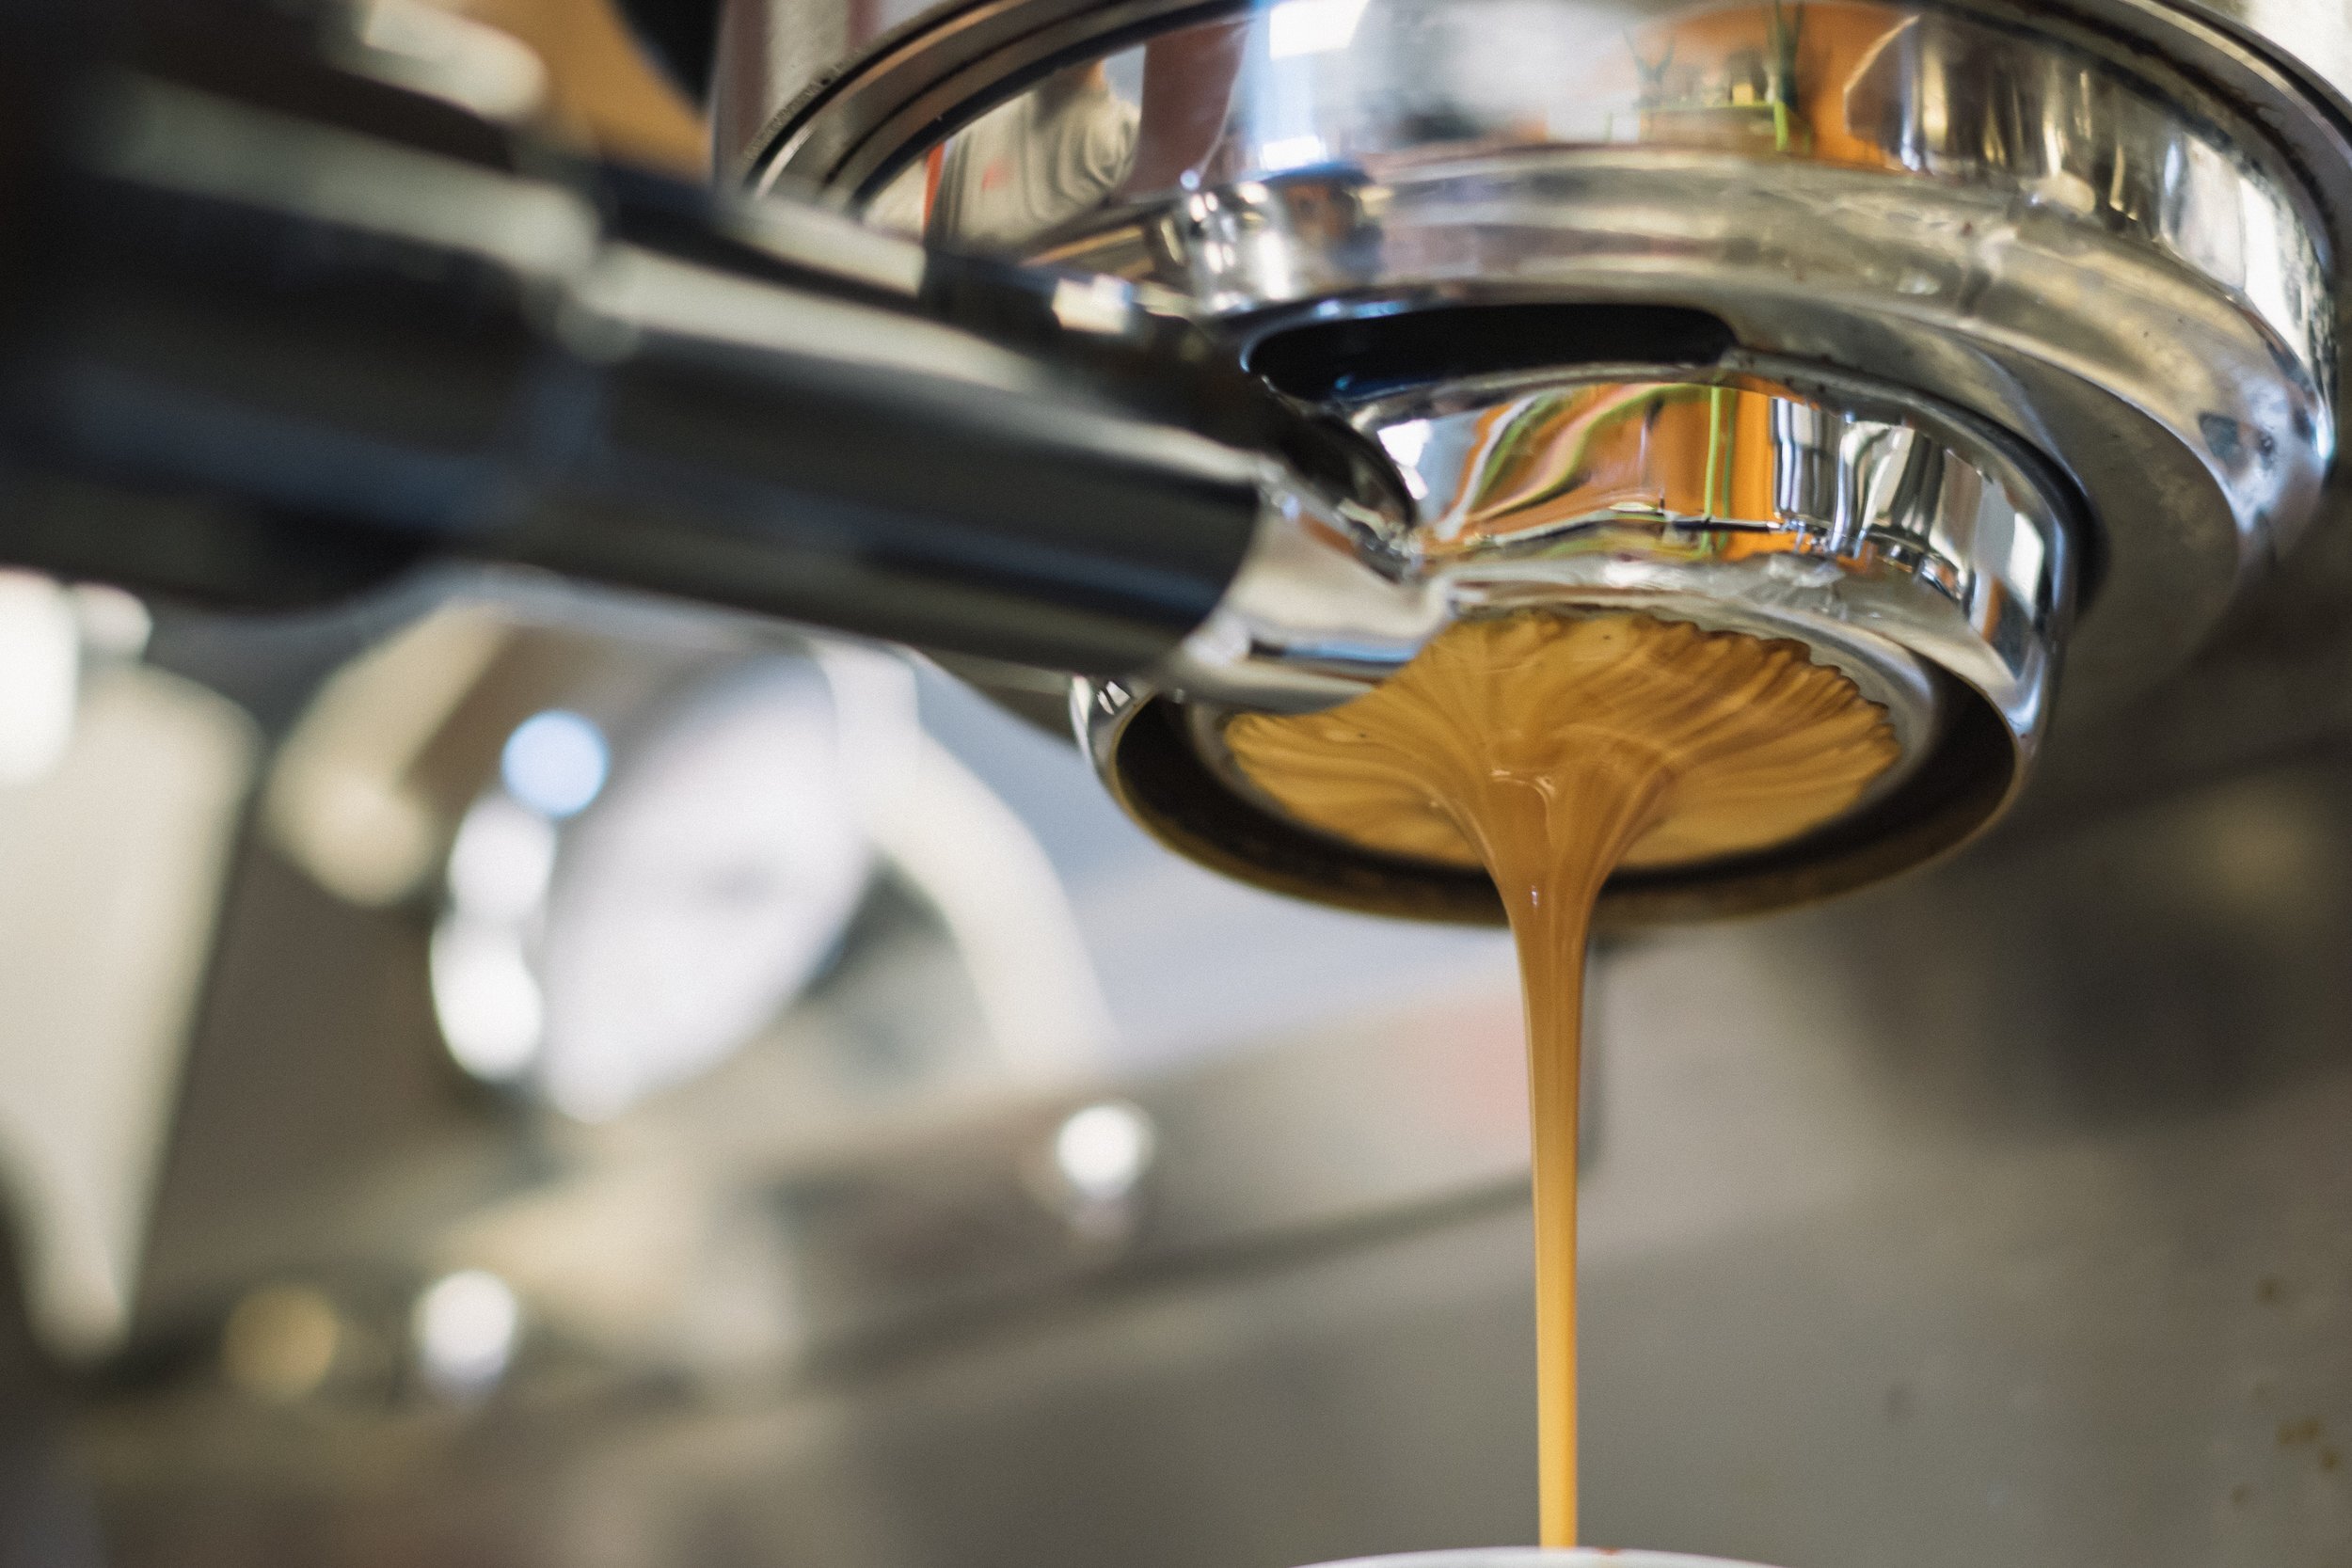 Photo by Blake Richard Verdoorn
 Photo by Hans Vivek
 Photo by Crew
How to Toss Salad Like a B. O. Double S.
[Warning. This article is tongue-in-cheek...]
Tossing salad is one of my favorite midday tasks. It's easy, quick, and everyone can do it.
But most people are terrible salad tossers. [Amateurs.]
Here are my tips to lead to a more enjoyable salad tossing experience.
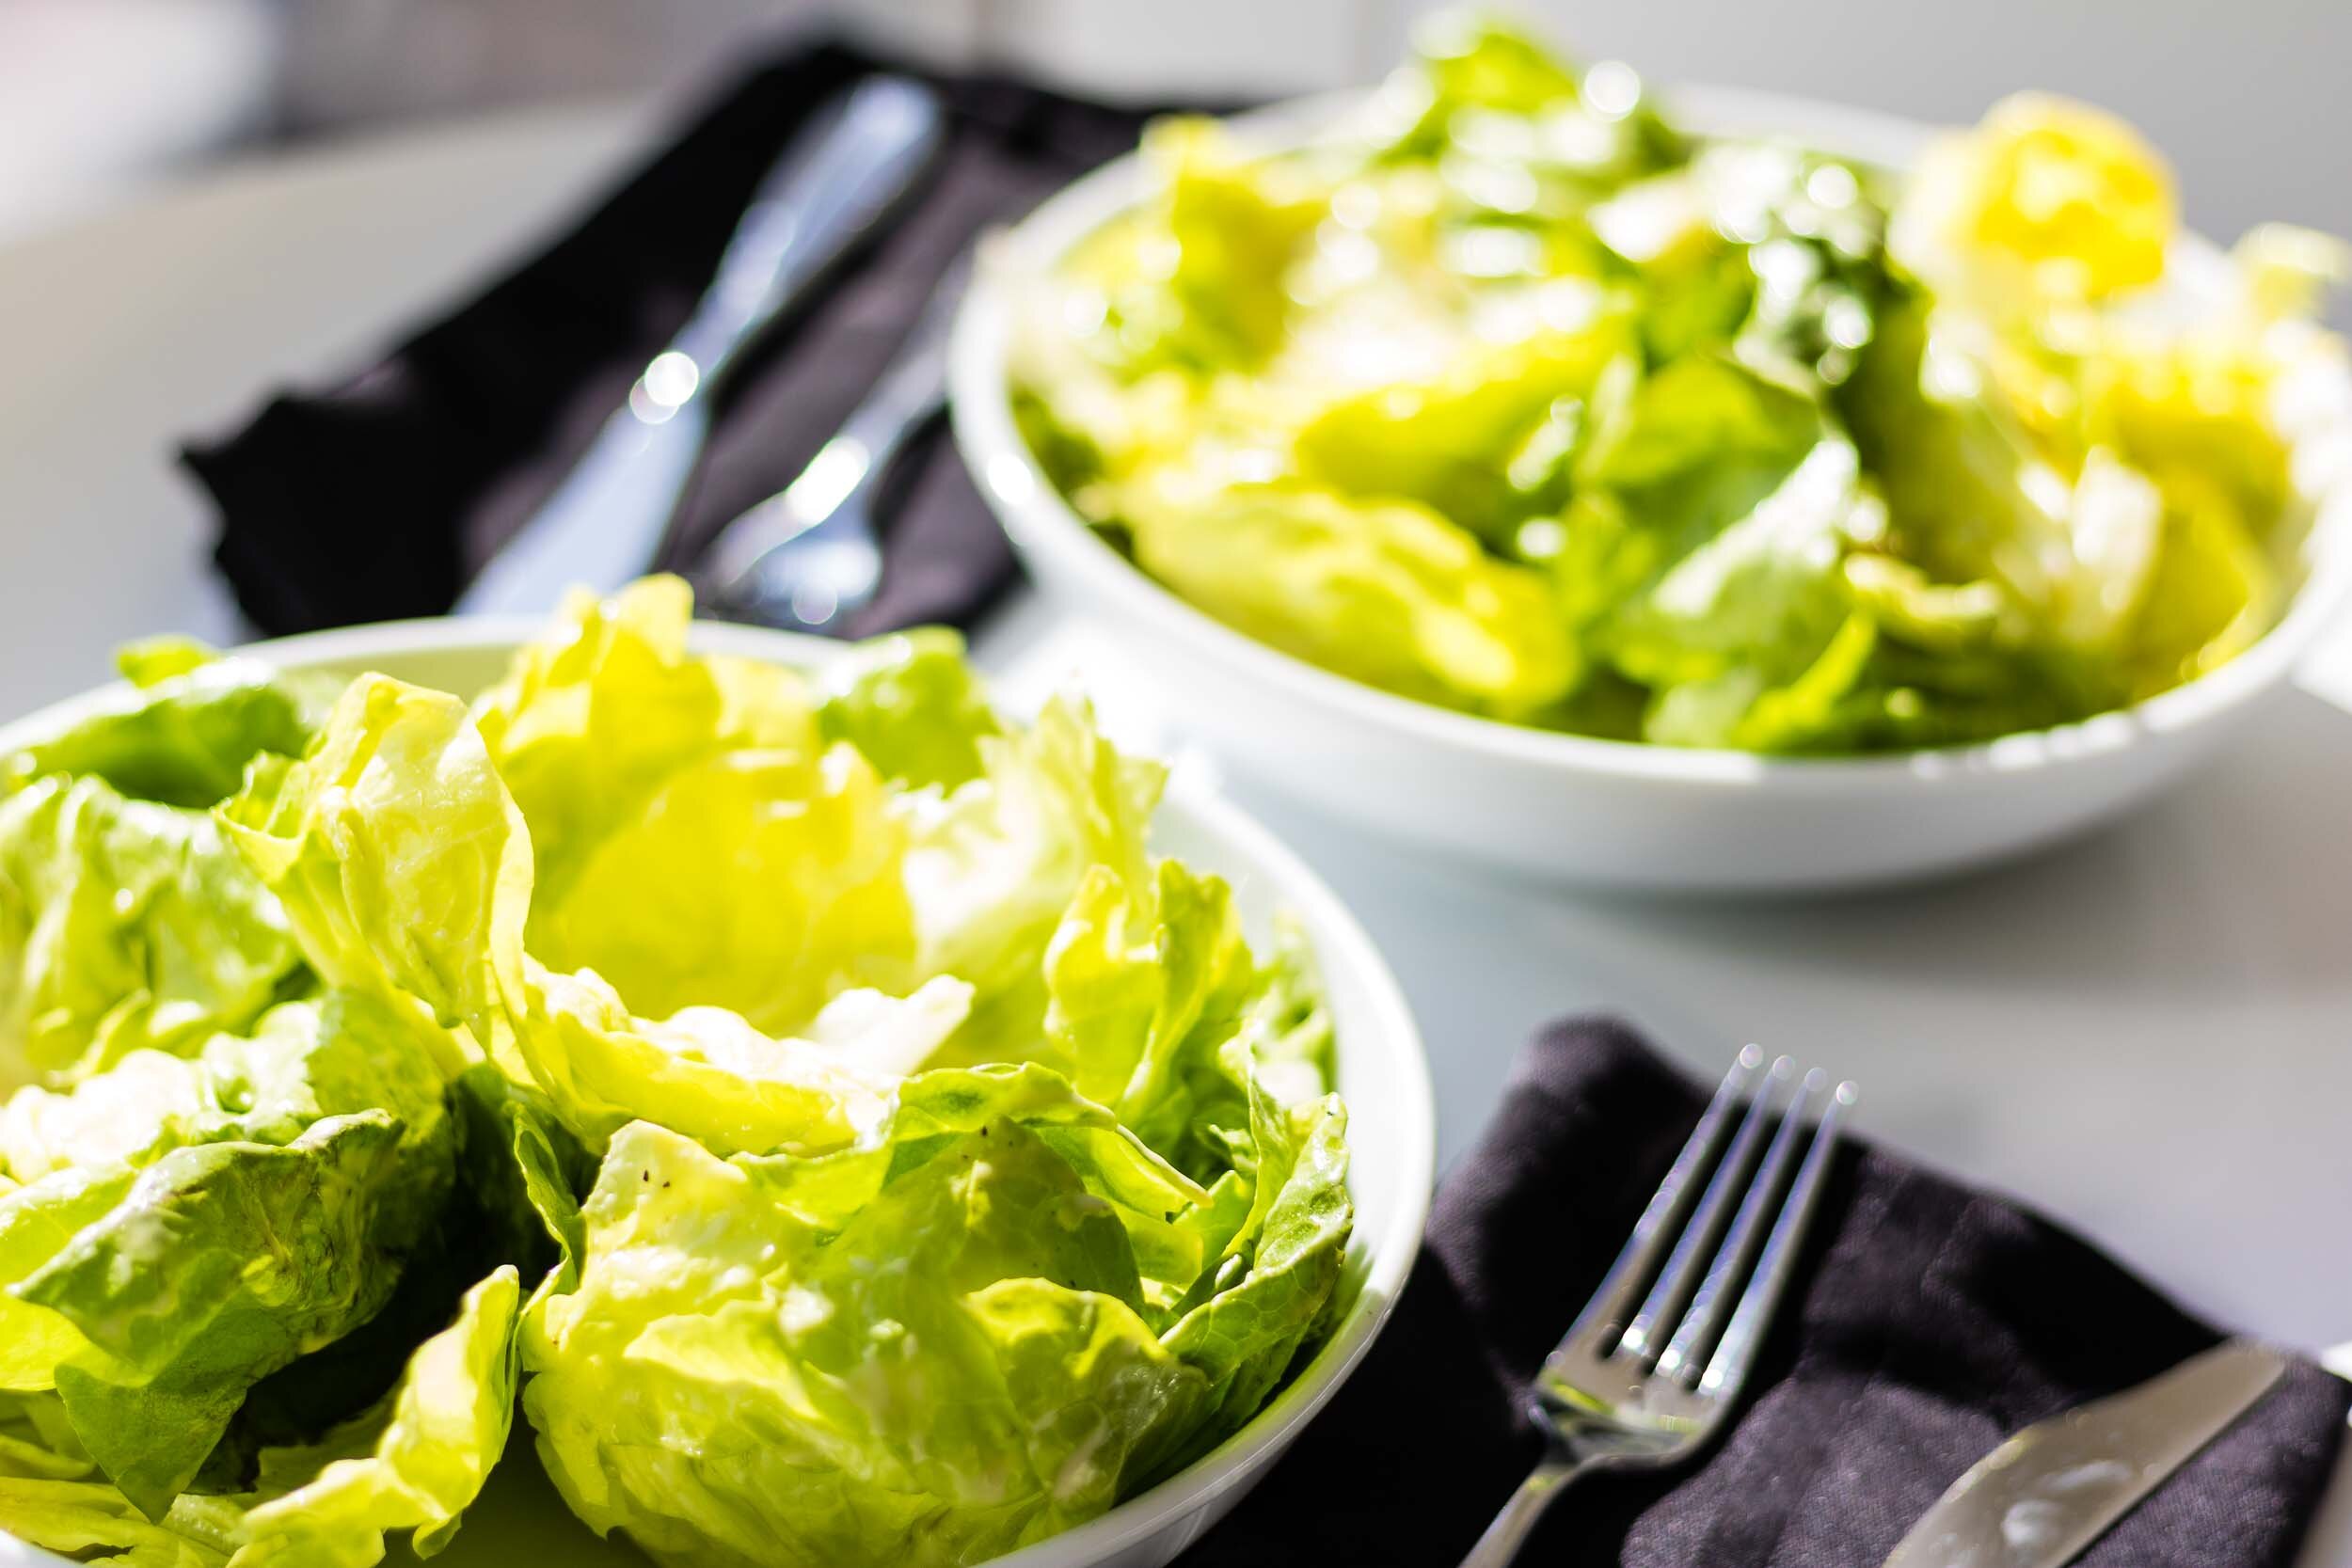
Greens First
Nothing crazy, just great tasting Bibb/Boston/Butter lettuce, or frissee/chicory, or any lettuce that goes by several names and thus requires a "/", and dressing.
Because we're using so few ingredients, each ingredient has to taste awesome.
1. Use Flavorful Greens
Bibb/Boston/Butter lettuce, Radicchio [less a green, more a purple], or Kale* are my recommendations. Flavorful also means fresh. Nothing brown or wilted.
*make sure to chop kale VERY thinly. Otherwise it's like chewing linen. Also, you can tenderize it by massaging it with your hands and/or pre-tossing it with a little bit of acid (vinegar, lemon juice).
2. Use Flavorful Dressing [No Bottles Allowed]
You don't want the dressing overpowering those beautiful greens. One way to ensure you don't overpower is to not use shitty dressing. Shitty is defined as anything out of a bottle [I'm not even kidding.]
Briefly whisk together some good olive oil or even canola oil, a little bit of acid, Dijon mustard, and salt.
Why mustard?
Because it's an emulsifier. Which basically means it helps keep the oil and vinegar mixed together. And because it tastes good.
Why Dijon?
Because you're an adult. Next question.
Why Salt?
Because we like flavorful things.
3. Toss Well
We've got flavorful greens, now what?
Toss them well. You better make sure every last one of those pretty little leaves is lightly glistening. They gave their life for this. Don't mess it up.
Drizzle the dressing into a large mixing bowl - get it all up on the sides; don't focus on just the bottom - add lettuce(s), and Toss. That. Salad!
TOSS LIKE A BOSS TIP: Do this right before serving. The greens will wilt as they sit covered in dressing.
Adding "Other Stuff"?
Prep Each Ingredient Individually
Adding haricot vert? Blanch or roast them separately first. Salt and dress. THEN mix.
Potatoes? Ditto. Boil, roast, whatever, THEN oil and salt. And THEN?
You guessed it. Mix it all together.
Why?
Because we want to make sure each individual ingredient is perfect before conducting the final toss.
Essentially, we're tossing a few mini salads first, and then we're mixing to combine at the end.
Anyway...
These are just a few gansta salad tossing tips from a pro salad tosser. Let me know what you think in the comments below.
Best of luck, you tossers!
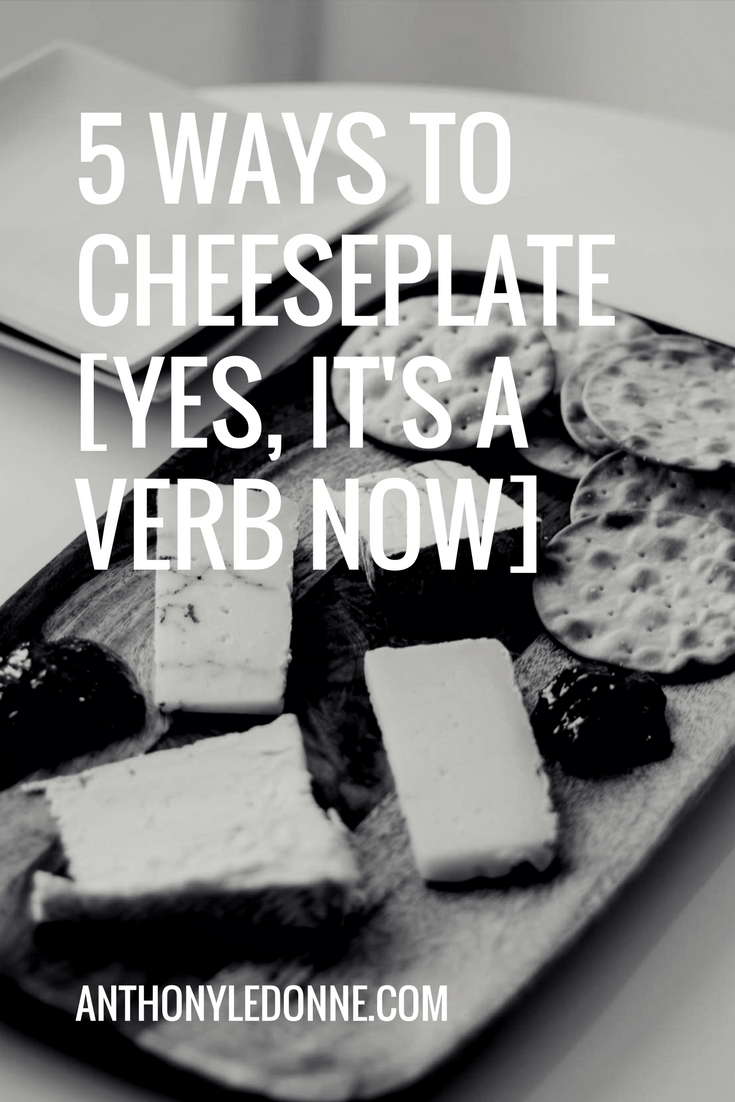
5 Ways to Cheeseplate [It's a Verb Now...]
The LeDonne/Layne household cheeseplates 2-3 times a week. Sometimes we even cheeseplate for dinner.
It's so pretentious.
But so sexy.
Cheeseplates are like catnip for women.
A glass of wine. A few slices of good cheese. Crackers. Wine... What's not to like?
That said, there are right and wrong ways to cheeseplate. Here are a few words to the wise for proper cheeseplating:
Here we go.
 Cheeseplate 101: 1) Cut the cheese, 2) Sparkling wine's always a good choice, 3) Crackers are key, 4) Include other nibbles, 5) Arrange it!
5 ways to Cheeseplate:
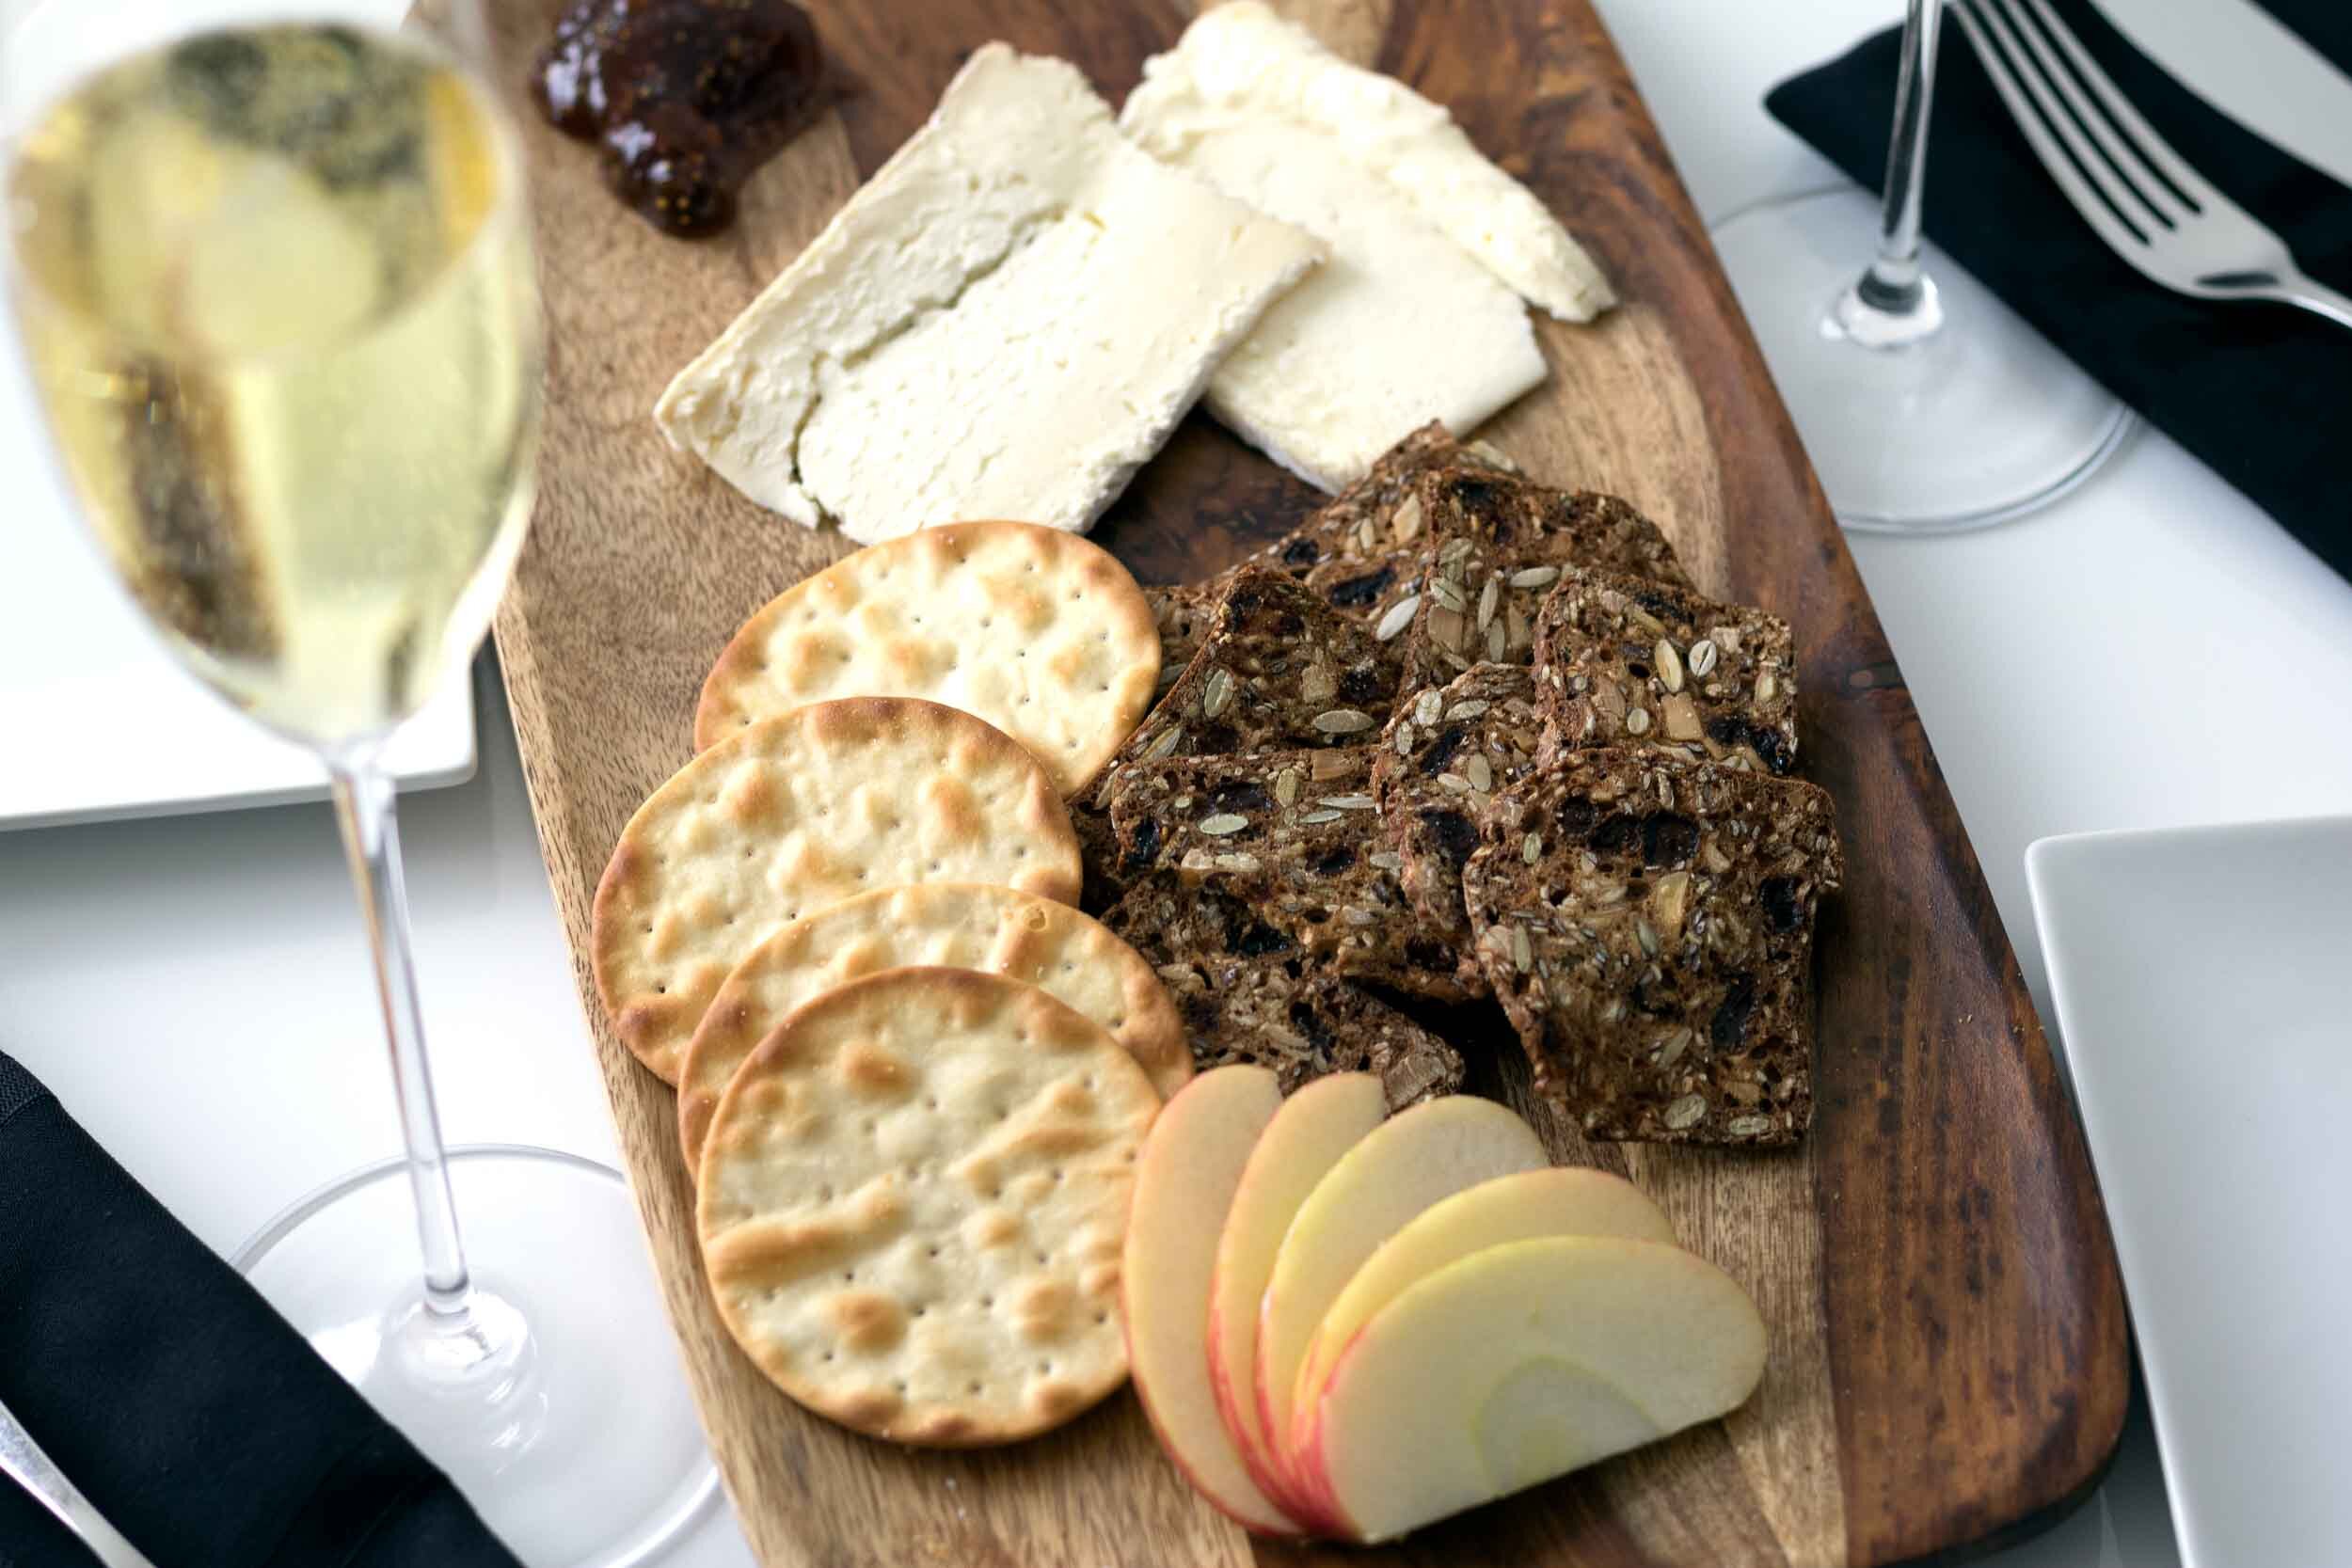
1. Cut the cheese [teehee!]
I used to set out a wedge of cheese and call it good. [I also used to wear Axe Body Spray.]
There's something sexy about preparing a cheese plate. And it only takes a minute.
Slice the cheeses.
Depending on the mood and the cheese I'll slice off 1-2 slices of each cheese. If I want a "let's accidentally touch cheese knives instead of playing footsie" kind of vibe, then I'll only do one thicker slice.
2. Crackers are key
Unless you're only serving Parmagiano-reggiano, which is dry enough to eat with your fingers, use crackers. They provide a nice crunch to an otherwise one-texture meal, and they'll keep your fingers from smelling like cheese.
They don't have to be fancy. My faves are water crackers. The blandness is in the name. You can go nuts and get crackers with seeds [and nuts].
3. Include other nibbles
Add a few slices of something apple to mix it up a bit. Tart things contrast well with creamy cheeses. Jammy type things can be found at fancy grocery stores. I'd consider those extra credit... they're nice but aren't necessary. I like fig jam and onion marmalades.
4. Arrange it.
Let your inner florist out and arrange it on a board. Or a plate. Make it purdy.
5. Sparkling wine's ALWAYS a good choice
This Cava is my new favorite sparkler. It's $12. Cava, for the uninitiated [no iniciados], is sparkling wine from Spain. It's made in the same method as Champagne, without the snootiness.
You may enjoy my food and cocktail pictures because you like nice things.
 psst! Pin this!


House Wines: What I'm Drinking/Serving At Home

I'm proud to admit that I'm a total cheapskate.
I love nice things. But only specific things [suits, Apple products, my wife].
I don't love spending money on expensive wine. It's just not worth it to me.
I've been lucky that both my dad and father-in-law also love wine. Dad loves big Italians and F.I.L. loves big Napa cabs. Between the two I'm spoiled.
But I can't bring myself to spend more than $40 on a bottle of wine [Champagne doesn't count; it's a necessity].
I've found a handful of go-to wines that I always keep stocked. And I'm going to share them with you because you deserve it.
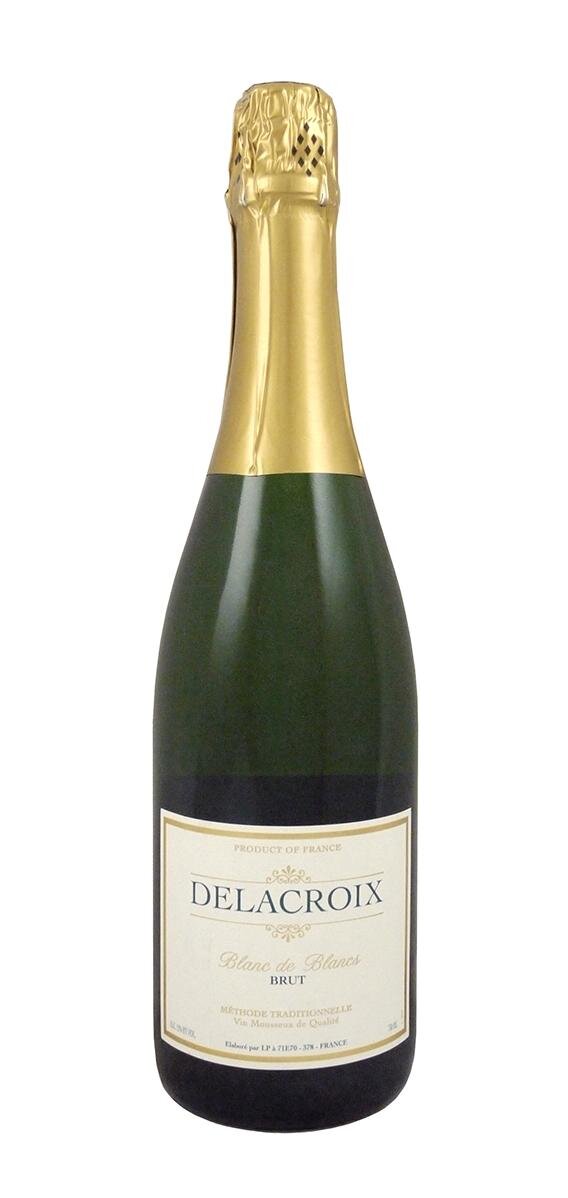 Anthony LeDonne Loves Delacroix Brut NV As His House Sparkler
Goto Cocktails: Negroni, Martini, Manhattan
You may enjoy my food and cocktail pictures because...
5 Ways To Make Vegetables Not Suck

Most people hate vegetables. [Even fewer people can spell vegetables.]
But science and our waistlines tell us that they're healthy.
Why do they taste like grunt? [They don't, but I'm trying to empathize with you underlings.] Mostly because people rely on the two worst ways to eat vegetables: Steaming and Salad...ing [it's a thing].
Why do they steam and salad? Because they don't know how to cook them. But that's okay!
Enter...Me. [that doesn't sound right...]
I'm going to give you 5 ways to make veggies not suck and still keep them healthy. [I'm basically a wizard.] You're welcome in advance.
Here we go!
5 Ways To Make Veggies Edible [besides a salad]:
1. Roast 'em.
Toss veggies with olive oil and salt and throw them into a 450˚F oven until they're brown. Some will only take 10-15 minutes (green beans, asparagus) while some will take 30-40 [broccoli, onions, potatoes, root vegetables].
LAZY TIP: Put veggies on a foil-covered sheet pan, drizzle with olive oil and salt, and lazily move them around. No tossing. No need to wash a bowl.
2. Oil & Salt 'em
Many vegetables can be eaten raw and, with a bit of good olive oil and sea salt, are quite tasty. Try this with radishes, snap peas, baby carrots.
3. Sauté 'em
This is best with leafy greens. Heat a nonstick pan over medium-high, add a few small glugs of olive oil, throw a few handfulls of leafy greens, sprinkle with a little salt and then DO NOT TOUCH THEM. Don't mix them around. Brown them. Brown = flavor. Flip them when they smell browned [trust your nose].
4. Grill 'em
I don't grill often [because I live 44 floors above Manhattan like a cosmopolitan demigod] but when I do, I grill vegetables. Rub a little oil and salt on some baby bok choy or a quartered heart of romaine [I'm not even joking] and throw that sucker straight on the grill, medium heat works well here. You want it slightly charred and browned, but not completely burnt [unless that's your thing?].
Whatever you do...
5. DO NOT OVERCOOK 'EM
Soggy vegetables suck. Leave them with a little snap! No matter your cooking method, preserving some of their natural crispness will make them much more enjoyable to eat.
How to: Reheat Leftover Pizza

I live in New York City so I have to eat pizza 2-3 times a week [day].
But try as I might, I can't finish an entire pizza in one sitting.
I used to reheat pizza in the microwave, but that led to rubbery crusts and an almost-divorce [my wife has standards].
This method yields the absolute best combination of crisp under-crust [it's a thing] AND piping hot toppings.
And who doesn't love piping hot toppings.
Here we go...
How to Reheat Leftover Pizza
- Position an oven rack so it's about 6 inches from the coil. Preheat the broiler for 10 minutes. Sometimes I can't wait and only preheat for 5 [I have my faults].
- Preheat your cast iron skillet on high until it's smoking. For me, that's roughly 5 minutes.
- Slide a sweet sweet slice of pie into that hot pan and let it sizzle for 60 seconds. I'm not joking when I say I time this.
I'm a weeeee bit [completely] anal retentive. - Pop that pan under the broiler for 60 seconds.
I top my slice with a glug [technical term] of olive oil and some red pepper flakes because I like to live on the edge.
Silky Smooth Sweet Potato Purée

psst...pin me!
Last updated: February 18, 2026
Use this recipe when you have sweet potatoes and aren't sure what to do with them. Or when you're in the mood for mashed potatoes but don't want to do any work.
Or if your annoying coworkers won't stop talking about how "going Paleo cured his eczema" and you want to dip your toe.
It only takes 4 ingredients to blow your mind. Seriously. Try it.
Ingredients
Note: One lb of potatoes makes about 2-4 Servings
100% Sweet potato [Unless you live in Central or South America, you've likely never eaten a yam.]
20% Butter
30% Water
1% Kosher salt
If you don't have a scale [can you feel my rage?] you should get one. They're $10 on Amazon or in Walmart and it'll seriously help you get better in the kitchen. If you want to cook this right now without a scale, just guess. Start with a few tablespoons of butter and water. If it starts burning, add a bit more water. For salt, add some, stir and taste. Repeat until it tastes good.
Directions
Peel sweet potatoes and slice into small pieces about 1/4 in thick.
Weigh the sweet potatoes, and then measure out butter, water, and salt. If you have 500 g sweet potatoes—which is about a pound—then you'll need 100 g butter, 150 g water, and 5 g salt.
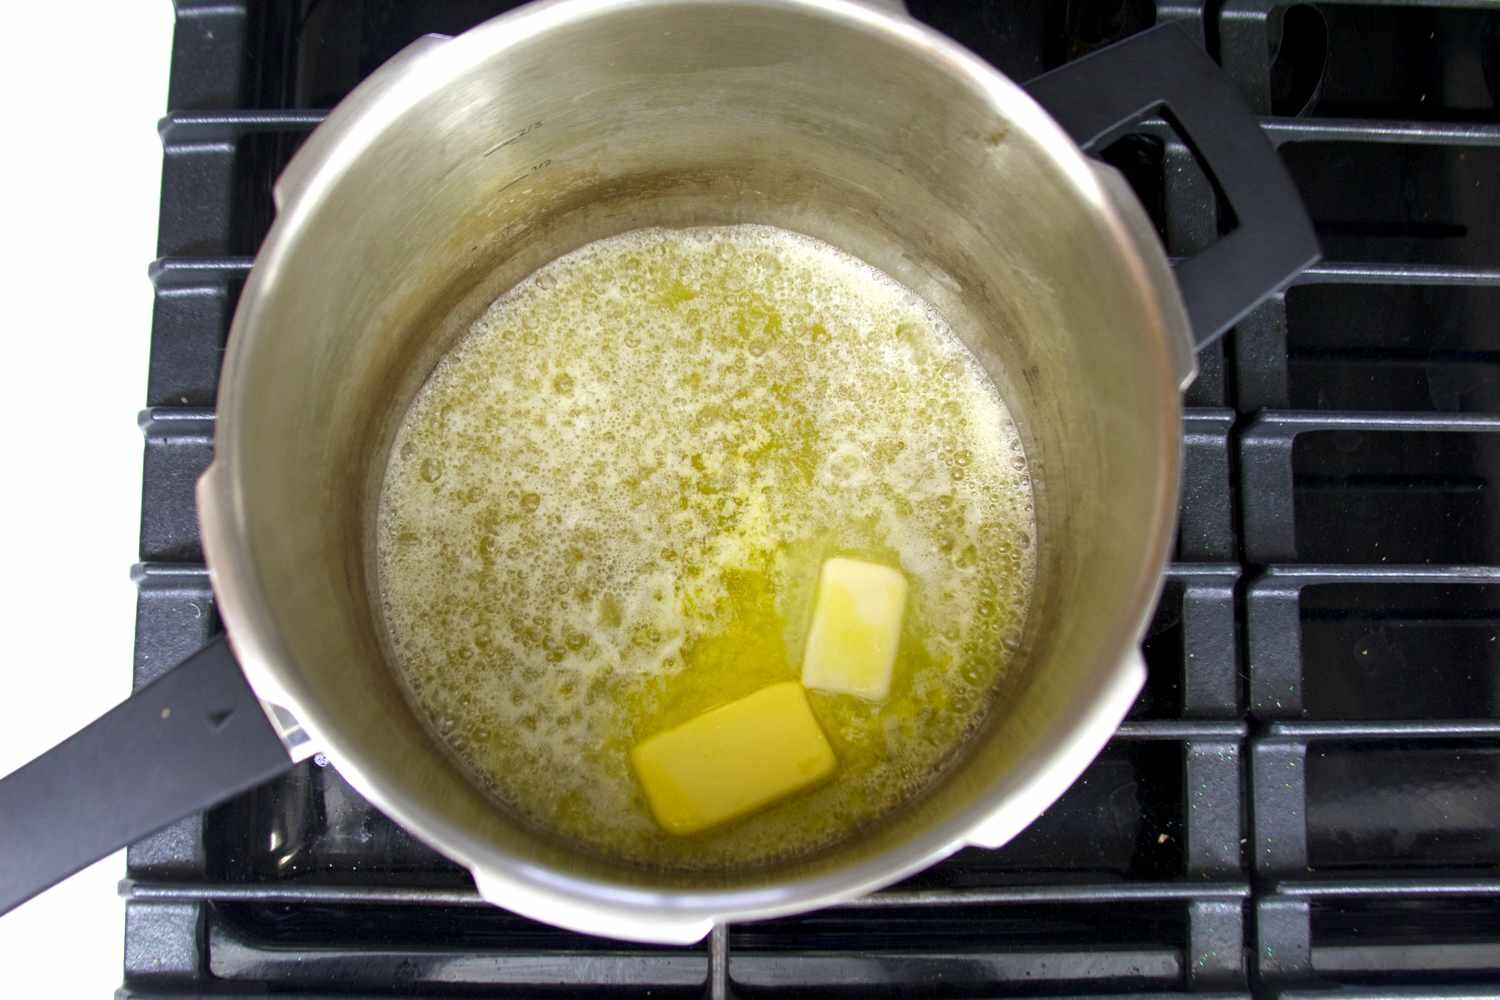
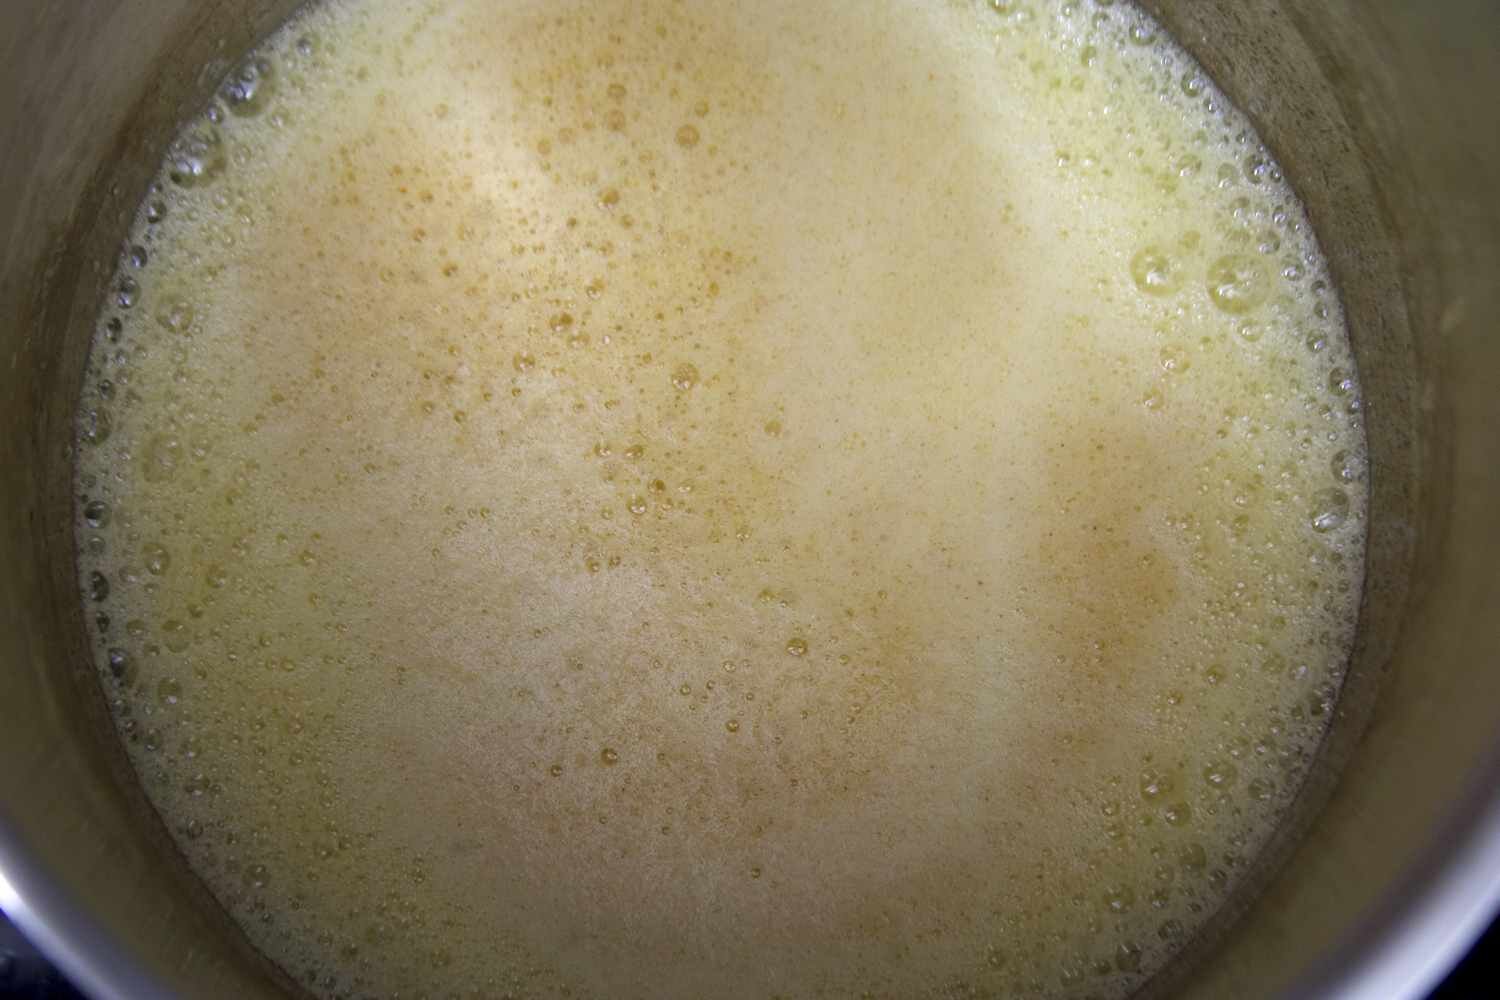
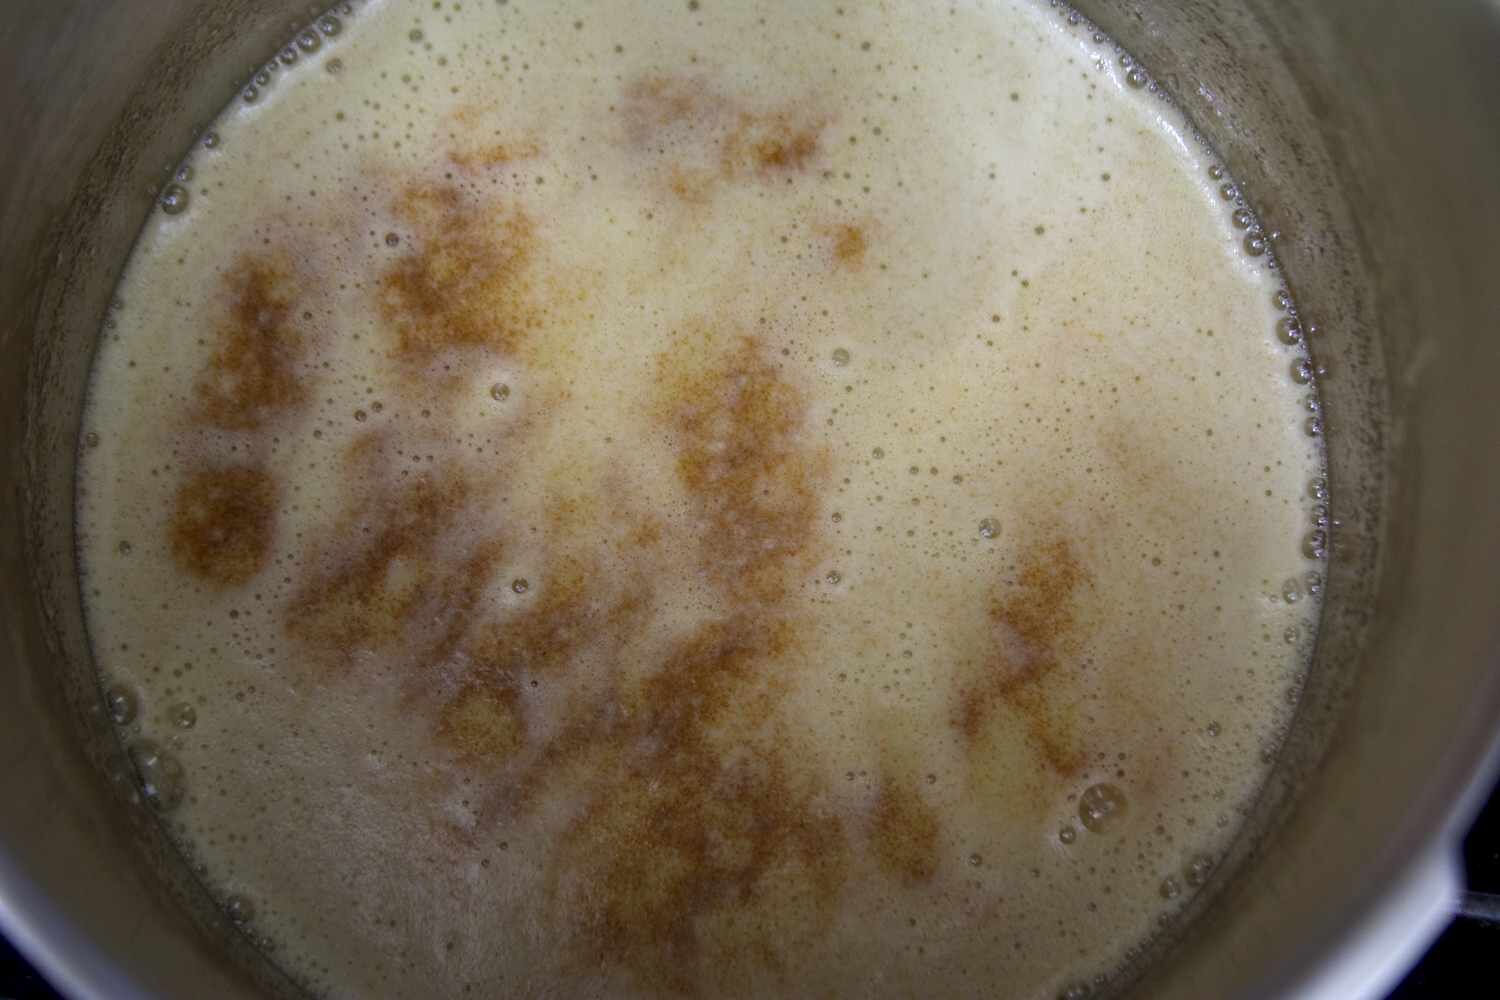
Heat a pan over medium heat and add the butter. If you like the flavor of brown butter [you should], let the butter sizzle, bubble, and brown. It's done browning when you smell nuts. If you don't like brown butter [and I judge you] go to the next step.
Add water, salt, and sweet potatoes and raise heat to high.
You don't need to stir this. Maybe once or twice. We want the potatoes to steam, but we also want them to fry. Frying them means browning them. Remember the brown butter from above? Brown = flavorful. Taste one. If it's soft-ish, or if it's at least lost its crunchy starchiness, turn off the heat.
Add everything from the pan into a blender and blend on high until it's smooth. If you have a Vitamix, blend for a minute and, if not, blend until Tuesday. You can add more butter or water if it's too thick. I usually blend on low because I like mine more sweet potato-ey and less buttery purée.
PRO TIP: You can make this into a soup by adding more chicken stock/water and continuing to blend.
Reserve to a plastic container. It'll keep in the fridge for 4-5 days.
"Mise en place" is French for "get your shit together."

This is what a typical dinner prep looks like in my kitchen. Everything is chopped, minced, unjarred, de-canned.
It's called mise en place [french for get your shit together].
I do this because I like to be relaxed and happy [moderately drunk] in the kitchen.
But this isn't how most cooks do things.
And it isn't how recipes are written.
Anytime a recipe says "while this is cooking, do that" I laugh.
Mostly because I suffer from not being able to take even the simplest situations seriously.
But also because "do this while that cooks" means I will:
- pour wine
- start chatting with whomever is around [my dog]
- wine
- burn something
- iwne [sic]
- forget to cut whatever I was supposed to cut because I'm on my third glass of wine.
Note, this is the ONLY area in my life where I'm prepared [just ask my wife/family/anyone].
But I'm a HUGE advocate for mise en place for several reasons.
"What are those reasons, oh Wise One?" you might ask.
And thank you for asking.
Number 1: Having everything chopped and prepped means that I can put away my knife and cutting board. I can clean up. Which means I'm less likely to knock over my glass of wine. Or the bottle [which may or may not have happened several times in the past year].
My kitchen is pretty damn clean when I cook. All prep bowls go straight into the dishwasher. Counters are wiped down. Knives are washed, dried, and put away [unless I'm feeling stabby].
This also means that, with all my ingredients measured and prepped, I can put my entire focus on cooking [wine]. It's a lot harder to burn something when you're watching it closely instead of multitasking.
It's hard to be a good host when you get lightheaded every time you knick your finger [ask me how I know], so mise en place helps me better enjoy the company of my company [wine].
Take it from me, an oft-unprepared lifelong last-minute-Larry, that a little prep goes a LONG way toward upping your kitchen game.
Try it. Just once. And let me know how it goes in the comments below.↓↓↓
Nachos
Wondering what other traditional mexican delicacy goes well with nachos?
How about a frozen margarita?
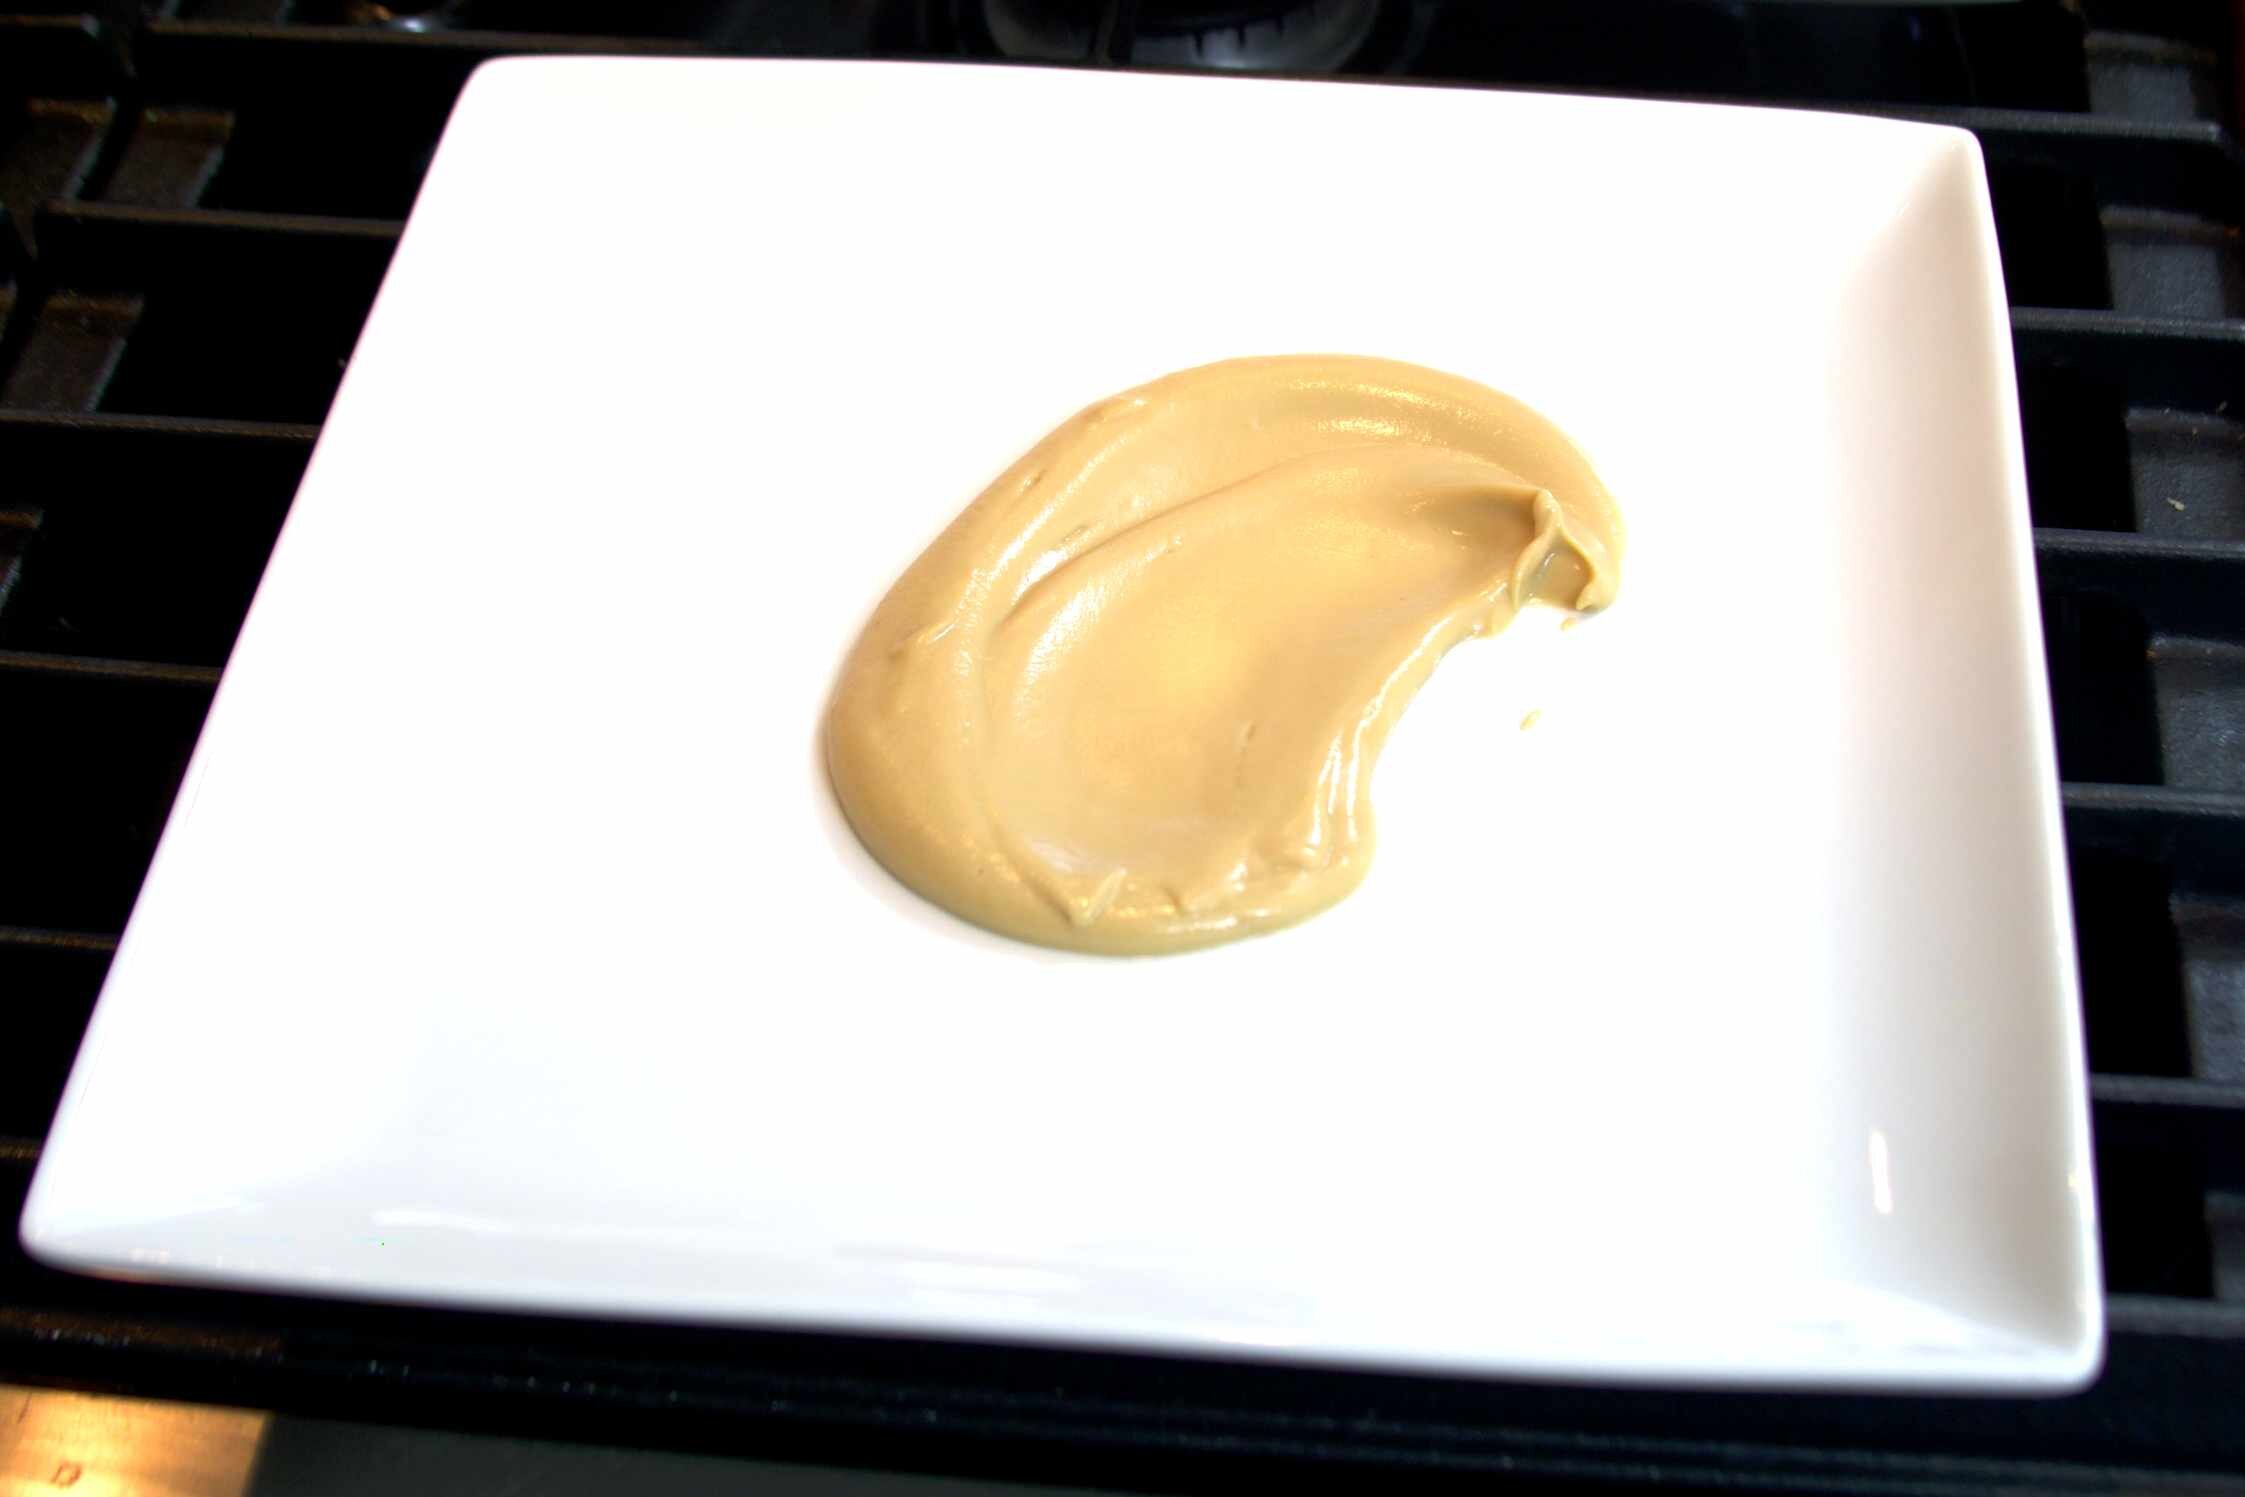
Skirt Steak, Spinach Salad, Brown Butter Cauliflower Glory
This was kind of a spur-of-the-moment meal that turned out to be mind-blowingly fantastic. The nutty creaminess of the Cauliflower Glory [purée] plays nicely with the juicy steak and the crunch onions from the salad. I will make this again. And again. And hope you do too.
It's a 6 out of 10 on the difficulty scale only because you need a pressure cooker and a blender. Don't fret if you don't have a pressure cooker - just chop the cauliflower into very small pieces and steam them with some water. You WILL need a blender to achieve the luxurious creamy texture though. And the more powerful the better. (I love Vitamix.)
Cauliflower Glory
Can be made up to 3 days ahead of time. Keep in the refrigerator until you're ready to complete the dish.
Also, you can scale this up or down based on the amount of cauliflower you have. To scale the recipe up or down, weigh your cauliflower, and then multiply by the percentages of the other ingredients.
For instance, if your head is 800g, then you'd need: 120g butter, 24g water, and 8g salt.
My head was ~700g, so...
- 100% (700g) Cauliflower, roughly chopped
- 15% (105g) Butter
- 3% (21g) Water
- 1% (7g) Salt
Heat a pressure cooker over medium heat. Add butter. And brown it.


Once butter is browned (it should look dark brown and smell very nutty) add the cauliflower, water, and salt and stir.
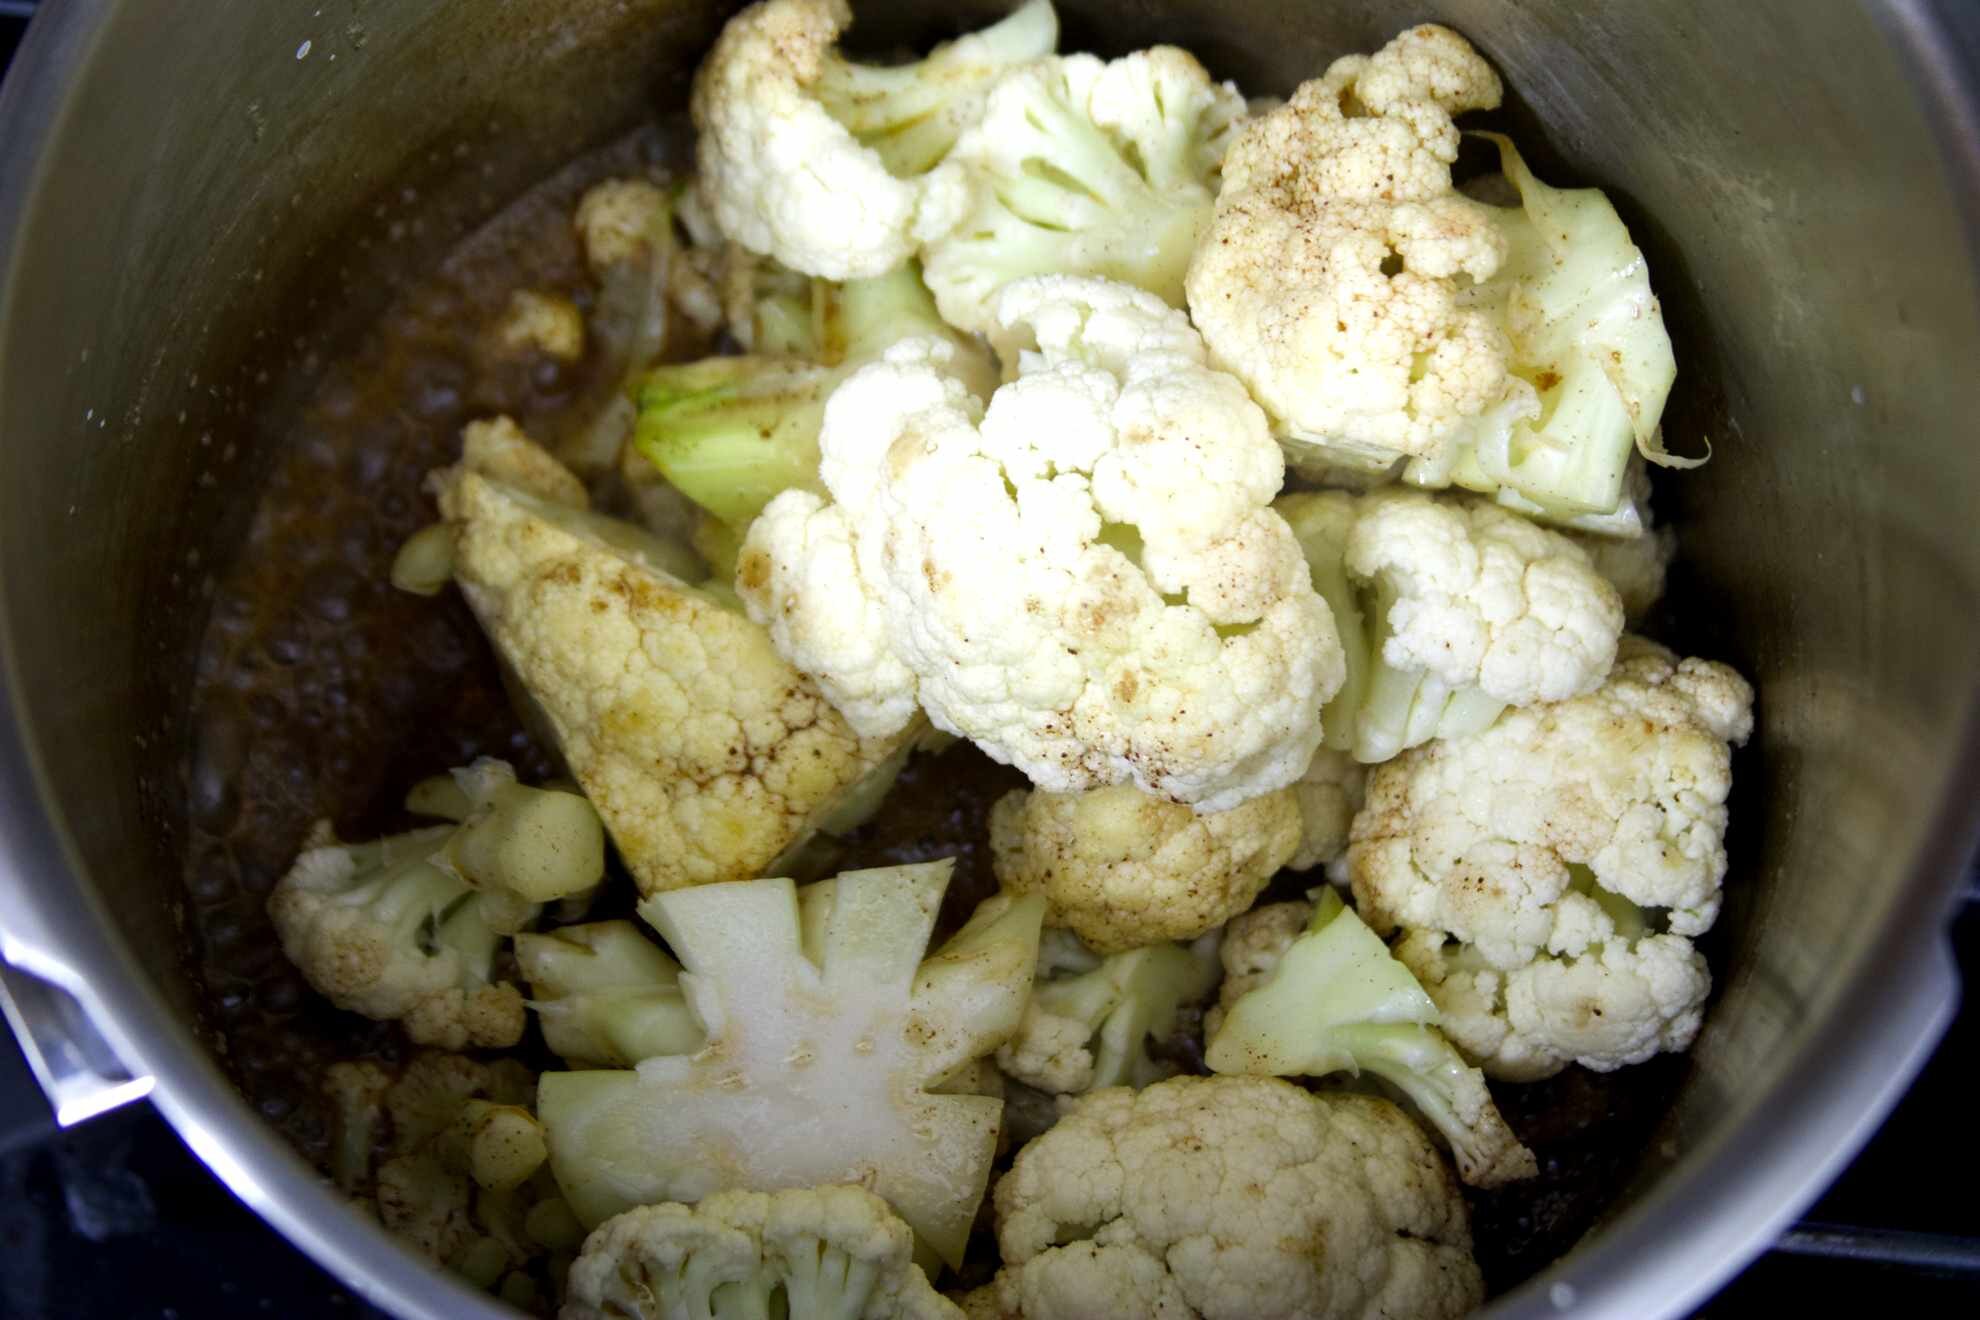
Seal the pressure cooker and cook on high (1 bar, the second ring) for 20 minutes.
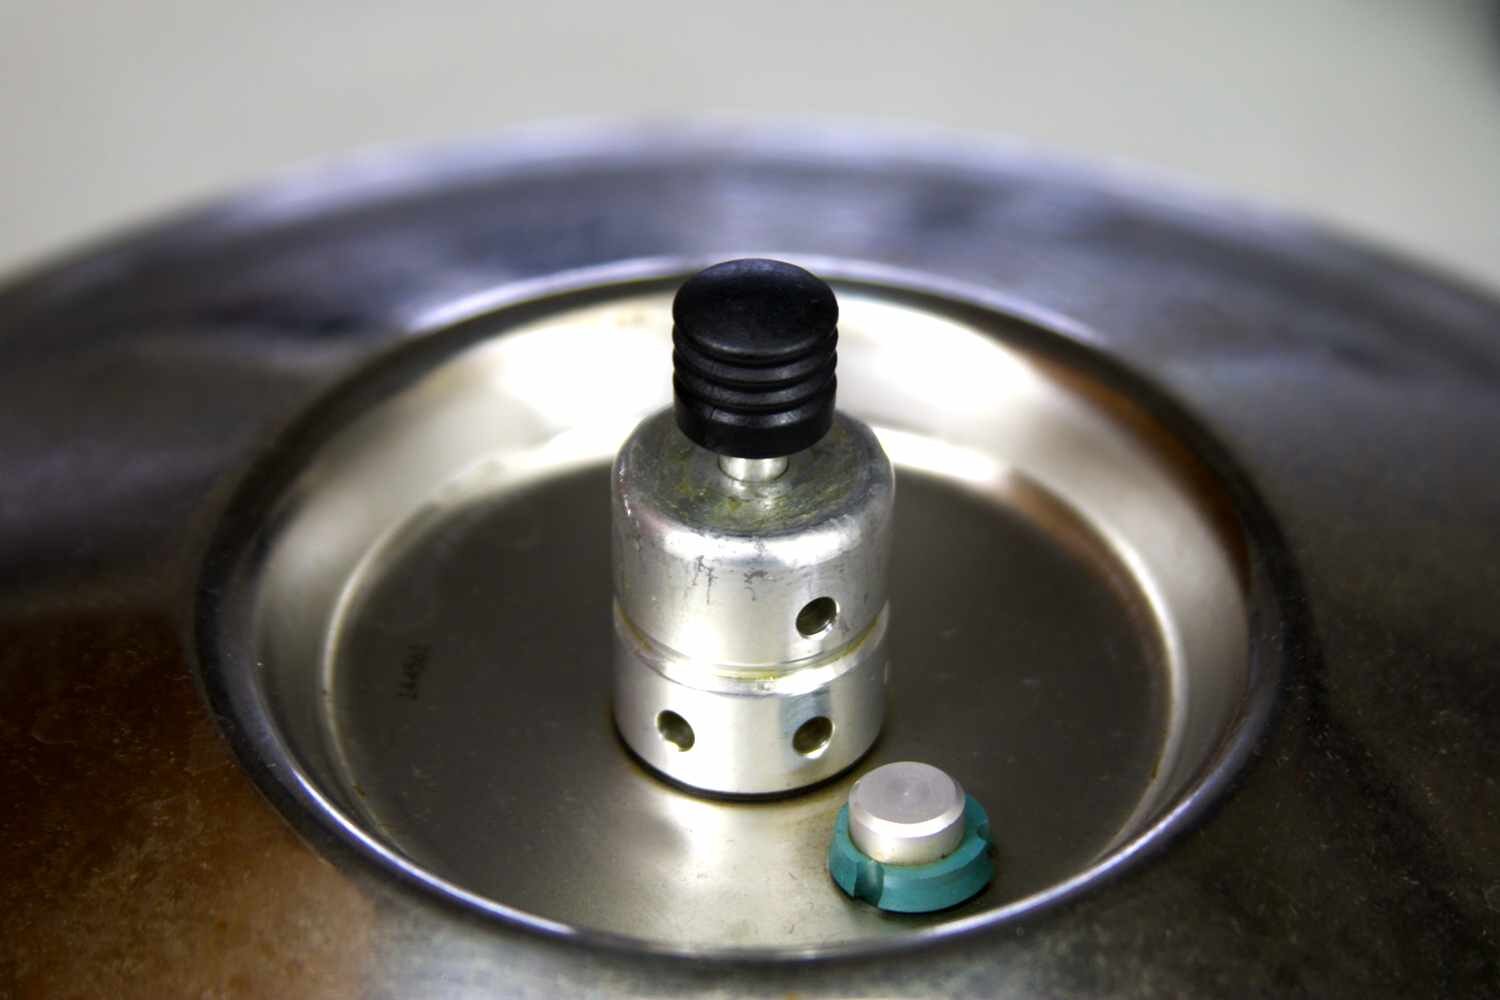
Once the pressure cooker releases it’s pressure, remove the lid. If it looks really watery (use your judgement), heat it, uncovered, until it thickens up.
Blend in a blender until really really puréed. Like 5 minutes on ludicrous speed in a Vitamix.
Spinach "Salad"
- 200g Spinach, washed and dried
- 30g Red Onion, diced
- 10g Parmigiano Reggiano, grated
To finish:
Cook steak in frying pan over medium high heat until it's just medium-rare, about 2-3 minutes on each side.
Move steaks to a plate to rest. Add spinach to the pan. Don’t touch it...you want it to brown. Once it smells browned, mix it up a bit so the rest can brown. Once it’s very wilted and browned (5-8 minutes total), remove from heat and add the onion, stirring frequently. You’re just trying to warm the onions, not brown them.
Put a spoonful of Cauliflower Glory in the center of a plate. Run a spoon through it to make a pretty pattern.
 Let your inner painter Gogh wild...
Add some of the Spinach Salad, top with a few pistachios and grated Parmigiano-Reggiano cheese.
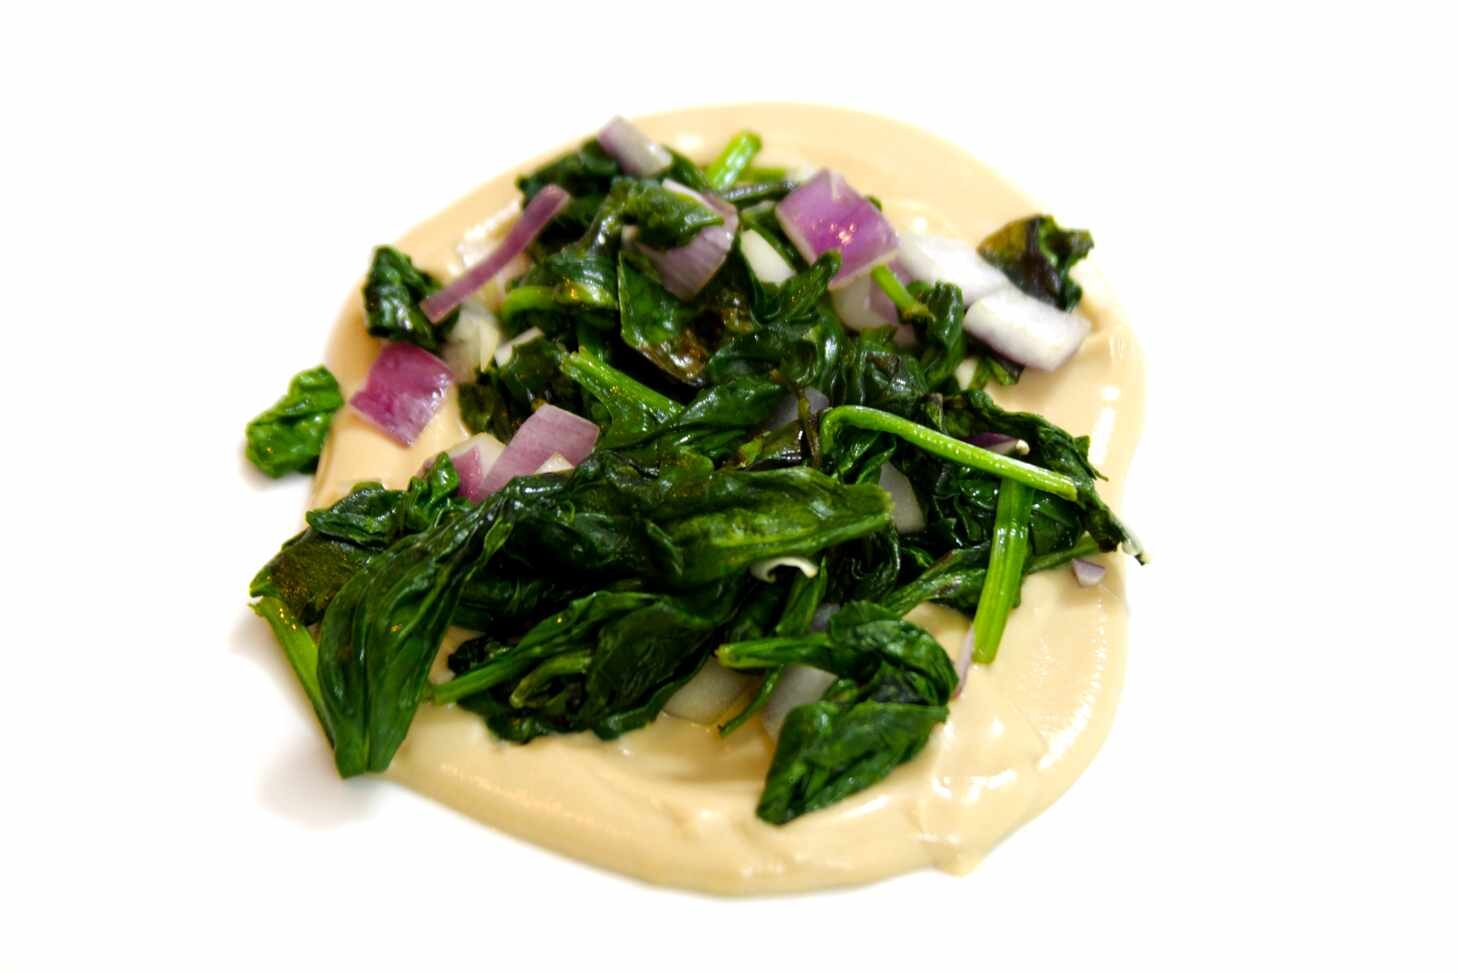 You should add double what you see here... I just didn't make enough spinach for two servings.
Slice the steak into 1/2” thick pieces and arrange on top of the Spinach Salad. Sprinkle with a wee bit of finishing salt.
[Yes, there is way too little green stuff to balance this picture. I've adjusted the recipe accordingly.]
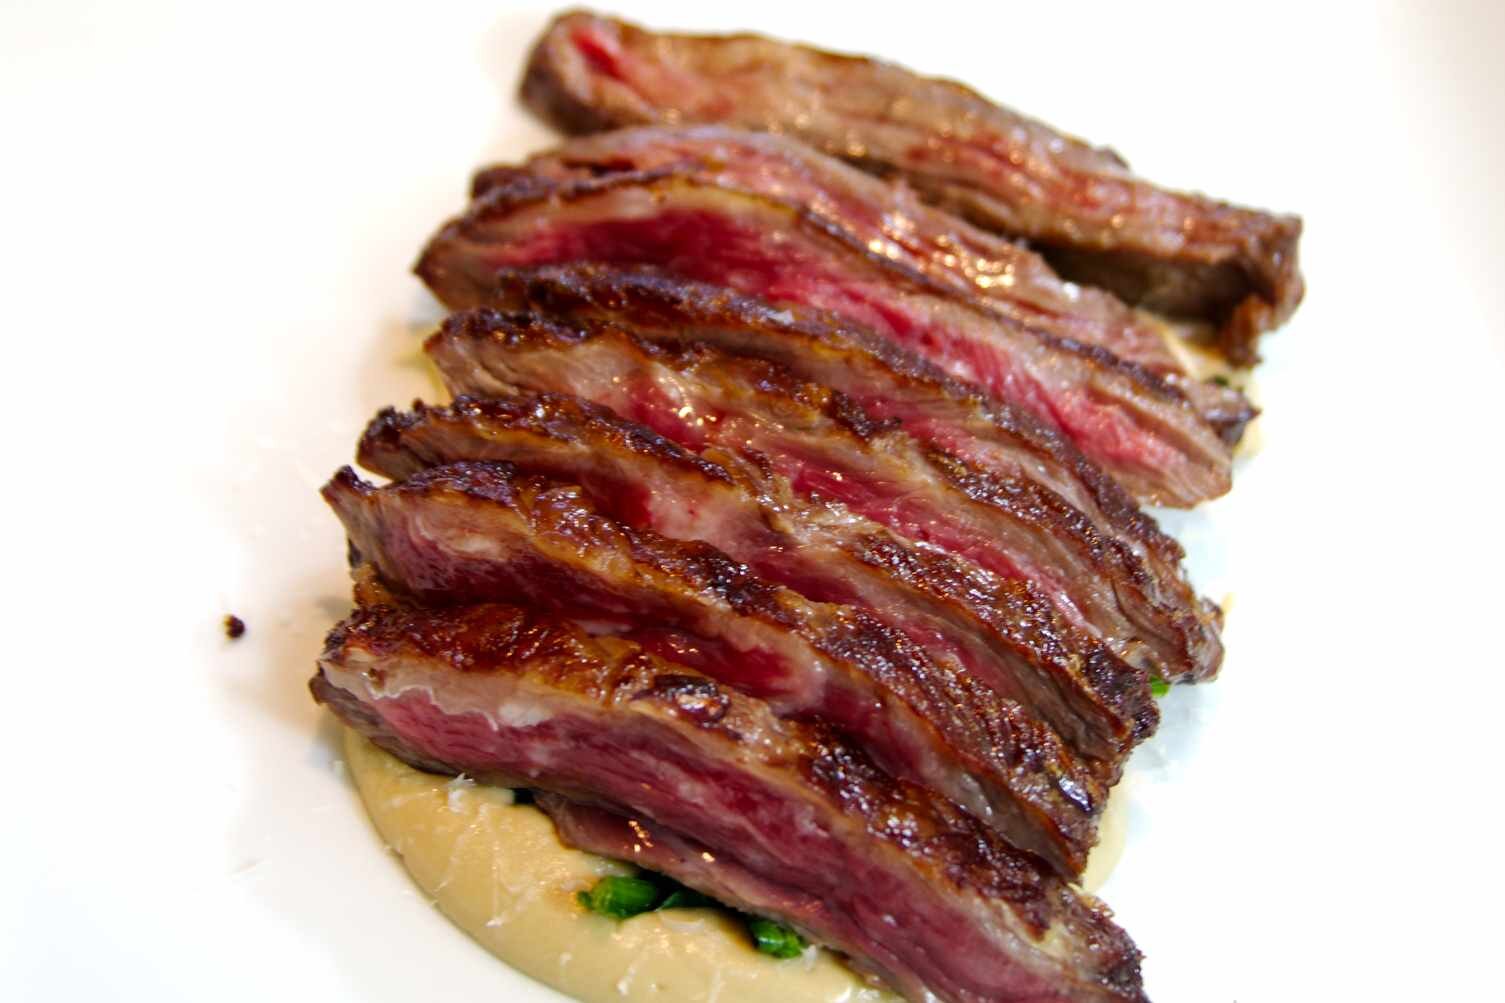 MEEEEAAAAATTTT